Travel
-
Top 7 Things To Do In Hakodate, Japan
Hakodate is one of the main cities located in Hokkaido. It’s the third largest city after Sapporo and Asahikawa. If taking a bullet train from Tokyo, Hakodate is the last bullet train station into Hokkaido. The trip will take about five hours.
Some people will choose to hop on another regular train and head to Sapporo but Hakodate is worth spending a couple days in to explore. Even though it’s the third largest city in Hokkaido, it’s not too big. It’s very laid back and things are slower paced here. If coming from Tokyo, it’s a nice break from the crowds and the hustle and bustle. Two days will be good enough to see all the sights that Hakodate has to offer.
Mt. Hakodate Observatory
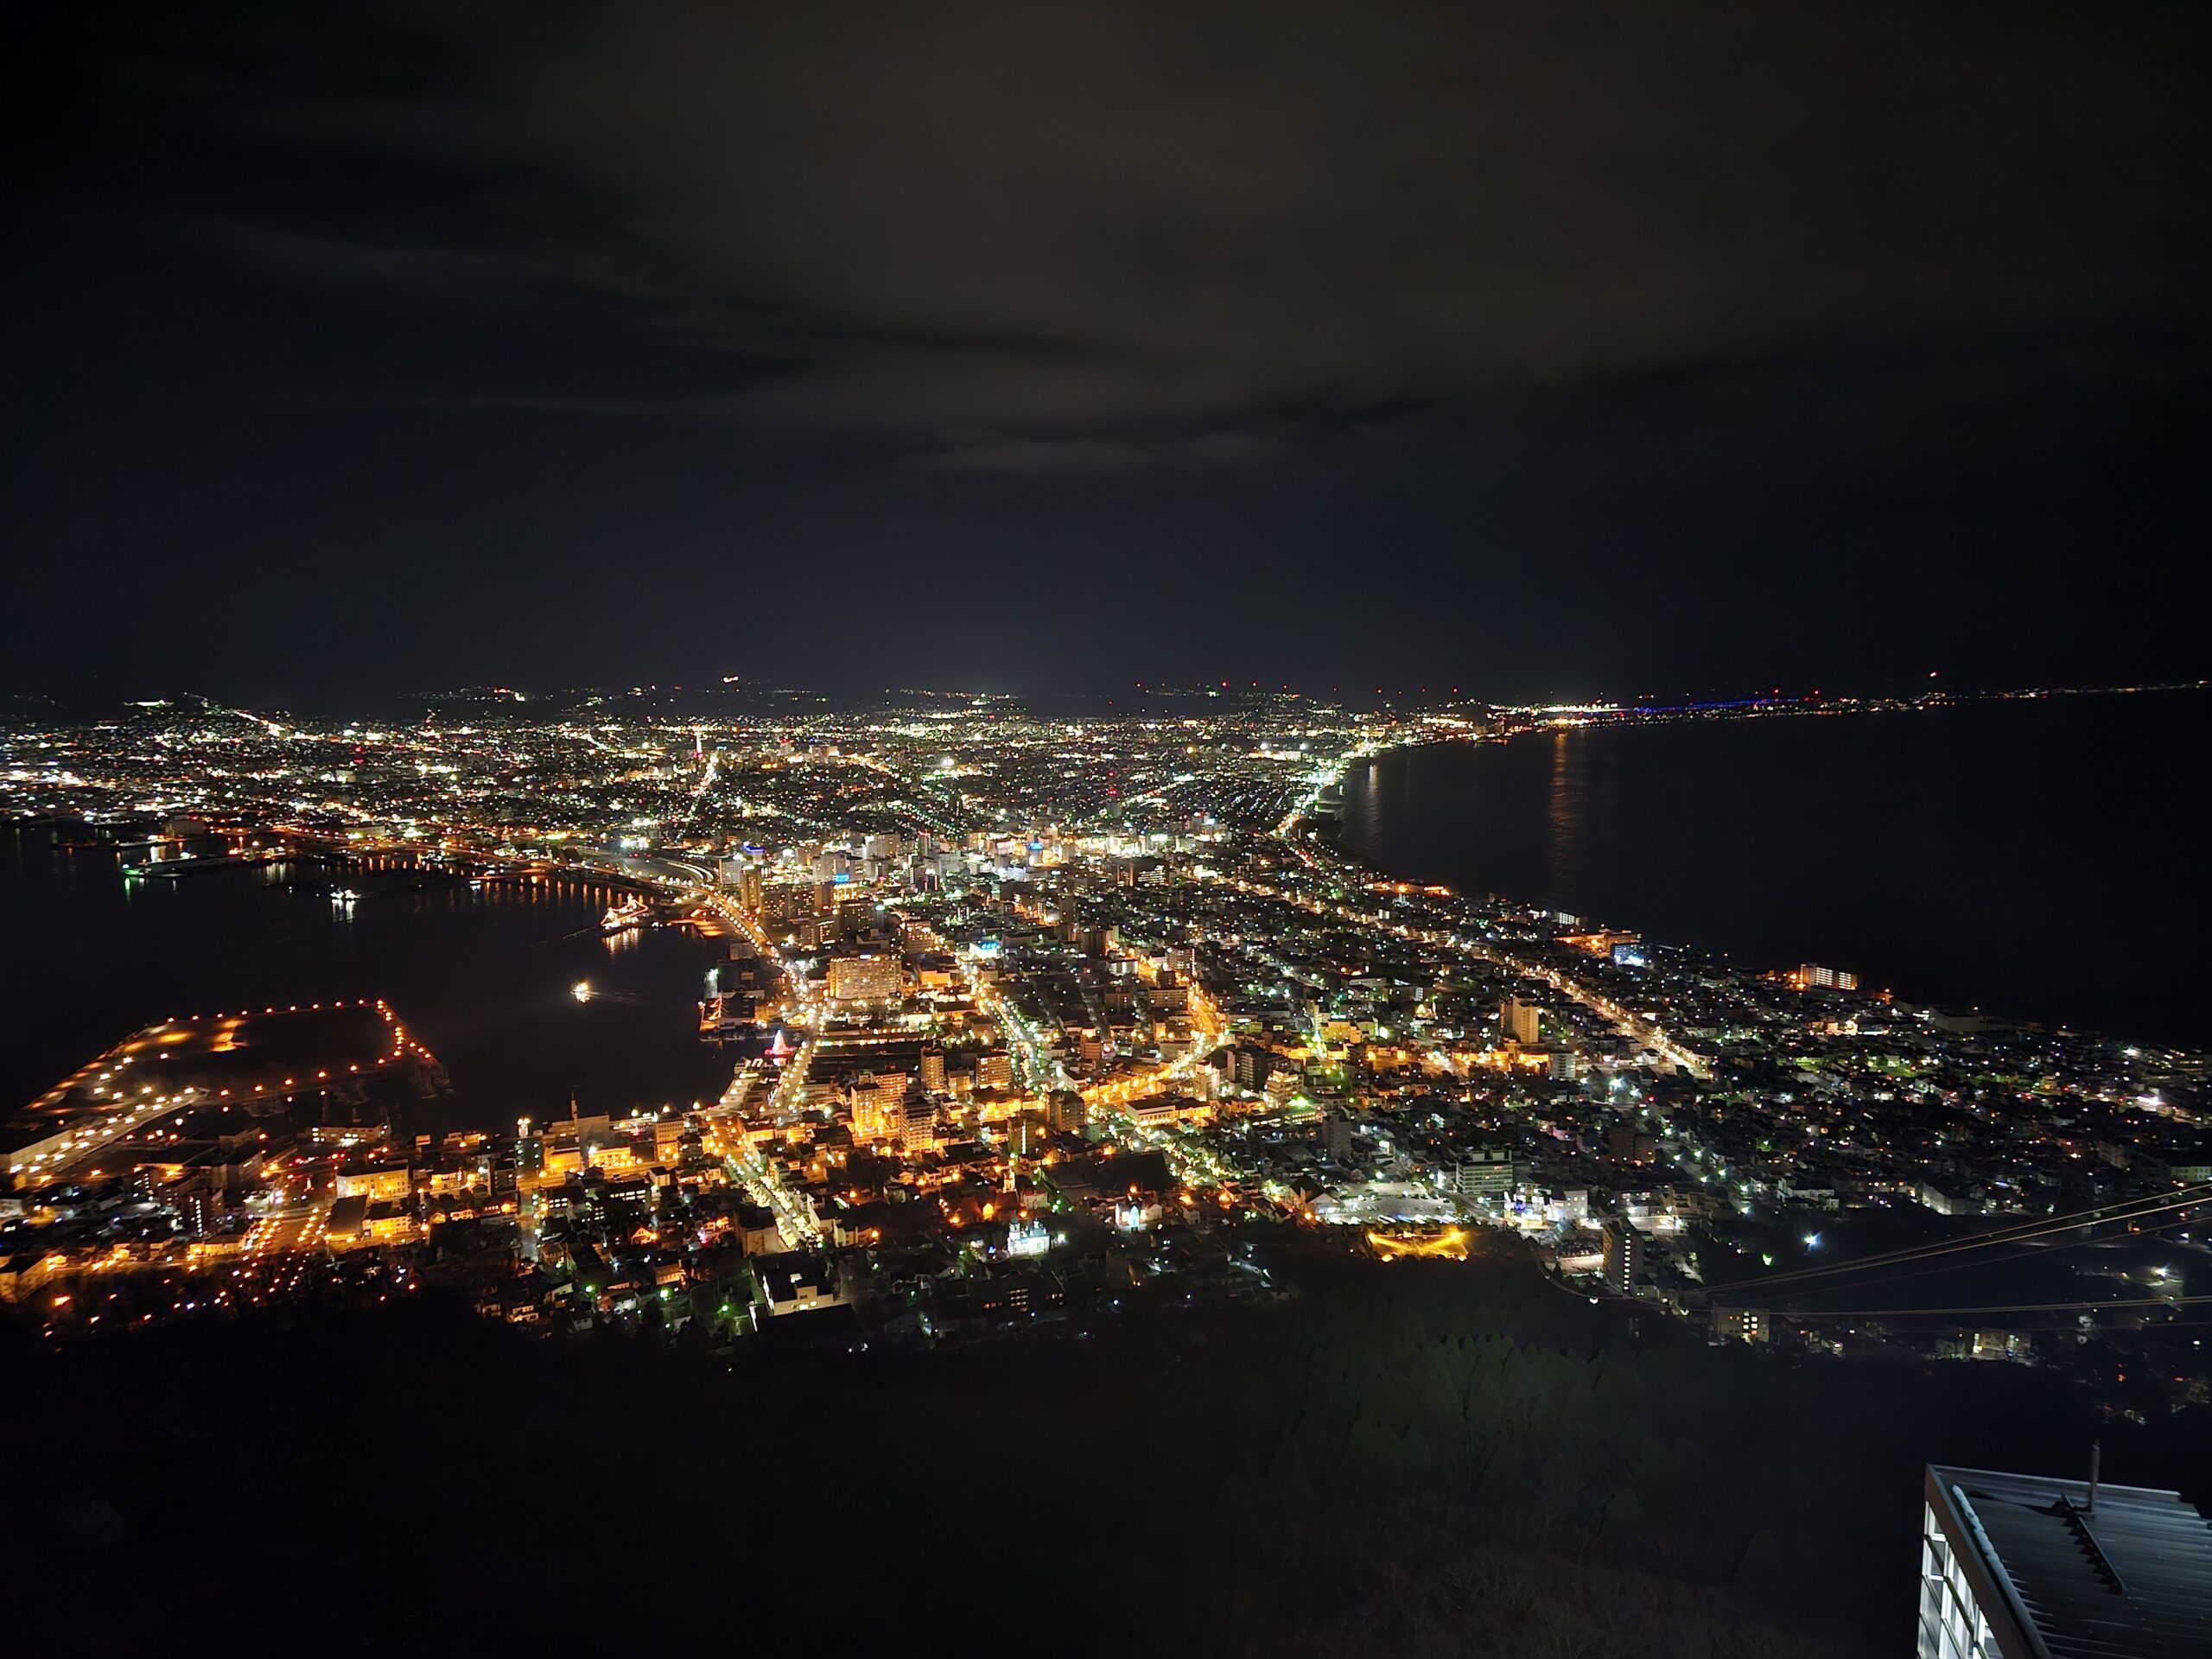
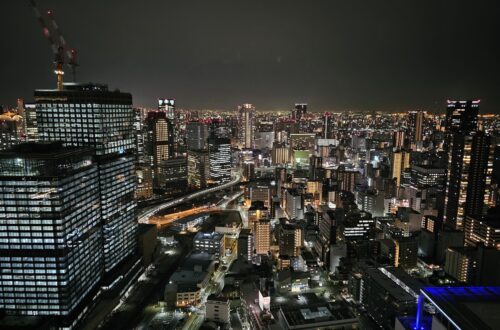
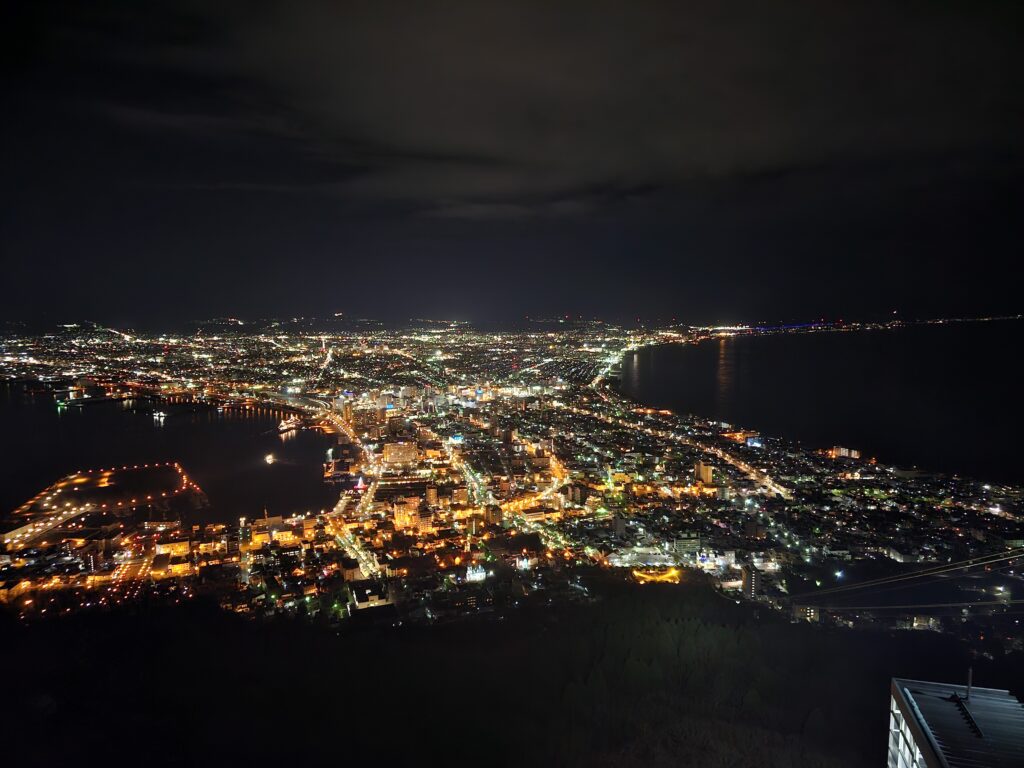
One of the top things to do in Hakodate is making a trip to the Mt. Hakodate Observatory (1800 yen, $12.24 USD) at sunset or at night to enjoy the panoramic view of the city. It’s certainly a spectacular view with water on either side of this particular part of town. There’s technically not a best time to go here. Day or night you’ll get a beautiful view but I’m more partial to the night when the city is fully lit up. It’s a pretty sweet view! Nighttime is also the busiest time to go so expect to see some crowds on the observatory deck. There’s also a restaurant and gift shop located here if you want to hang out a bit and soak in some more of the view.
Fort Goryokaku / Goryokaku Tower
I’ll fold these two attractions into one. But you can certainly do one or the other and skip the other one if you wanted to. Fort Goryokaku is the iconic star shaped fort located in Hakodate. Completed in 1866 as a military site in the defense of Hokkaido, the fort was later converted to a public park sometime in the early 1900s when the fort lost its military importance. The star shape of it is really quite unique, as is the moat that surrounds it. There’s not a ton to see here but the grounds are quite peaceful and nice to take a stroll around. There’s also around 1000 cherry blossom trees planted around the fort so if planned correctly during cherry blossom season it would be quite the sight! Visiting the park itself is free.
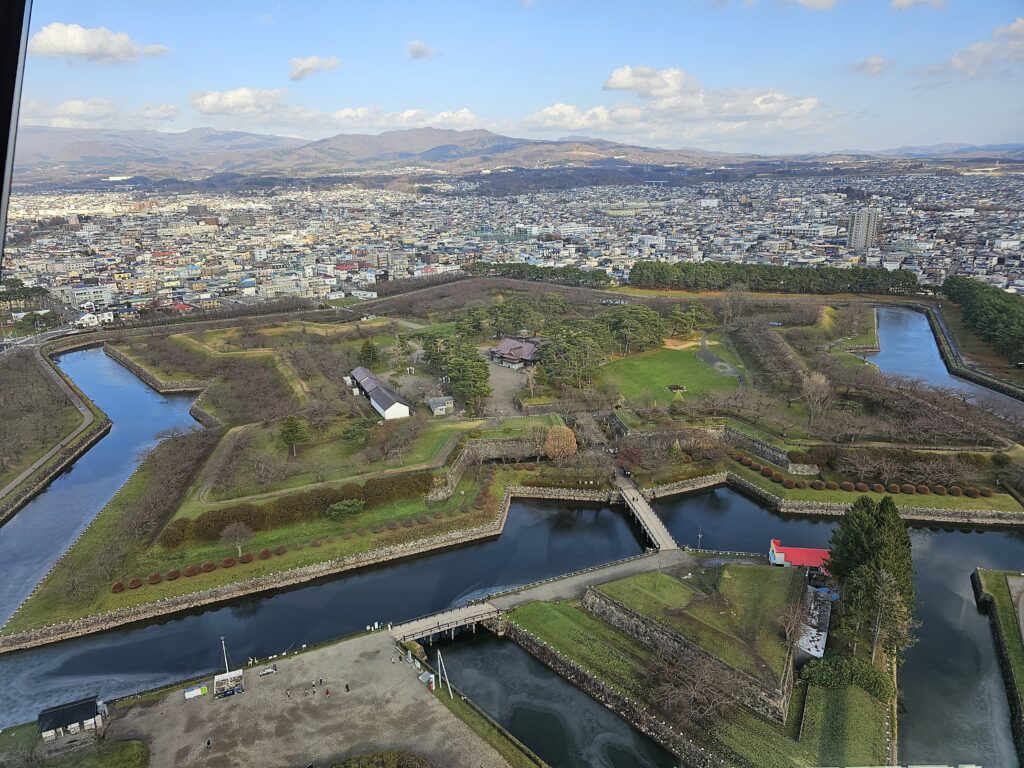
Fort Goryokaku To get a full view of the fort and it’s unique shape you can go up the Goryokaku Tower (1000 yen, $6.81 USD) which has a great view of the fort as well as other views of Hakodate since the tower provides a 360 degree view. There’s also displays up in the tower which provides the historical backdrop of the tower.
Hakodate Morning Market
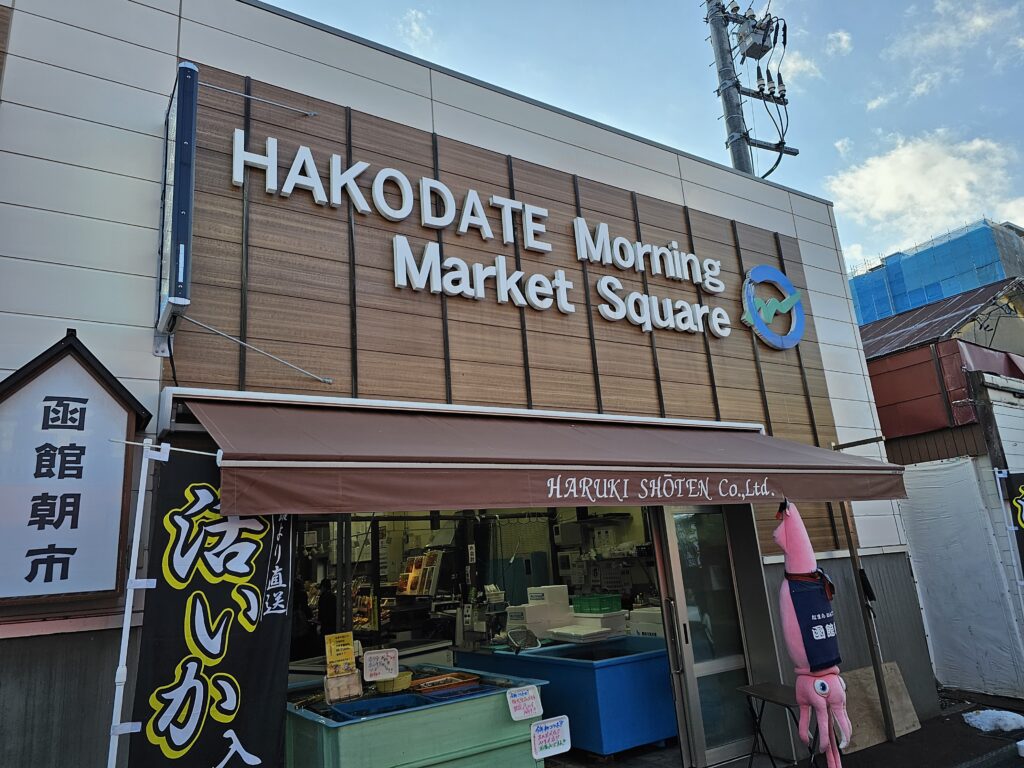
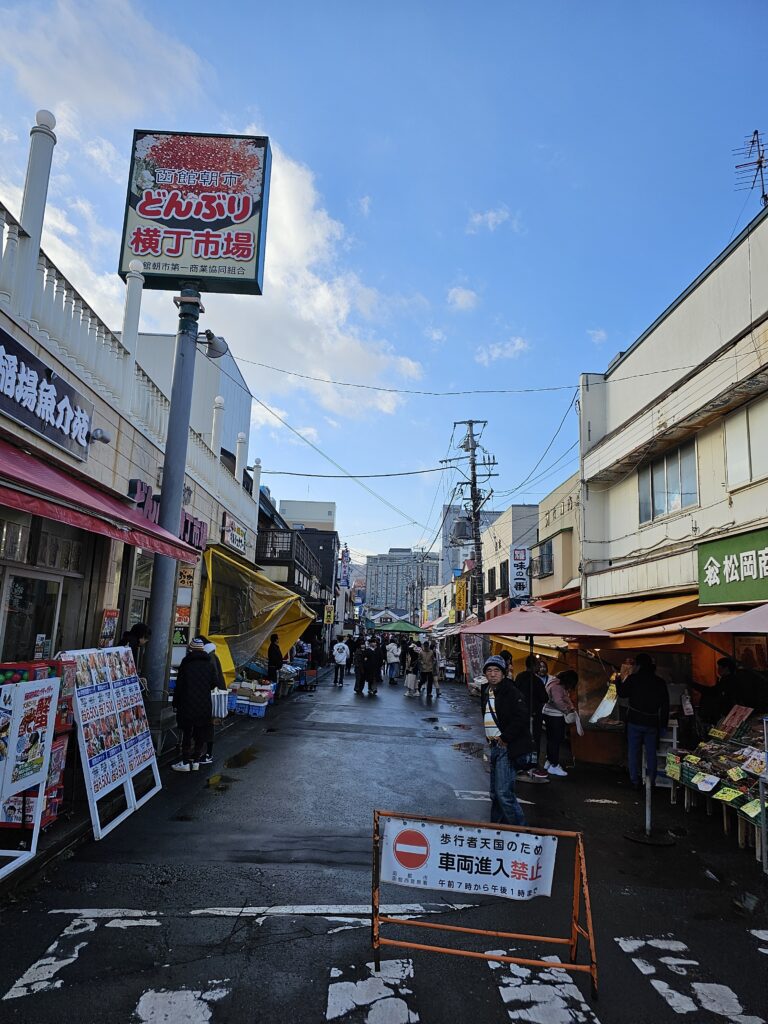
The Hakodate Morning Market is a four block stretch in Hakodate that sells fresh seafood, vegetables, fruit, and snacks. It’s definitely one of the top things to do in Hakodate in the morning to start your day. It opens from 5am to about 2pm, with about 250 places total, there’s a lot of food options to choose from. The seafood here is outstanding. Even though there’s 250 places here, the market doesn’t seem huge. Crowds are fairly mellow here as well, which is nice.
Cape Tachimachi
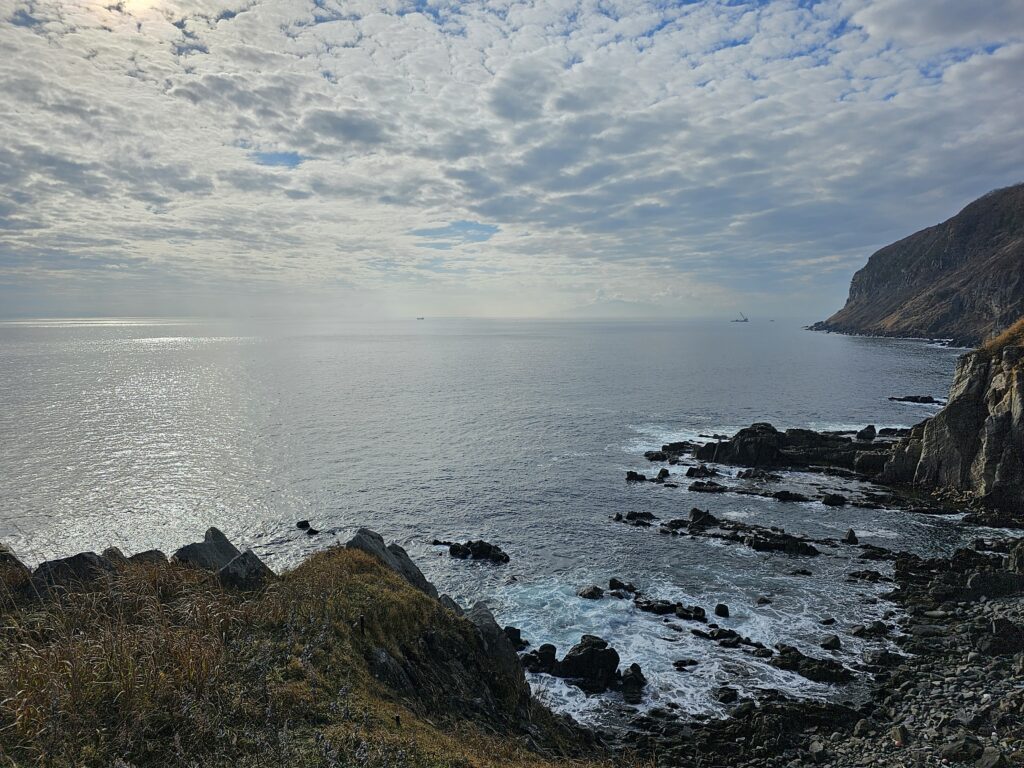
Cape Tachimachi is a scenic spot in Hakodate with a fantastic view of the ocean, with sharp cliffs surrounding the area. There’s a paved path that loops around on top of one of the cliffs with a great lookout point with a couple benches where you can take a seat and take in the stunning view.
Kanemori Red Brick Warehouse
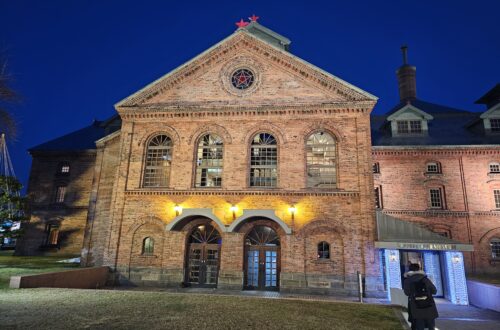
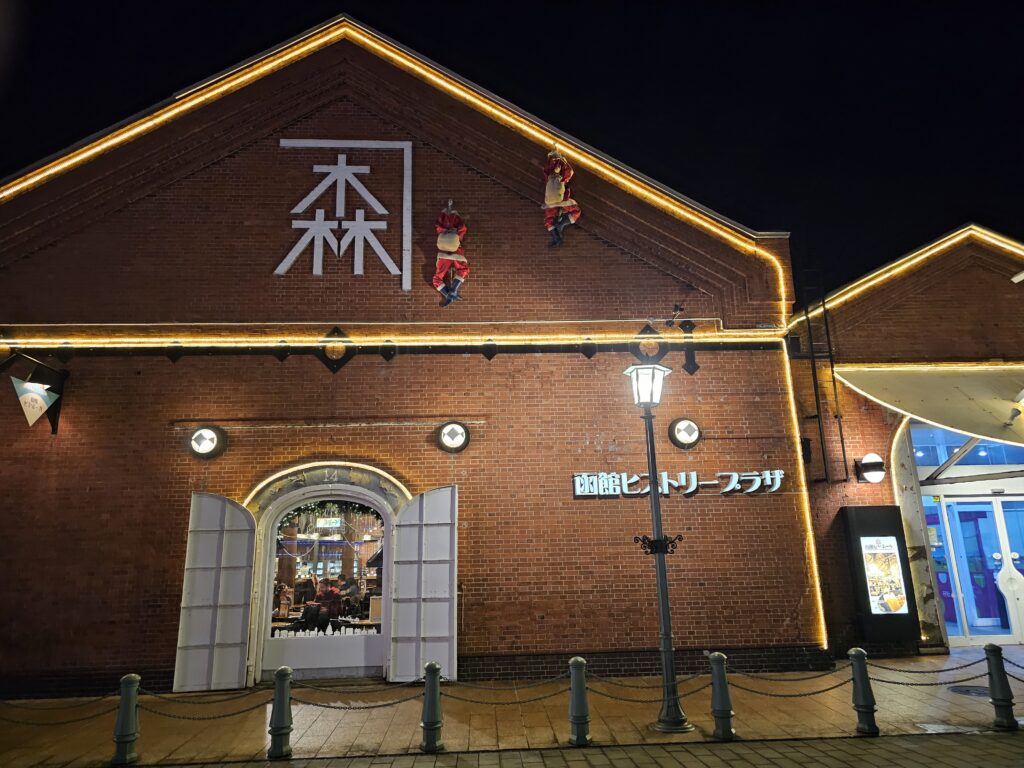
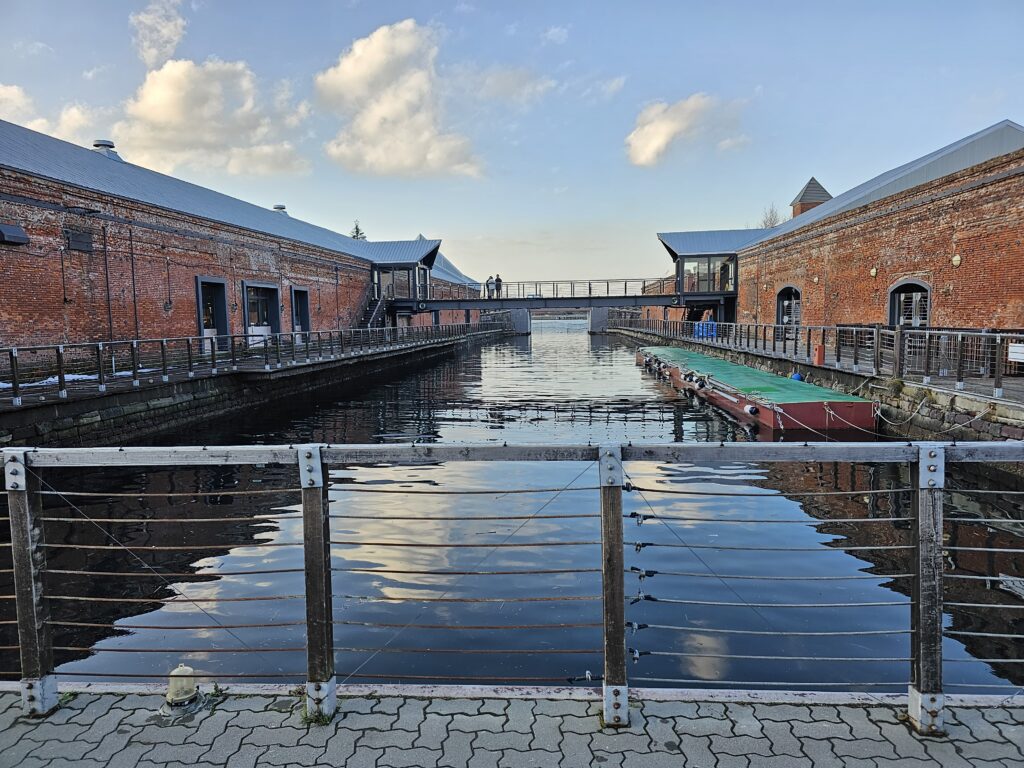
These old converted red brick warehouses were once used in the old trading days of feudal Japan when the Hakodate port was used for international trade. Now, the warehouses are home to souvenir, clothing, boutique type of shops. There’s a beer hall, restaurant, and some other places for snacks and dessert as well.
Eat At A Lucky Pierrot’s
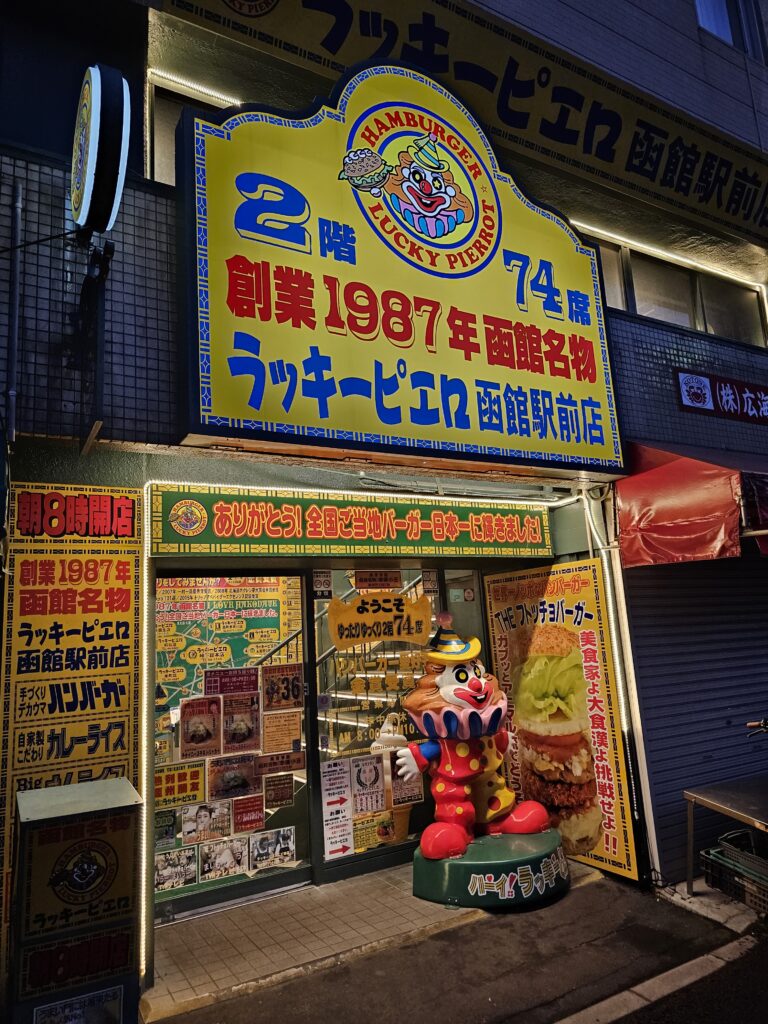
One of the top things to do in Hakodate is a place you can both visit and EAT at. Lucky Pierrot is a chain of hamburger restaurants that are only located in Hakodate. There’s a total of 17 restaurants, all of which have their own individual personality and flair. No one restaurant is the same as the next. It’s immensly popular and is a tourist draw. It’s one of those things that you feel you need to try if in the area. I mean you’d try In N Out if you saw it wouldn’t you?
Hachiman Zaka Slope
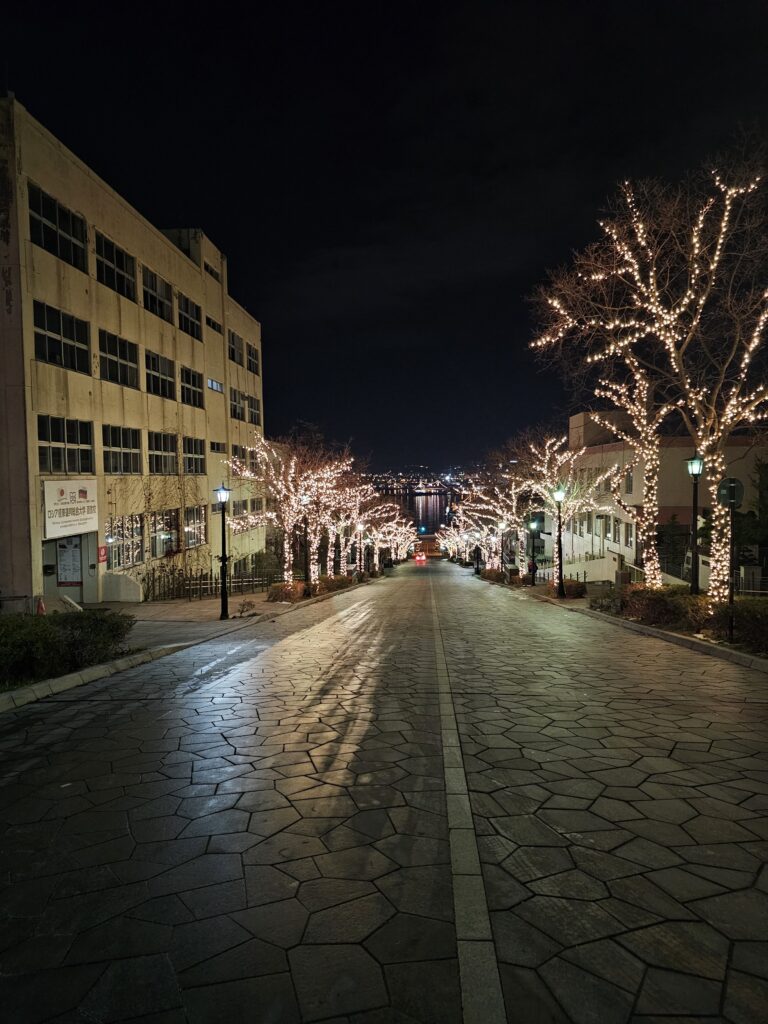
Hakodate’s most famous slope, Hachiman Zaka Slope provides a scenic view on top of a hill down a stone paved, tree lined street, with a view that leads down to the bay. During Christmas time the trees are adorned with lights which provides quite the setting at night.
-
5 Parks To Visit in Tokyo – You Won’t Be Disappointed!
5 Parks To Visit in Tokyo – Why Visit Parks In Tokyo?
Tokyo is a massive city with endless things to see and do. For a first time visitor there’s generally too much to see to be able to find the time to make a trip exclusively for a park. I was able to visit five parks while in Tokyo, some intentionally, some I just happened to stroll through on the way to an attraction. They’re a nice change of pace from the hectic and often very crowded sites of Tokyo. A lot of these, and other parks throughout Tokyo, you may just happen to walk through or see on the way to your next attraction. Intentional or not, visiting at least one of the parks is well worth it.
These are just a handful of the parks that Tokyo has, there’s quite a lot overall!
Shinjuku Gyoen National Garden
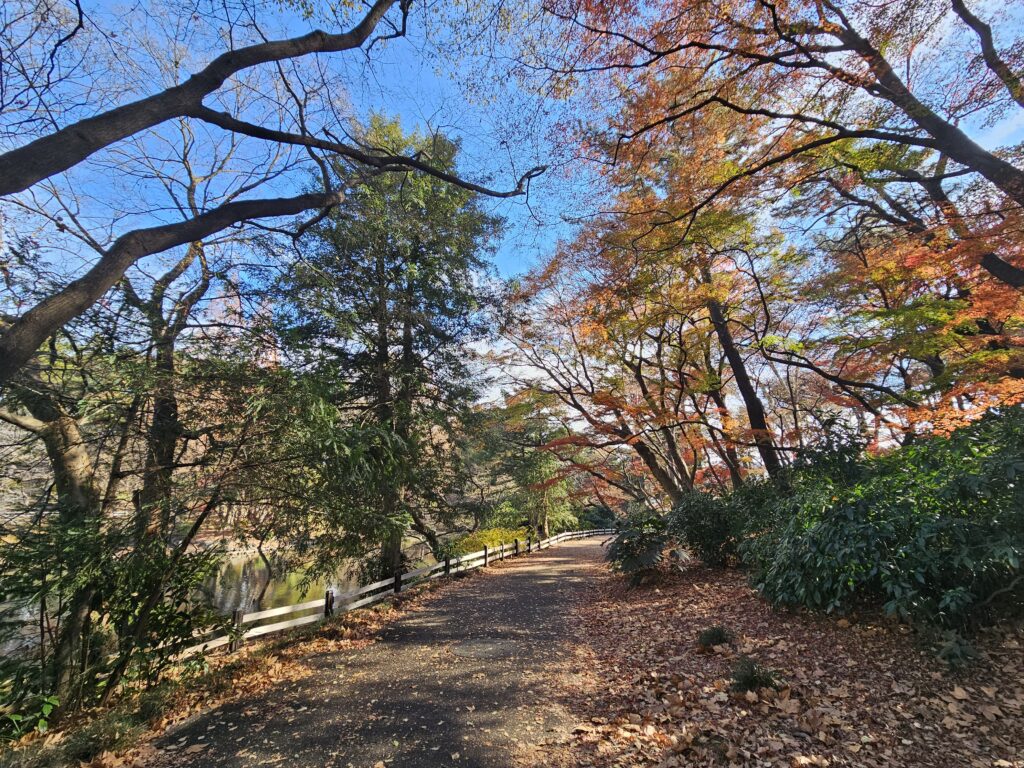
This was the favorite park that I visited. It was also the only one that cost yen to enter (500 yen) but it’s well worth it. Even though this is listed as a garden, it’s really a massive park. With huge open lawn spaces and wide meandering paths throughout, it’s a great place to escape the hustle and bustle of Shinjuku.
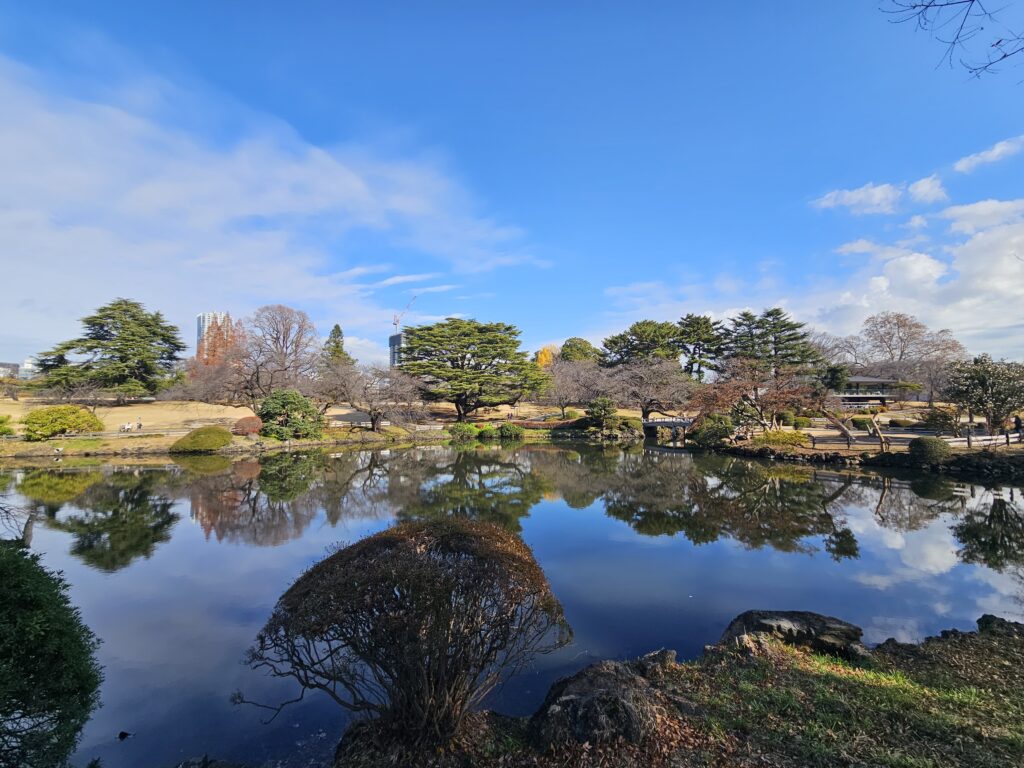
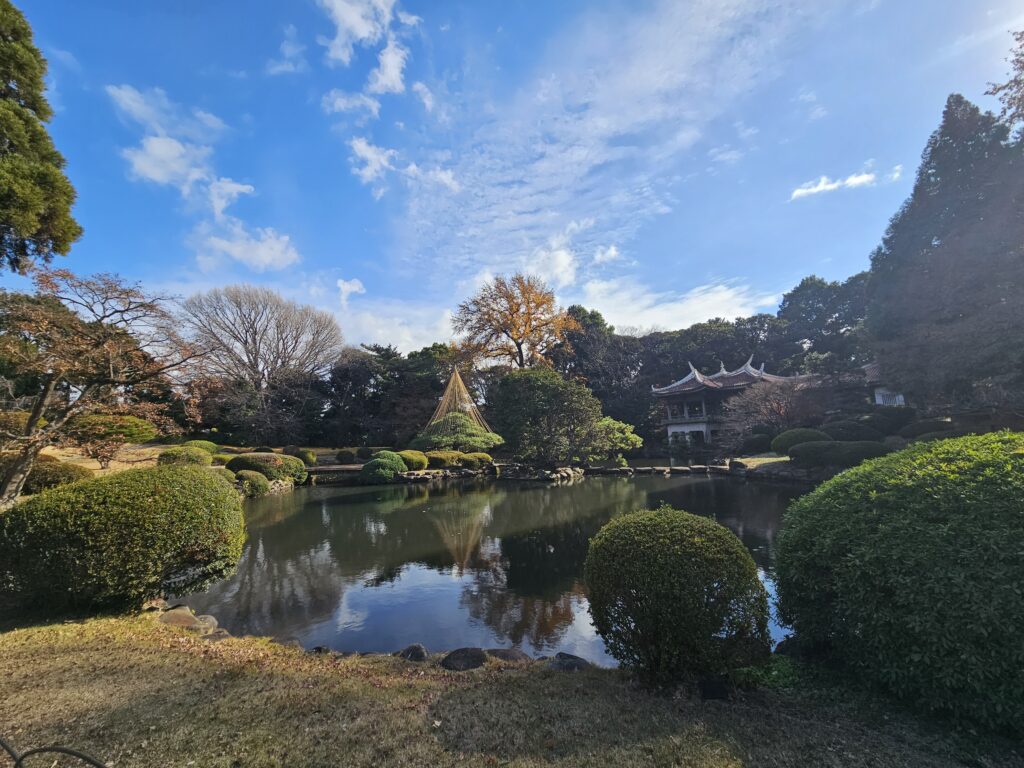
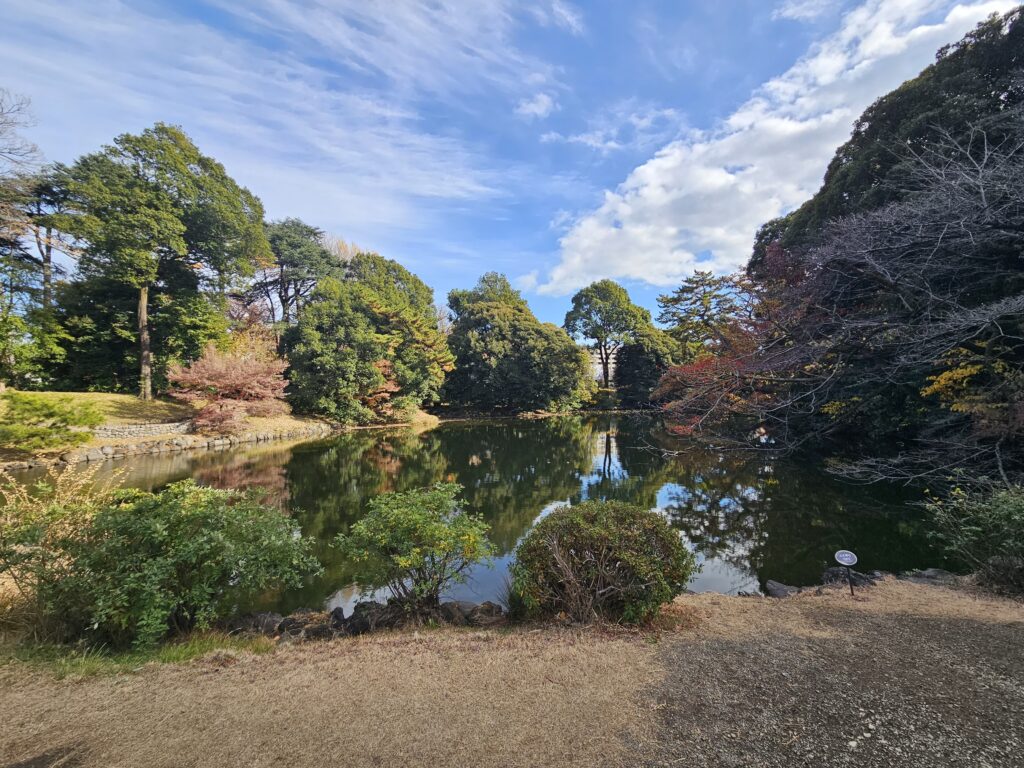
There’s three different types of gardens located within the park. There’s traditional Japanese gardens which feature well kempt shrubs and trees with ponds and bridges.
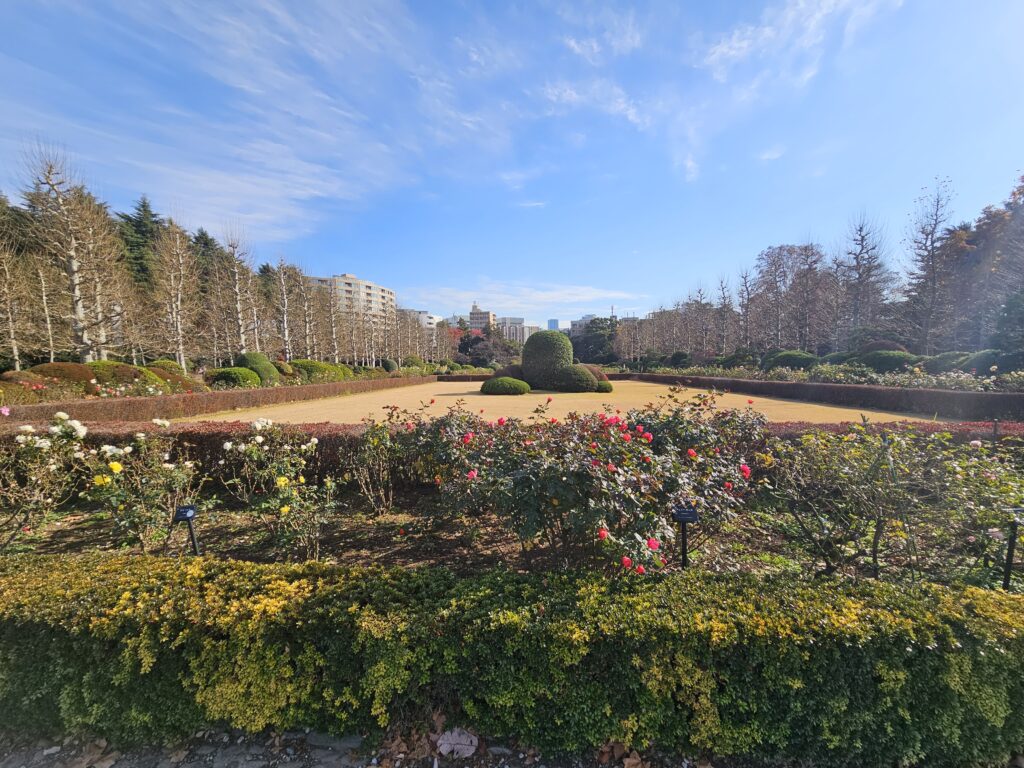
A French garden that is symmetrical, with clearly defined lines and very orderly.
And a English garden which would include the massive lawn areas which have cherry blossom trees surrounding them. Yes, the beloved Cherry Blossom trees are strewn throughout the park. There’s over 16 different varieties planted in Shinjuku Gyoen. I can only imagine what this park looks like in the Spring when it’s Cherry Blossom season and also in the Fall as the leaves change colors. It definitely must be a site to see!
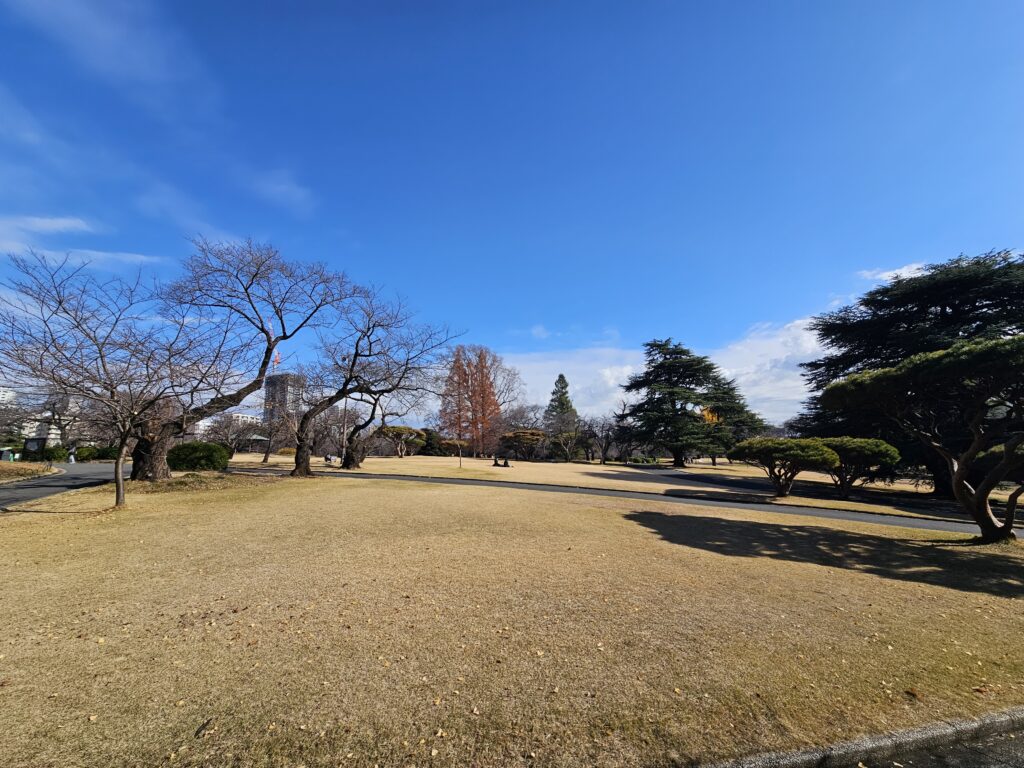
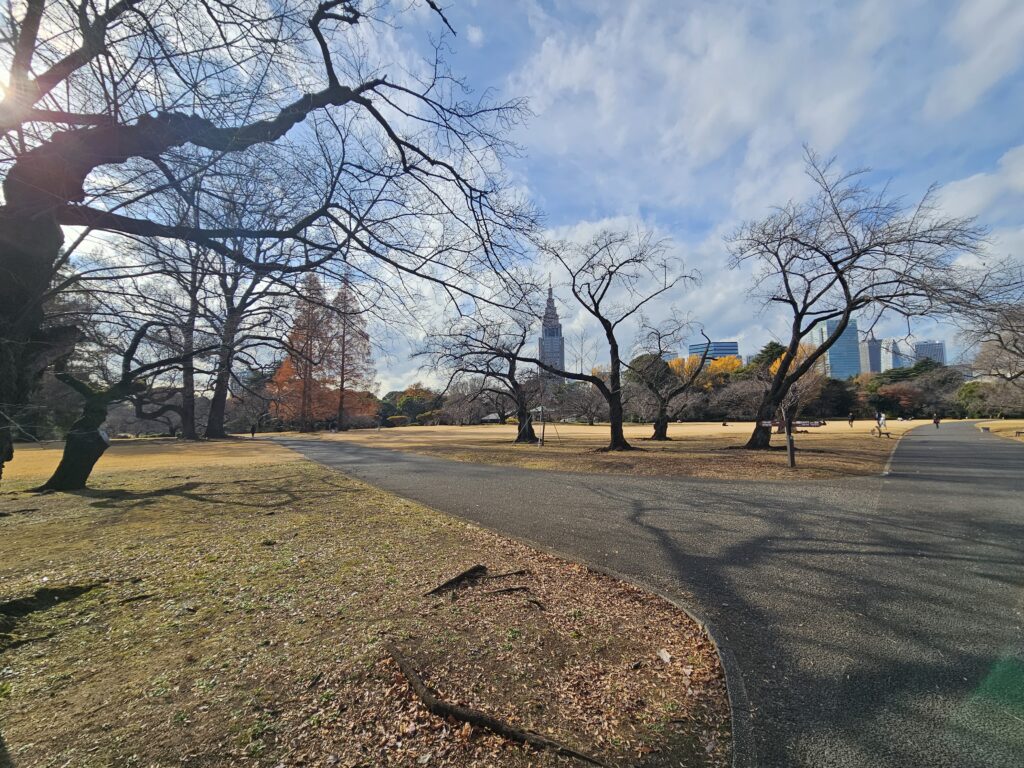
I came here in the middle of December so nothing was in bloom and the trees were barren. But I still loved it. Due to the season and visiting mid-week added to the charm since the park was not busy at all. It was very peaceful to walk with minimal crowds.
There’s a Starbucks in the park, along with a couple other tea houses and places to grab a snack. The Starbuck overlooks one of the traditional Japanese gardens with a great outdoor area with seating. It’s a great spot to grab a coffee, relax with a great, peaceful view, and soak in all the surroundings.
Ueno Park
Ueno Park is located in the Ueno District of Taito, Tokyo. It’s a large public park that was first established way back in 1873.
This is a bustling park which includes a number of different museums, including the Tokyo National Museum, the National Museum for Western Art, The Tokyo Metorpolitan Art Museum, and the National Science Museum. If you’re a fan of museums, this park is a must visit.
Not only is the park home to a number of museums, but it also includes the Ueno Zoo and a few temples and shrines.
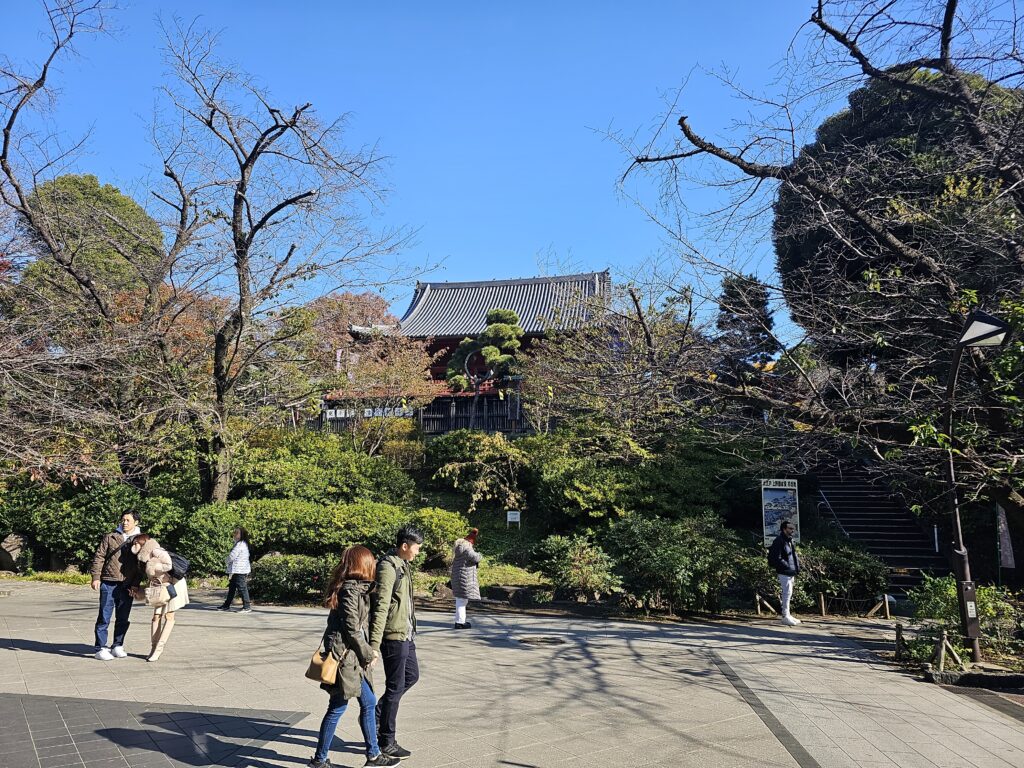
Shinobazu Pond is also found in Ueno Park. It’s a large pond that’s broken up into three different subdivisions: the boat pond, lotus pond, and cormorant pond (where all the ducks and local waterbirds are located).
The park is a very popular place to visit during cherry blossom season since there are over 1000 cherry trees lining the central pathway. You’ll have to use your imagination since I was here in December. But even during this month these particular trees looked amazing.
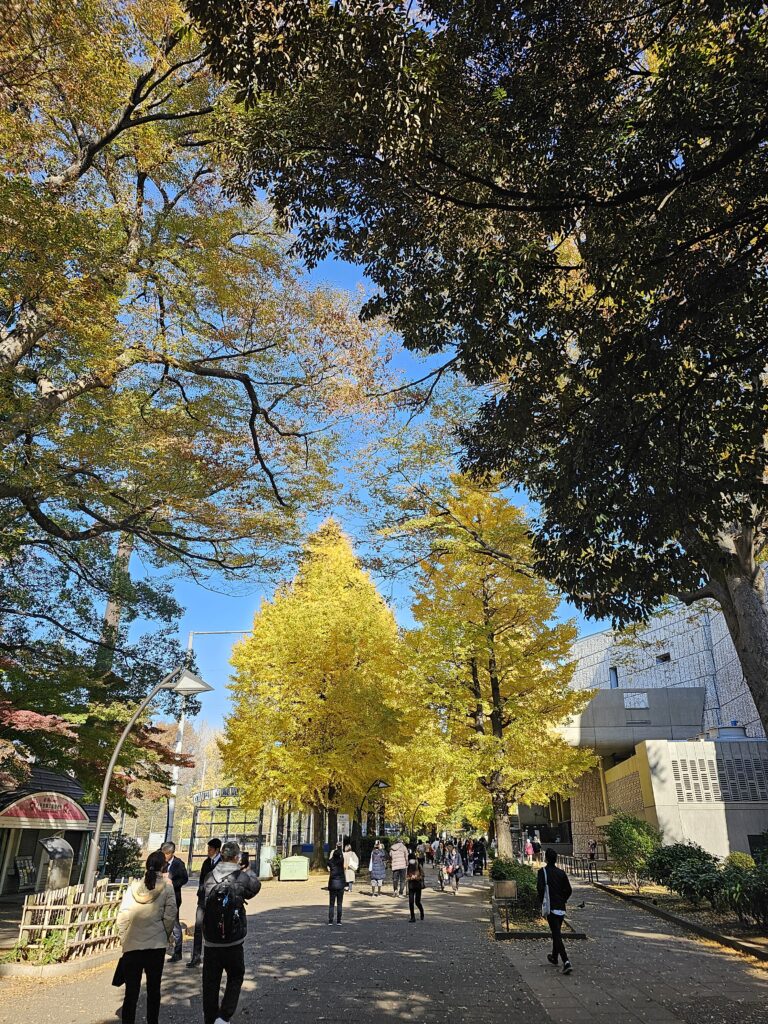
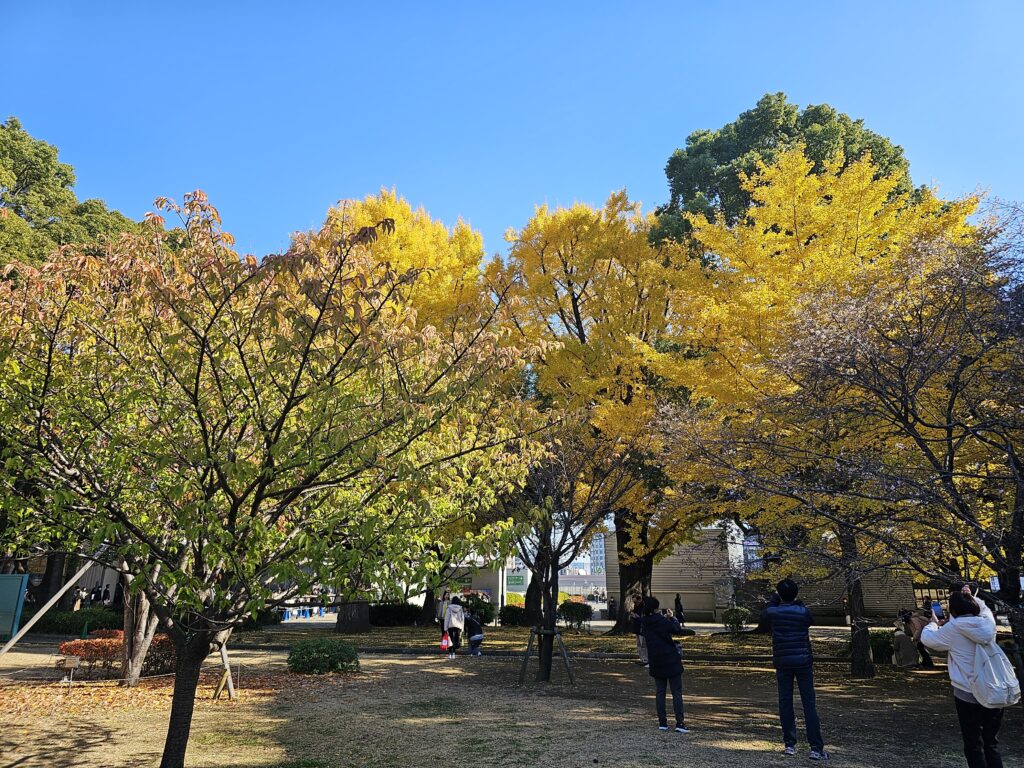
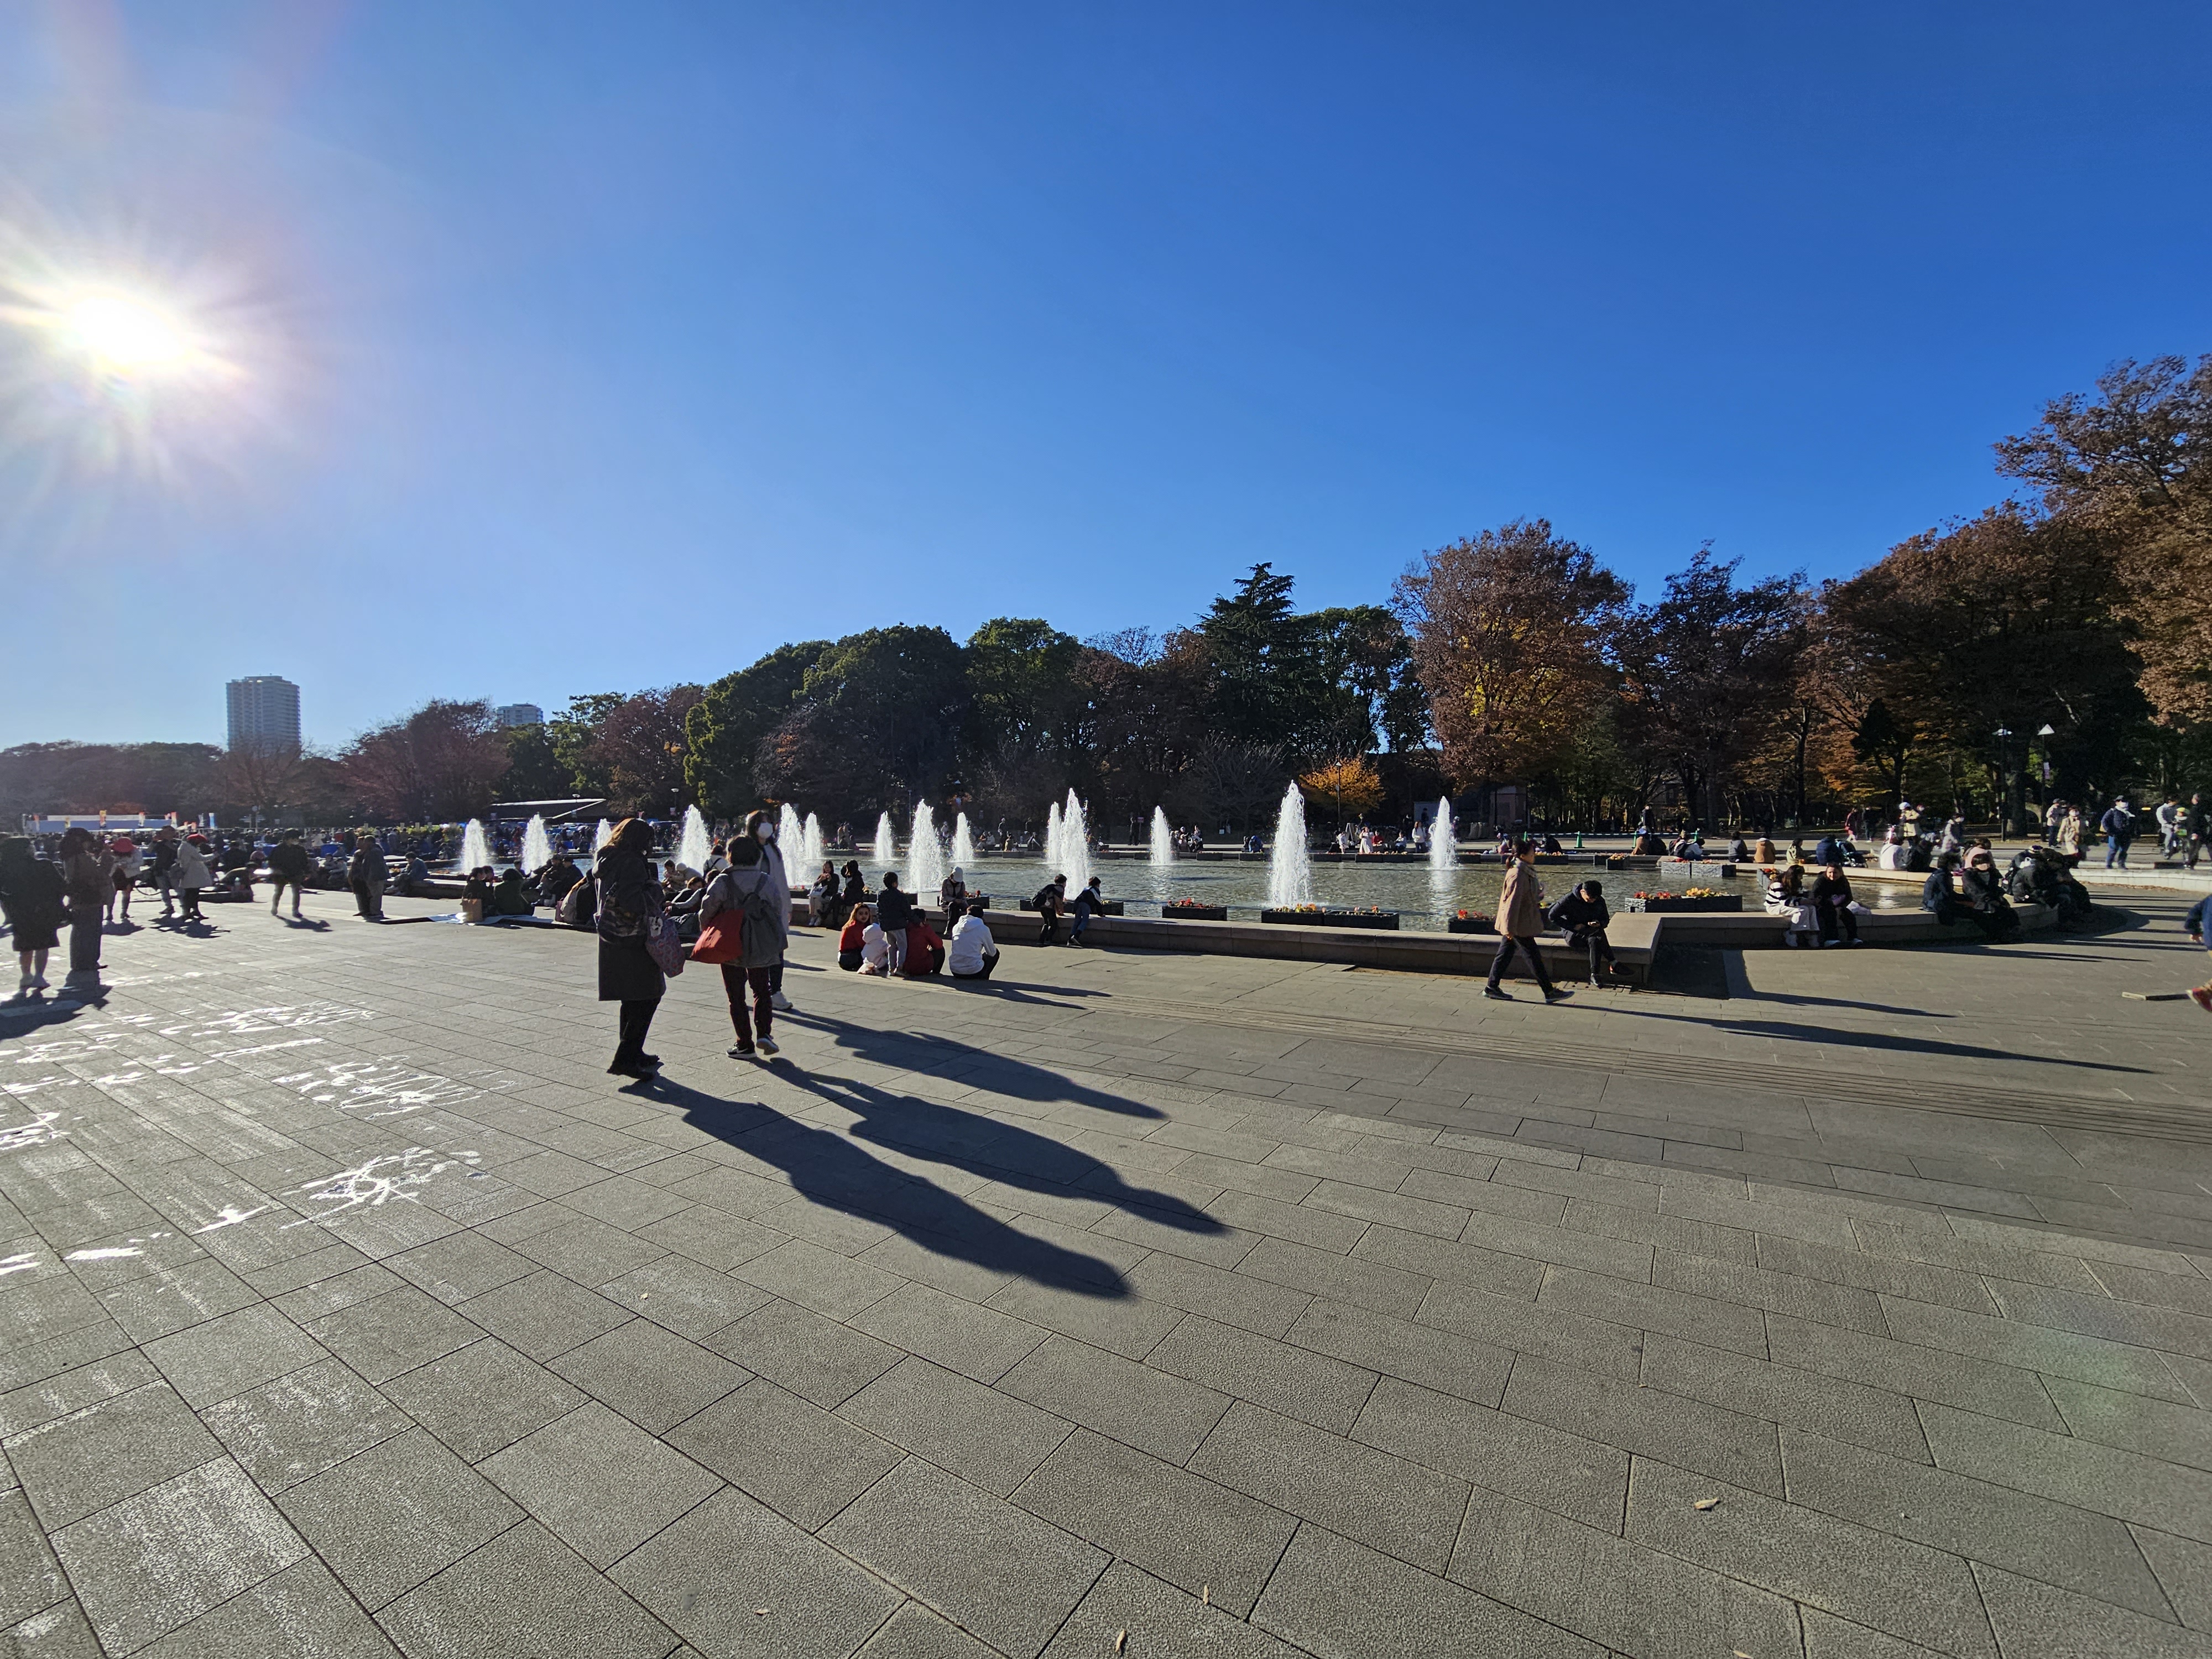
When I went on a Sunday there was a small concert going on and seemed like a koi fish market. The park was busy and people were just hanging out enjoying the nice weather and park. It was great! Overall there’s just A LOT going on at this park. It has a good energy and vibe to it and there’s something for everyone here to enjoy.
You can easily spend an entire day here. There’s just so much to see and do here, especially if you’re a big museum fan.
Meiji Jingu
This isn’t a park per se, it’s a very famous Shinto Shrine located in essentially a forest right in the middle of the bustling Harujuku District. One of the most popular Shinto Shrines in all of Japan, Meiji Jingu is most likely on your list to visit while in Tokyo already.
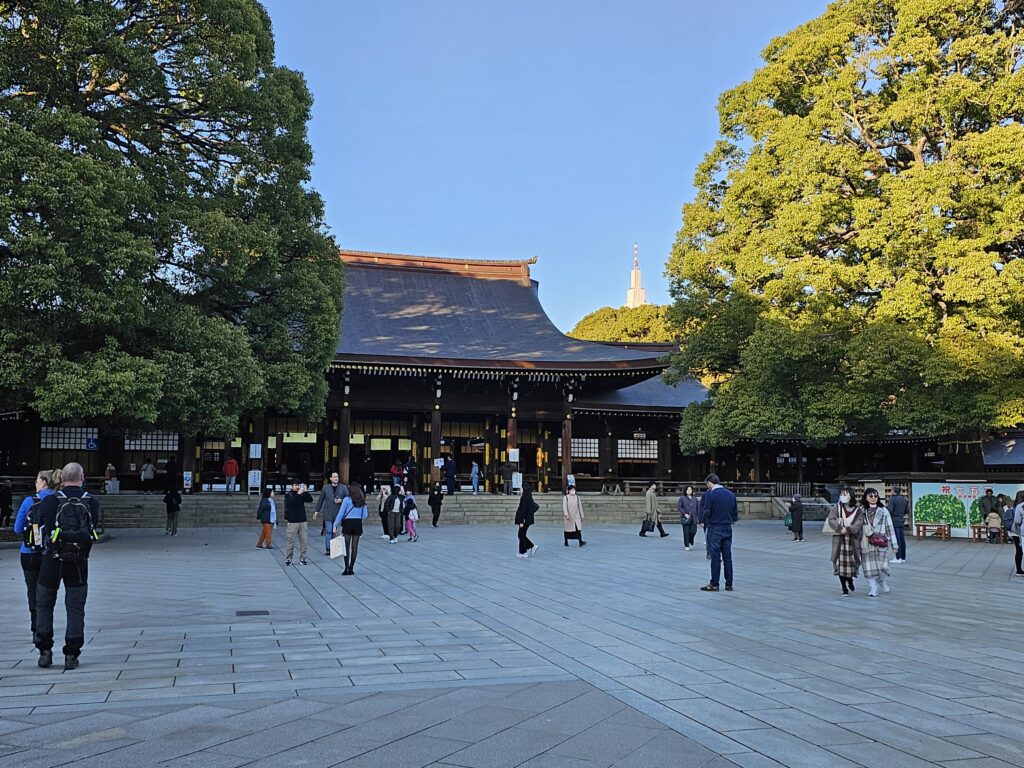
Over 100 years old, the orginal shrine was destroyed during World War II but was rebuilt in 1958. It’s a very impressive shrine and one of the most iconic in all of Japan.
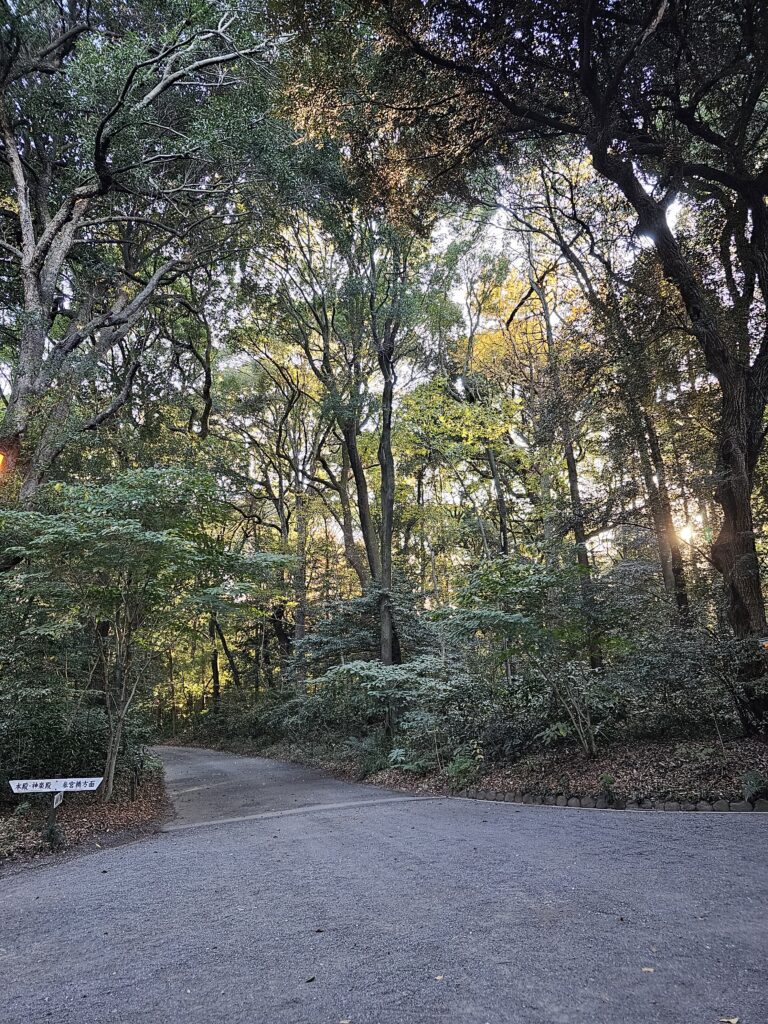
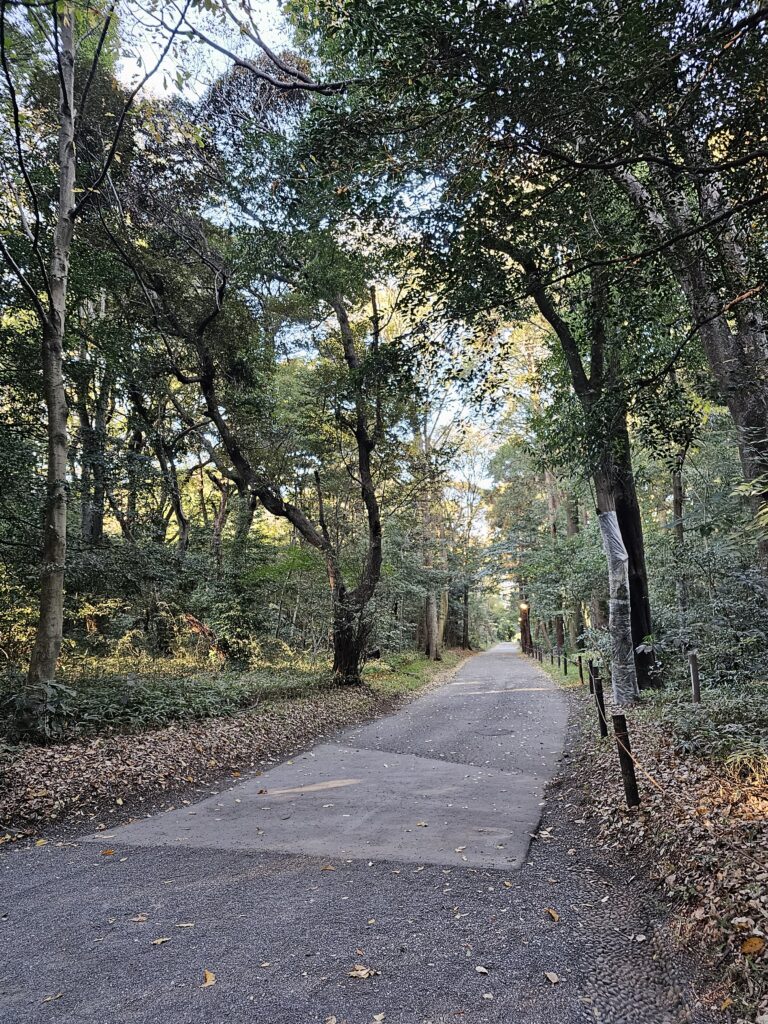
Walking through the massive torrii gate to gain entrance to the shrine grounds instantly transports you from the hustle and bustle of Tokyo to the tranquility of a massive forest.
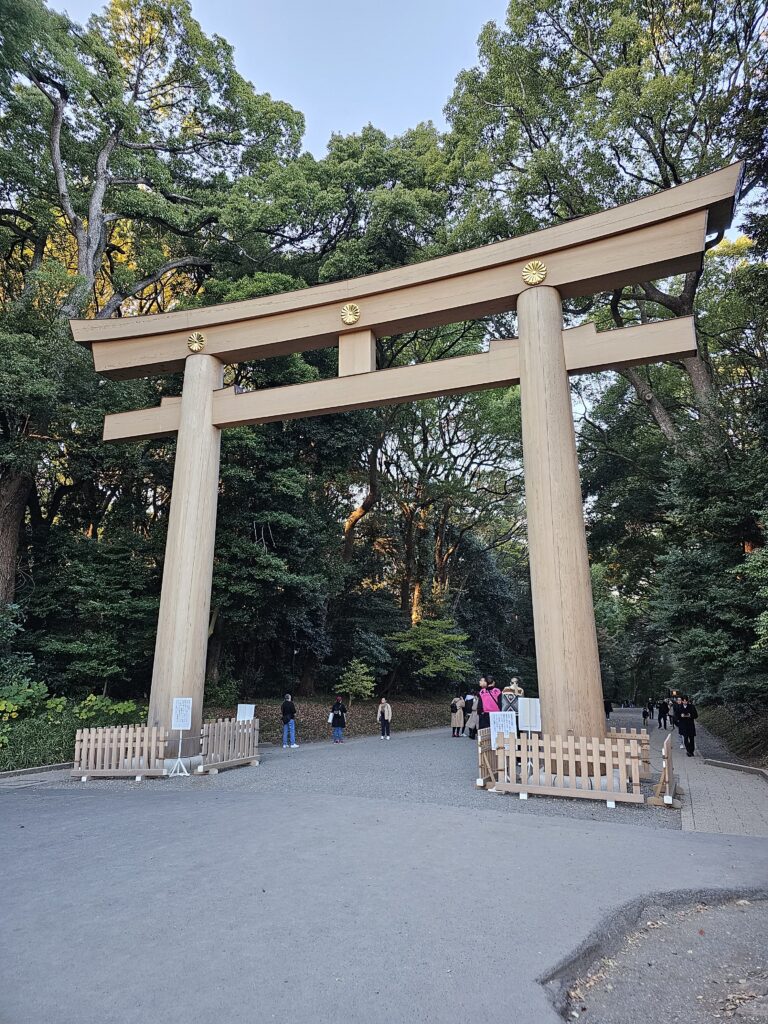
You can’t hear any city noises, can’t see any massive buildings protruding from the treeline, you’re quite literally in a forest…in the middle of Tokyo.
I’ve been here before but was more invested in the walk to the shrine and the shrine itself and didn’t quite take in the beauty of the overall surroundings. There’s over 100,000 trees that were donated from all over Japan that create this city forest. It’s a really amazing walk once you pass through the torri gate and the area in general is amazing, outside of the shrine.
There’s also pathways that stray from the main path to the shrine, so you can wander off as well. These other paths don’t have as many people either so it can be a quieter experience allowing you to further soak in the surroundings.
Yoyogi Park
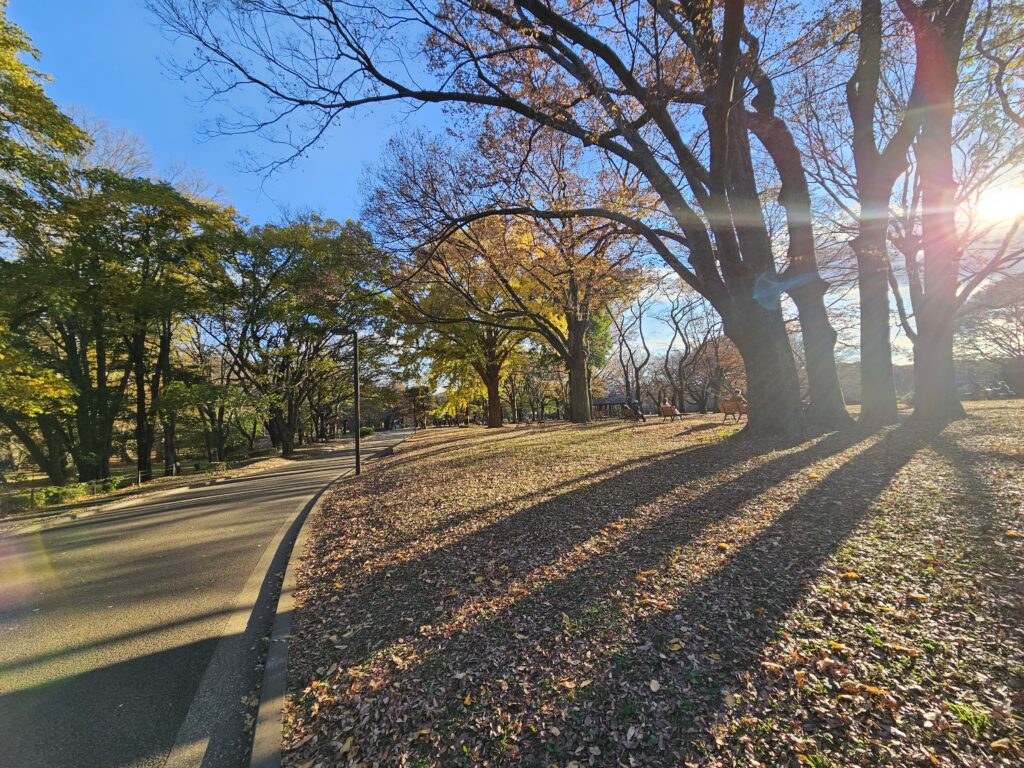
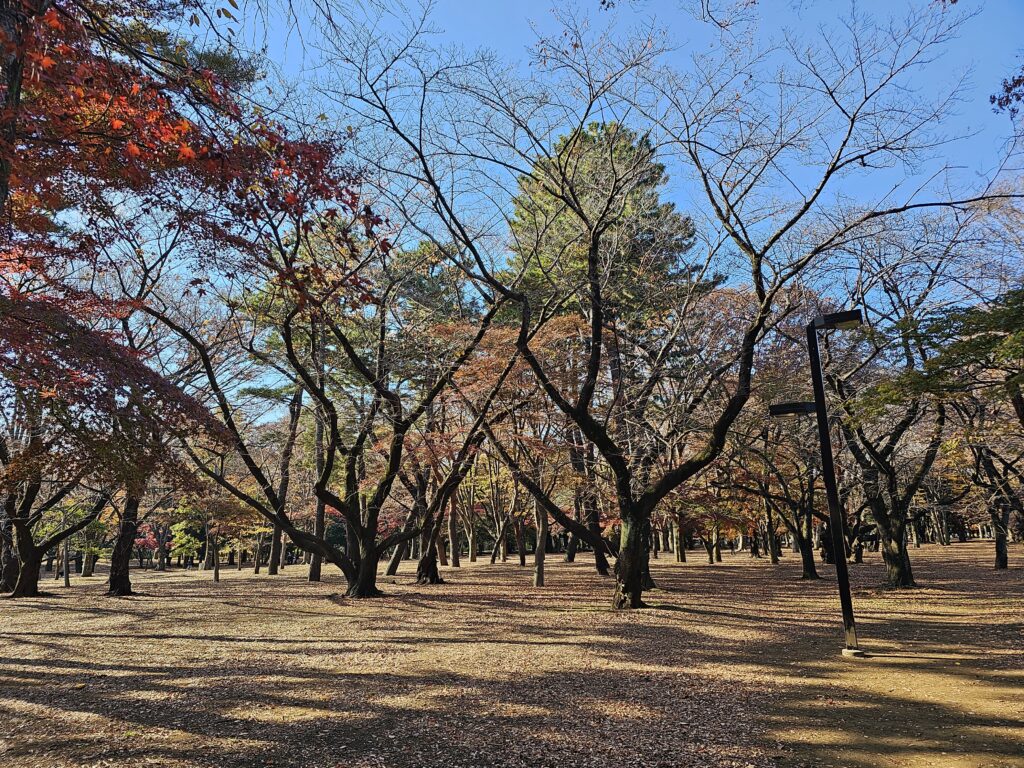
Yoyogi Park is a large spacious park located in Shibuya, right next to Meiji Jingu Shrine. After visiting Shibuya, I happened to walk through it on the way to Meiji.
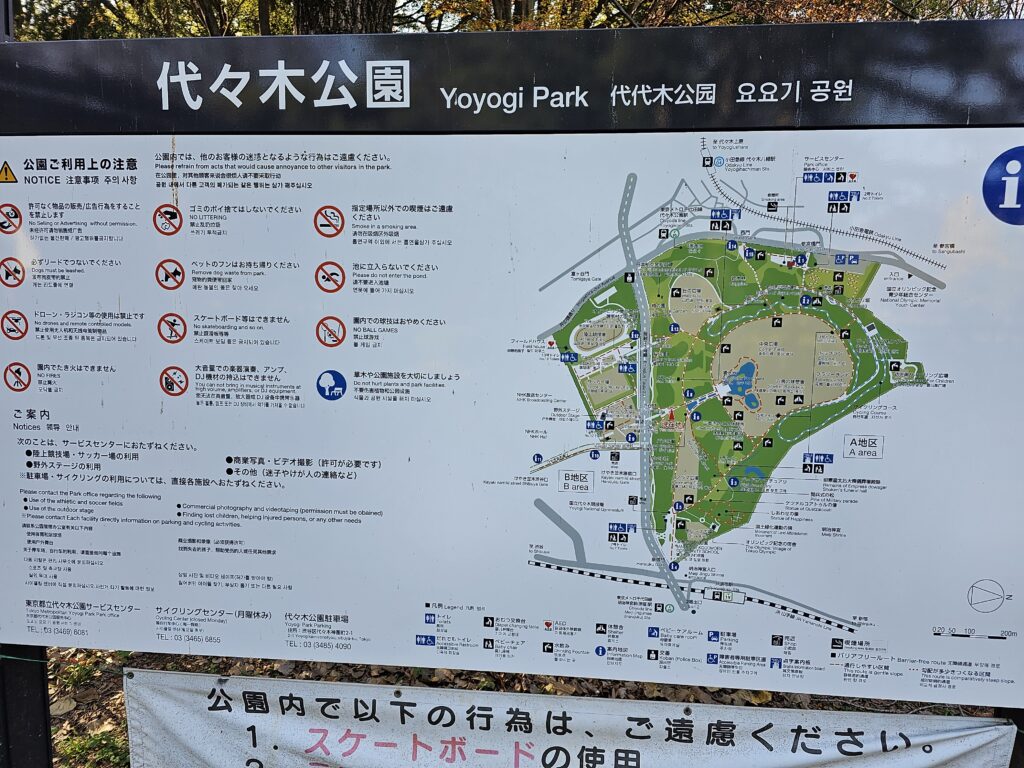
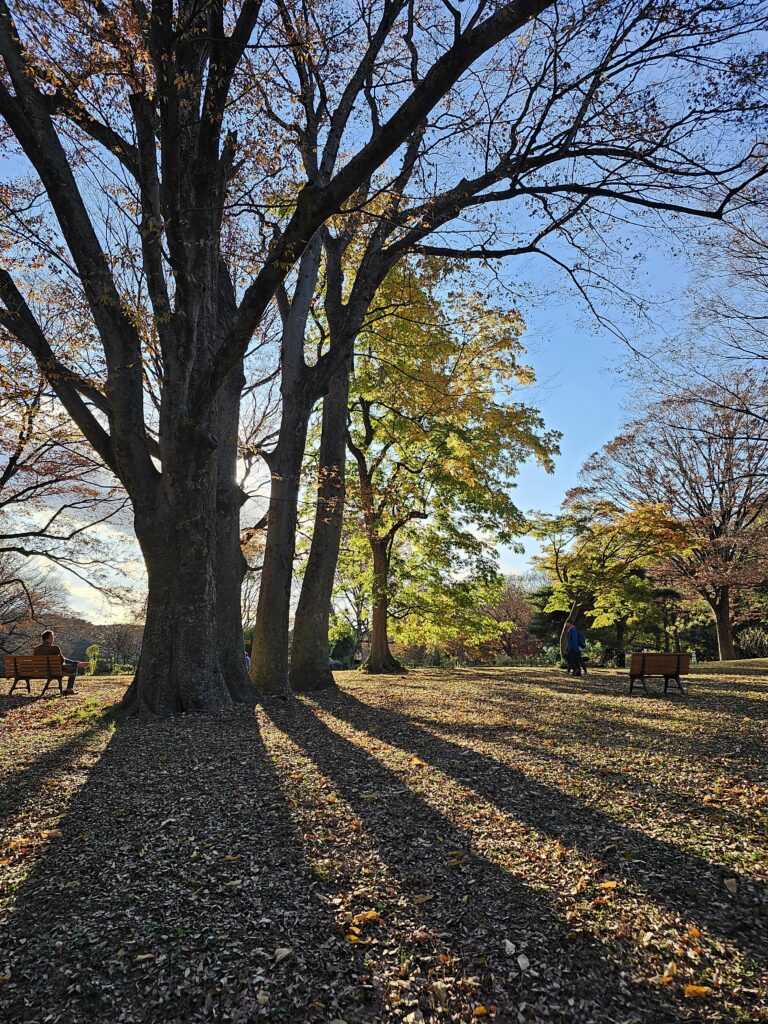
This doesn’t have any spectacular gardens or real standout features. It’s just a massive, pleasant park with huge lawn space, plenty of trees, a large pond, a big dog run, and plenty of space on the pathways for a nice jog or bike ride.
There’s a lot of benches located throughout the park where you can chill at and take a break after visiting Shibuya if you’re walking to Meiji Shrine. It’s a peaceful place.
Inokashira Park
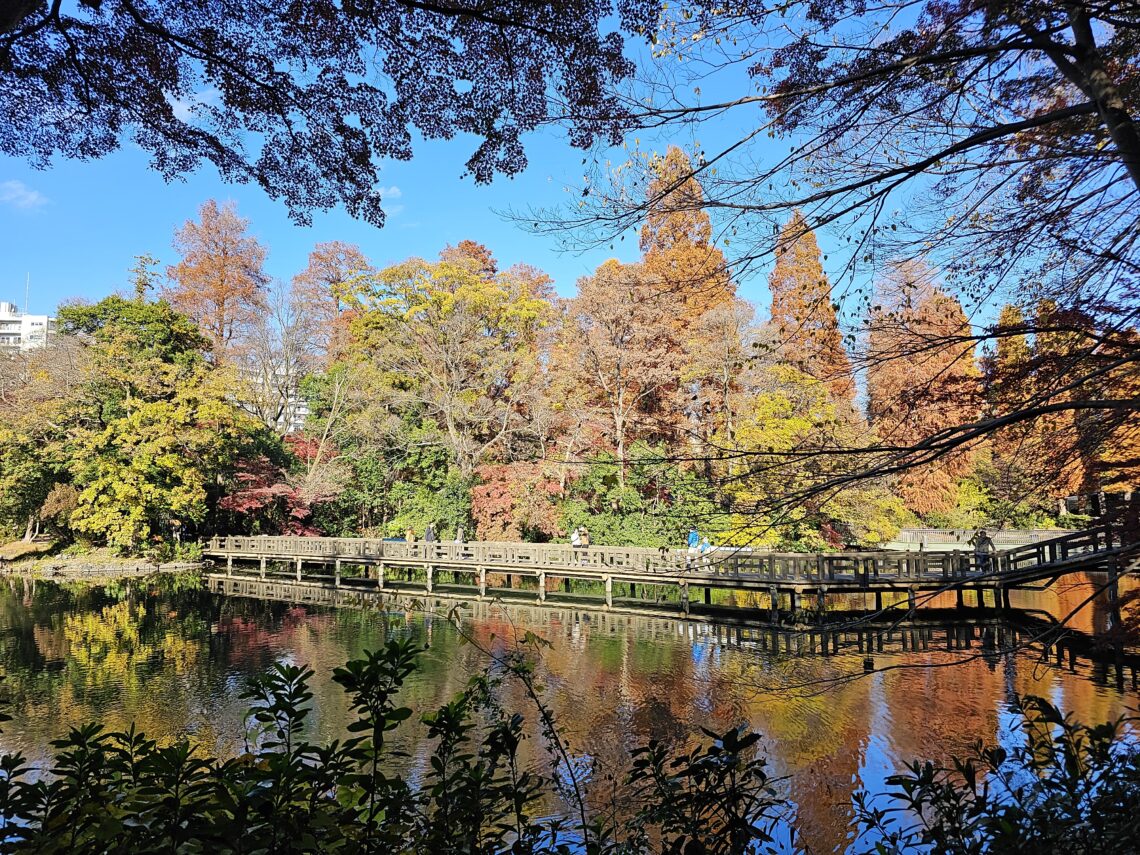
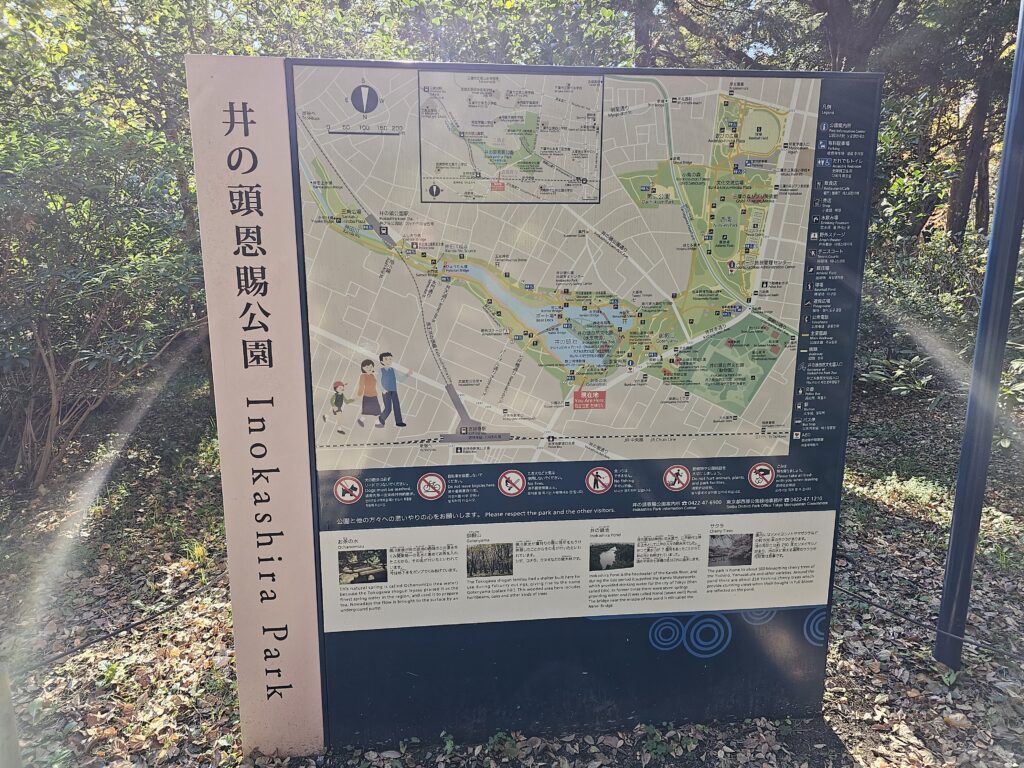
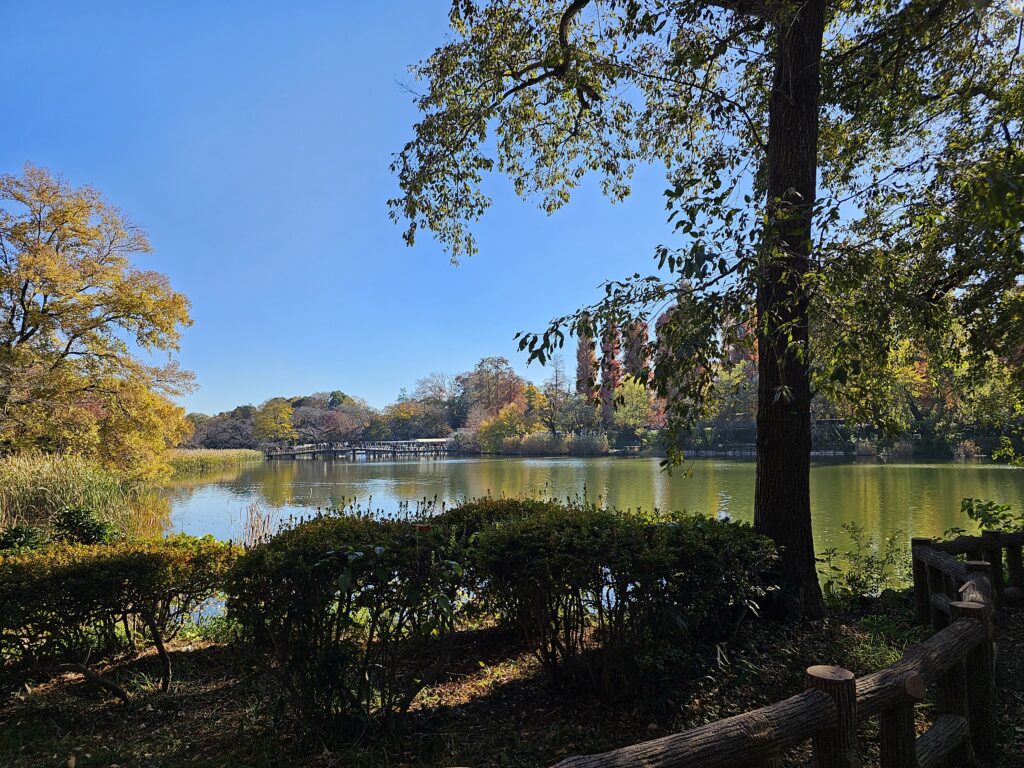
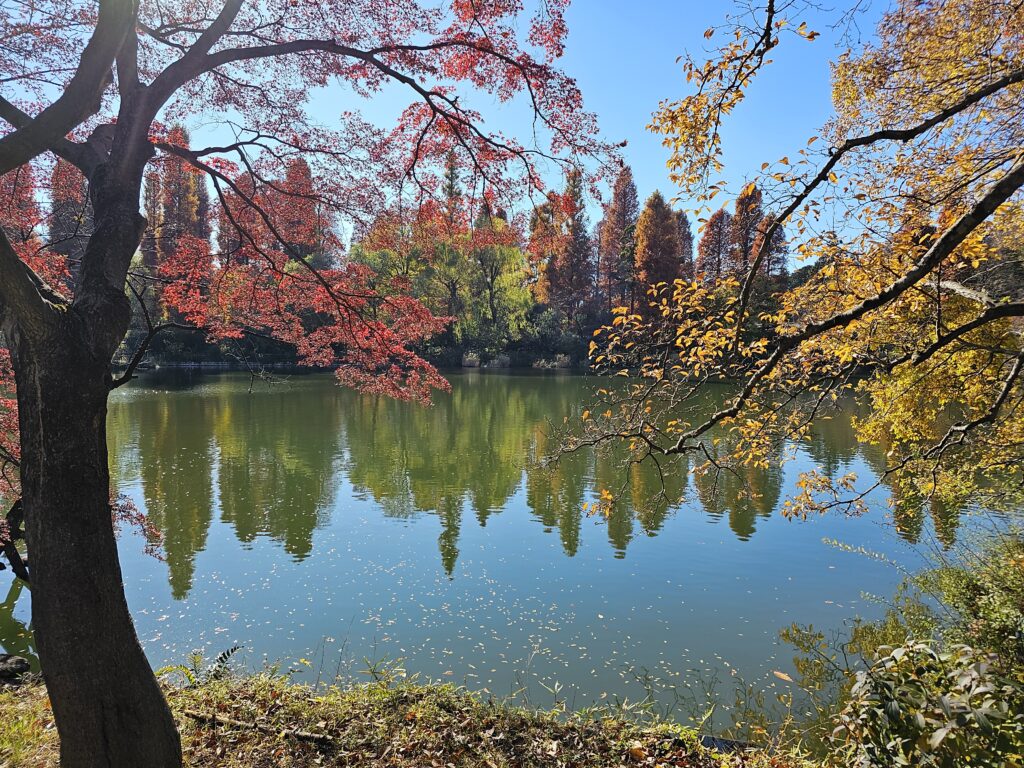
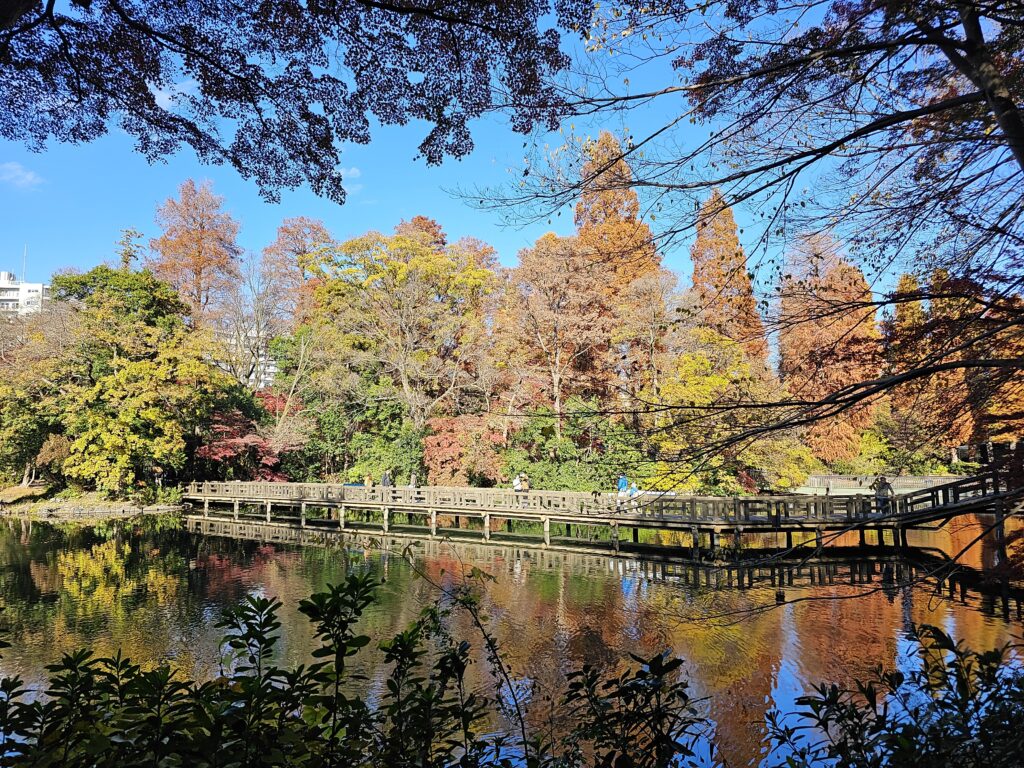
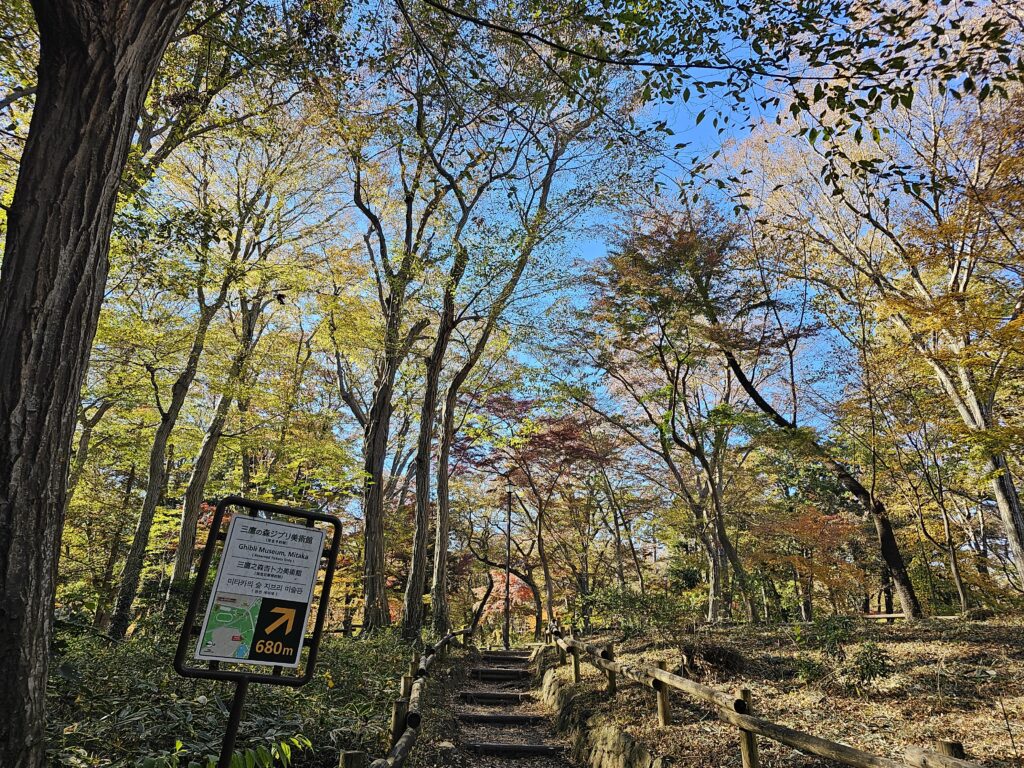
Inokashira Park is located in the Kichijoji district which is the western part of Tokyo. It’s home to a zoo and small aquarium and the popular Studio Ghibli museum as well. In the middle of the park the large Inokashira Pond, with bridges that cross over it. Rowing boats are available for rent as well.
The pond is the real centerpiece of the park. It’s massive. There’s plenty of pathways with benches around the pond where you can sit and just enjoy the surroundings. It’s a lively park on the weekend (I went on a Saturday), with a lot of people and families enjoying a nice stroll, jog, or taking their dog on a walk.
But you can also find areas that are more serene and quiet and you can just chill.
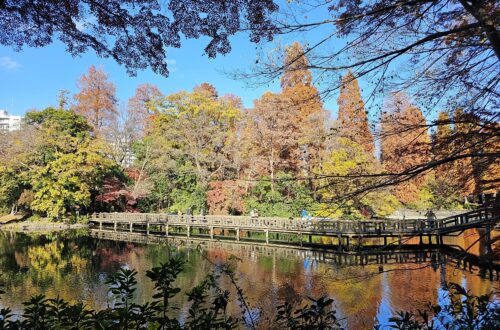
Even during December the ambience was quite nice and the trees full of color. Like all of these parks, I can only imagine what Fall and Spring must look like here. It must be amazing!
-
Is Odaiba, Tokyo Worth Visiting?
Odaiba is an interesting district since it’s a man-made island in Tokyo Bay. Originially built as a defensive fortress to Tokyo against possible sea attacks back in 1603-1868, it has now evolved into a large enterntainment area. There’s an abundance of shopping in the area with large malls, most notably Diver City Plaza, which has ample restaurants as well. Also, of note, the National Museum of Emerging Science and Innovation is located in Odaiba as well.
The Odaiba station is about a 15-20 min metro ride from teamLab Planets. From Shinjuku Station it would be over an hour. The station is located right next to Diver City Plaza and the below attractions which makes it a very convenient location.
Three of the biggest attractions in the area are listed below.
Rainbow Bridge
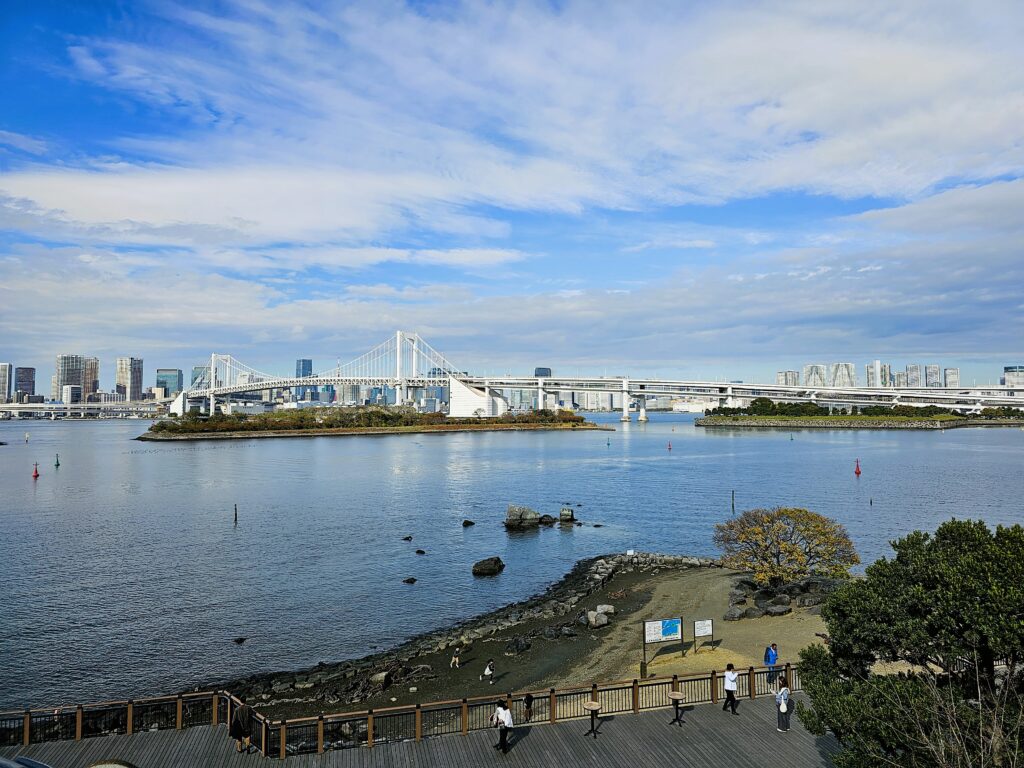
Rainbow Bridge is a two-story bridge which connects Odaiba to Tokyo. It lights up at night and is supposed to be quite the sight. There’s an area in Odaiba with a great platform walkway around the area which is nice to be able to walk around to take in the sights. The view of the bay and the bridge here is spectacular. I imagine at night this view would be even better. The walkway leads down to the bay as well and there’s a paved path to stroll around.
Rainbow Bridge Replica Statue of Liberty
Located in front of the Rainbow Bridge is a replica of the Statue of Liberty. Originally placed here to celebrate Japan’s ties with France back in 1998, the statue proved to be quite popular. In a sign of goodwill, France gifted Japan a replica of the statue in 1999 where it has remained since. The statue stands 40′ tall, about 1/7th the size of the Statue of Liberty in New York.
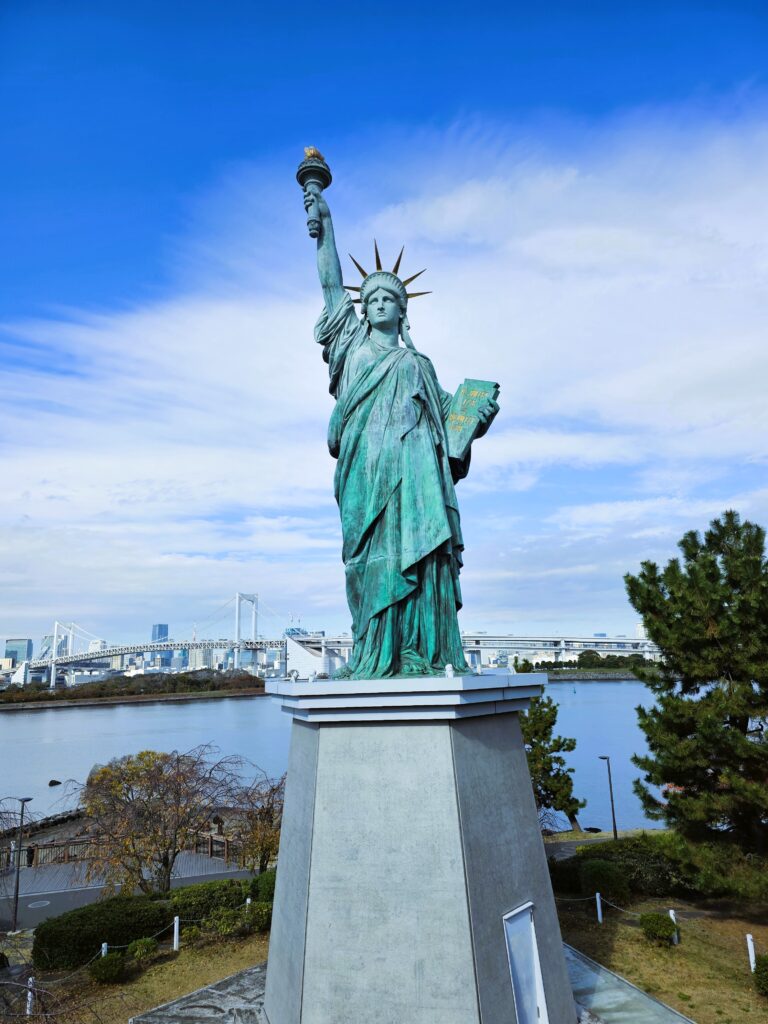
Replica Statue of Liberty Unicorn Gundam Statue
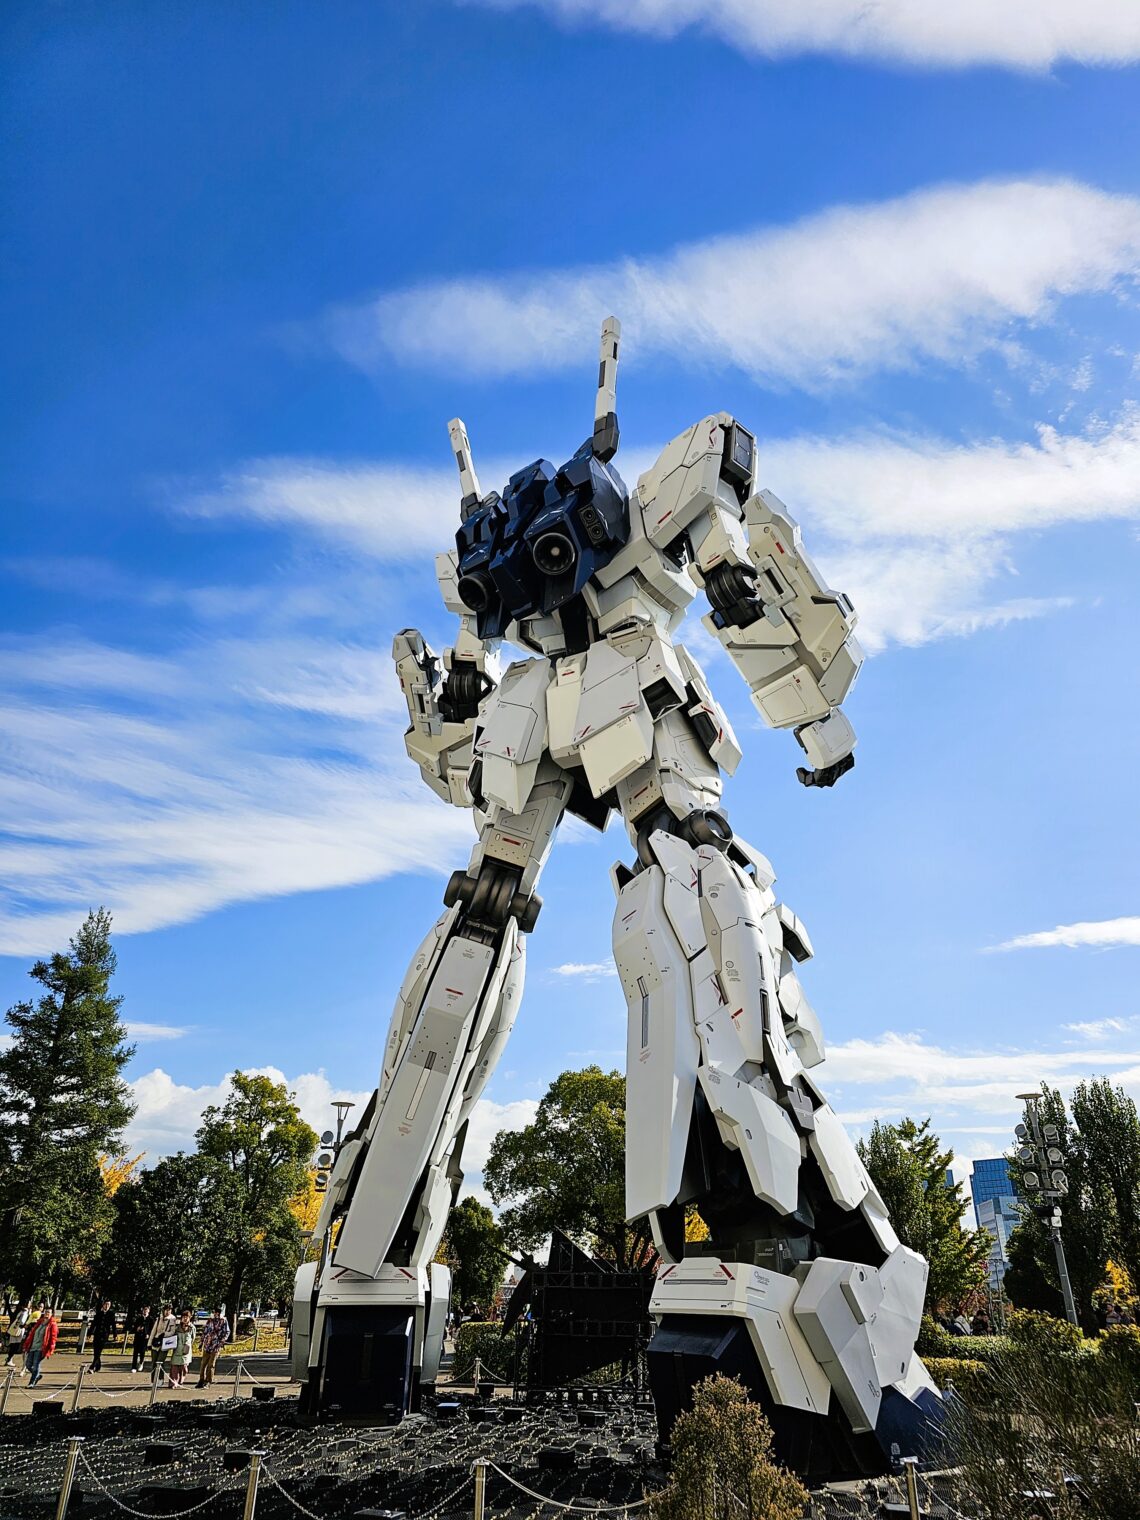
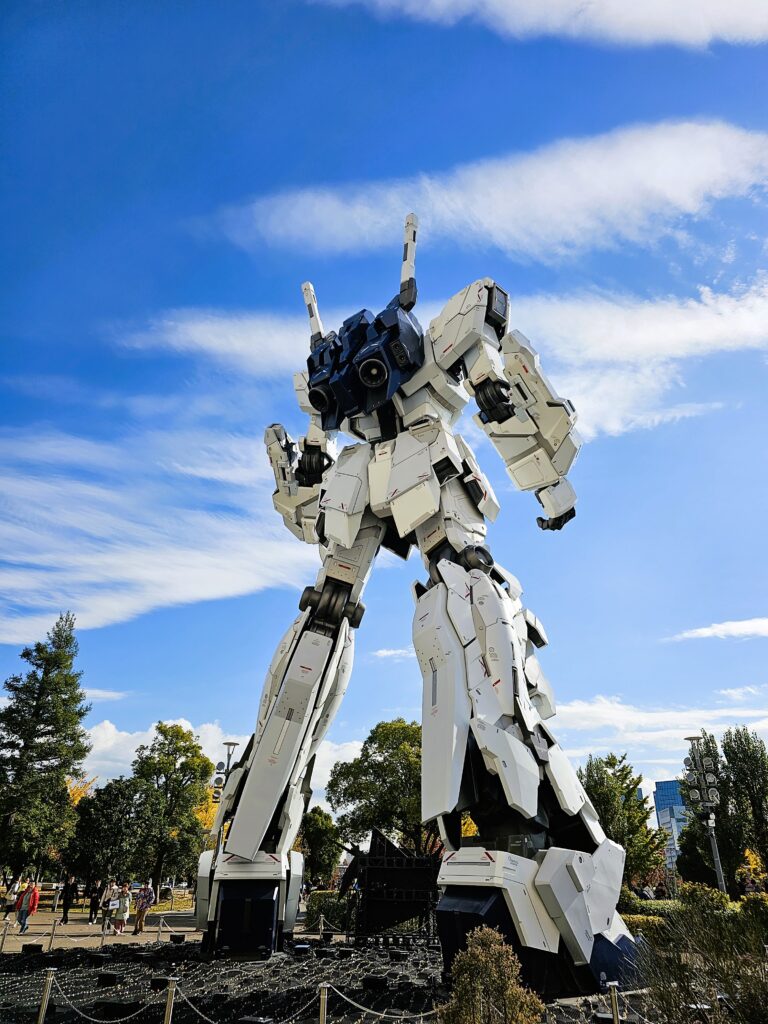
In my opinion, the coolest attraction in Odaiba is the “life-sized” Unicorn Gundam statue standing 19.7 meters tall. This is a full-scale statue of the RX-0 Unicorn Gundam.
The statue itself is very impressive. Even without any knowledge of the series, I was still blown away. The level of detail on the statue is really amazing. If giant robots really existed, surely this is what they would look like!
Nine times a day the statue goes into “destroy” mode and its frame expands and glows pink. This includes an accompanying light and sound show as well!
The schedule is listed below.
Daytime show: 4 times/day: At 11 am, 1 pm, 3 pm, 5 pm
Nighttime show: 5 times/day: At 5.30 pm, 8 pm, 8.30 pm, 9 pm, and 9.30 pm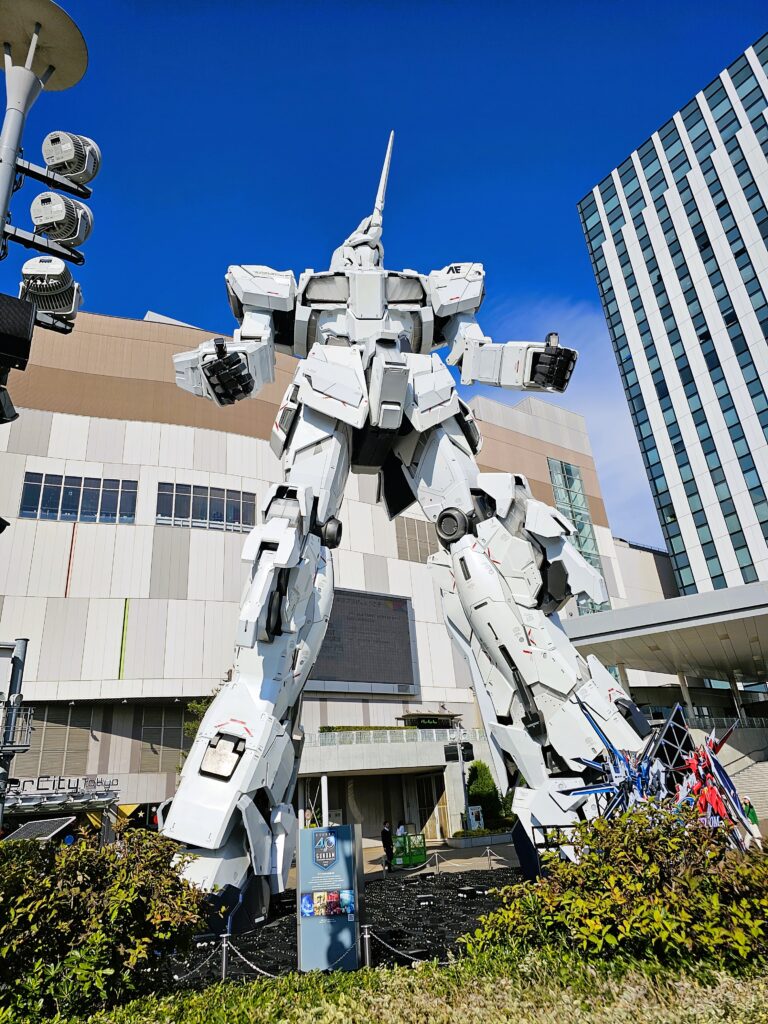
So…Is Odaiba Worth Visiting?
If you’re a Gundam fan or just someone that’s into nerdy stuff like giant robots (like myself) than yes! It will be worth it. The Gundam statue is captivating. You can truly admire and appreciate the level of detail that was put into it. I missed the transformation to “destroy” mode but it’s certainly something I’d love to see in the future.
If you’re in the area due to having visited teamLab Planets, have somewhat of an interest in seeing the Gundam statue, than it’s worth the short trip to visit.
The walk way around the replica Statue of Liberty and view of Rainbow Bridge is great, but I wouldn’t come here just to see those attractions. They aren’t worth the trip solely to see, in my opinion.
The shopping as well, namely Diver City Plaza, wouldn’t move the needle for me. There’s a ton of other massive malls in Tokyo that aren’t quite so far away from Central Tokyo.
So bottom line is if you’re not a fan of Gundam or giant robots, than I wouldn’t make the trip out to Odaiba. Although it’s a cool area, it’s a little ways out of the way. If you only have a few days in Tokyo to explore, it most likely is not worth your time.
-
When NOT To Trust Google Maps In Japan
When traveling most anywhere in the world, nothing is more useful than Google Maps. The ability to provide directions in a totally foreign environment cannot be understated! It’s something we take for granted in this day and age but Google Maps is a lifeline when traveling. I cannot imagine trying to get around without it. That’s also including domestically!
In a country like Japan with its vast infrastructure, which you’ll no doubt be using quite often, Google Maps in Japan is a true lifesaver. With it listing all the different subway lines, the platform the subway line will be on, when to get off and transfer to another line, what exit to use, it’s all extremely, extremely useful.
99% of the time you can mindlessly follow the directions and not even really think twice about it. There are certain occasions where, if you aren’t paying attention, can lead to some delays or confusion while using the subways.
I ran into this a couple times while traveling in Japan. I thought I’d write something to help others out who may be traveling to Japan.
When Google Maps Can Get Confusing
Example #1
One example is below from Tokyo:
This was my route when I was on the way to the airport to fly home:
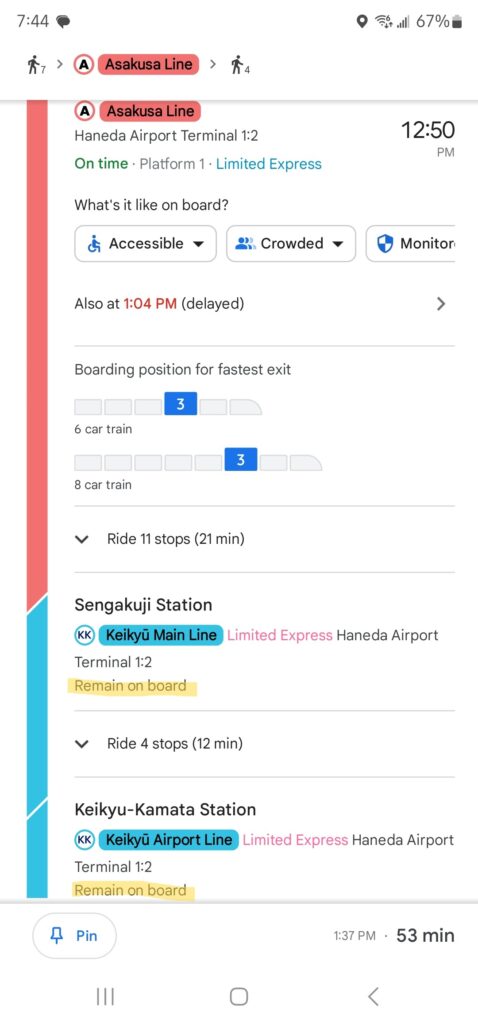
It seems pretty straight forward. Only one line is listed – the Asakusa Line. BUT the confusion lies (at least for myself) with the highlighted “Remain on board”.
The overall directions tell you to stay on board when you get to Sengakuji Station. But it also lists the Keikyu Main Line.
The overall directions don’t list this, stating only the use of the Asakusa Line. Does the Asakusa line turn into the Keikyu Main Line? Do you need to exit the subway and get on another platform to catch the Keikyu Main Line?
Fortunately, this was the tail end of the trip for me. At this point I was always on alert when Google Maps said to “Remain on board”, which I’ll explain below.
The Japan subways do an excellent job of making announcements calling out what lines you can transfer to as you approach each station. They also make announcements in English.
If you aren’t paying attention, or are just staring at Google Maps, it’s pretty easy to miss these call outs though.
Fortunately from past experience, I was definitely paying attention on this trip and was able to hear that the Keikyu Main Line was indeed a totally separate line which required me to leave the Asakusa line. The same for the Keikyu Airport line. This was a separate line than the Keikyu Main Line.
If I hadn’t been paying attention I would have stayed on the Asakusa line and then figured out I was supposed to transfer to those other lines after a few more stops. I would have had to back track and get back on course.
That’s a pain in the butt and time consuming. Especially with me needing to catch a flight.
Example #2
For this example I don’t have a screen shot of the directions. However, this happened in Osaka on the Osaka Loop Line, which JR West operates. It runs in both a clockwise and counter clockwise loop and hits 19 stations. It’s a very useful line to use while in Osaka.
Similar to my previous example, Google Maps told me to take the Osaka Loop Line and to stay on board at a certain station. Unlike the first example there were no other subway lines listed at all. It appeared that I should remain on board when the train stopped. This time I wasn’t paying attention to the announcement at all figuring that after this stop the train would continue on its clockwise journey.
This wasn’t the case. After sitting on board for about five minutes the train departed…but in the direction it had come from.
It was an easy correction. I got off at the first stop and refreshed Google Maps and re-boarded the correct line. There were a few other tourists on board who most likely were using Google Maps as well who did the same thing I did.
Takeaways
- If you see a totally different subway line listed on the Google directions and it’s telling you to “stay on board”, than really pay attention to the announcements. Like I mentioned, there will be an announcement made prior to every station stop about what lines you can transfer to at what station.
- If you missed the announcement (sometimes it can be noisy and you might not hear or may not have been paying attention) you can always get off at the station in question to get your bearings.
- New subway trains come by quite frequently and you can always hop on and off to figure things out.
- The lesson from Example #2 is if the train stops for an abnormal amount of time, most if not everyone gets off board, then you should most likely double check / refresh Google Maps or exit the train entirely and make sure the directions are correct.
- Also, don’t be afraid to ask! People in Japan are incredibly friendly and helpful and will likely help point you in the right direction.
The Japan subways are really amazing and incredibly helpful to shuttle you around the city. They can be overwhelming initially but in due time you grow accustomed to them and gain a better understanding of what Google Maps in Japan is telling you. You got this!
-
teamLab Planets Is A Must See Attraction In Tokyo
What Exactly Is teamLab Planets?
There’s a LOT to see and explore within Tokyo. Without a doubt it will be difficult to fit everything in on your first visit. However, one attraction I HIGHLY recommend working in to any trip to Tokyo is teamLab Planets.
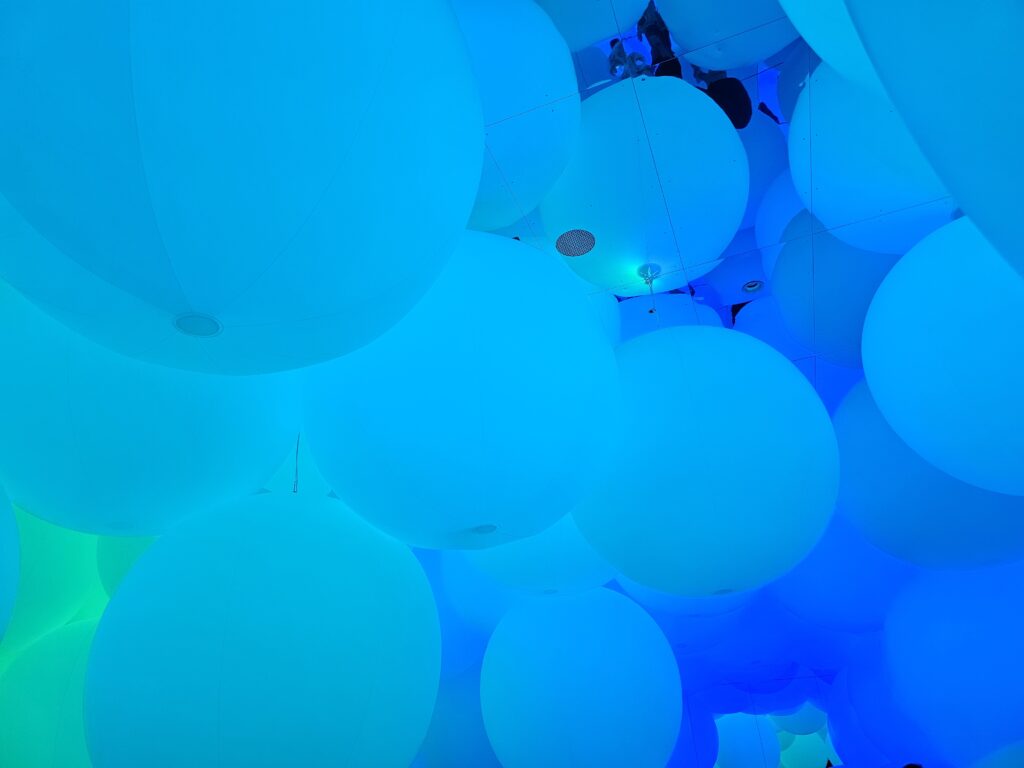
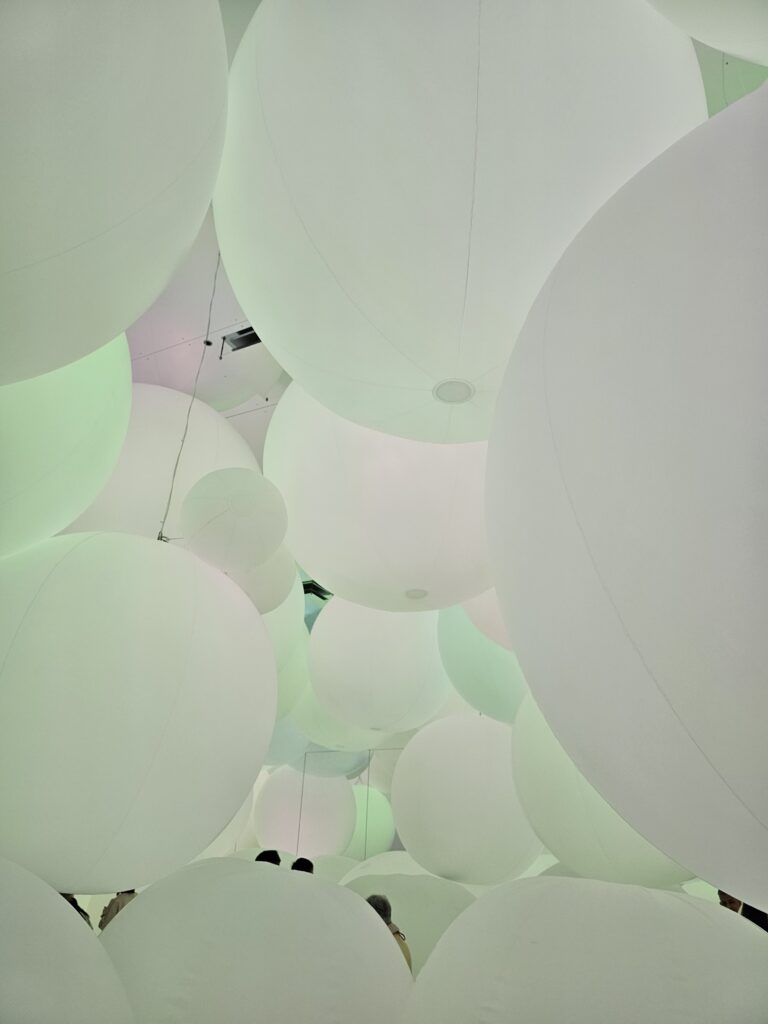
teamLab Planets is a digital art museum located in the Toyosu district that includes nine highly immersive exhibits that are a sensory delight.
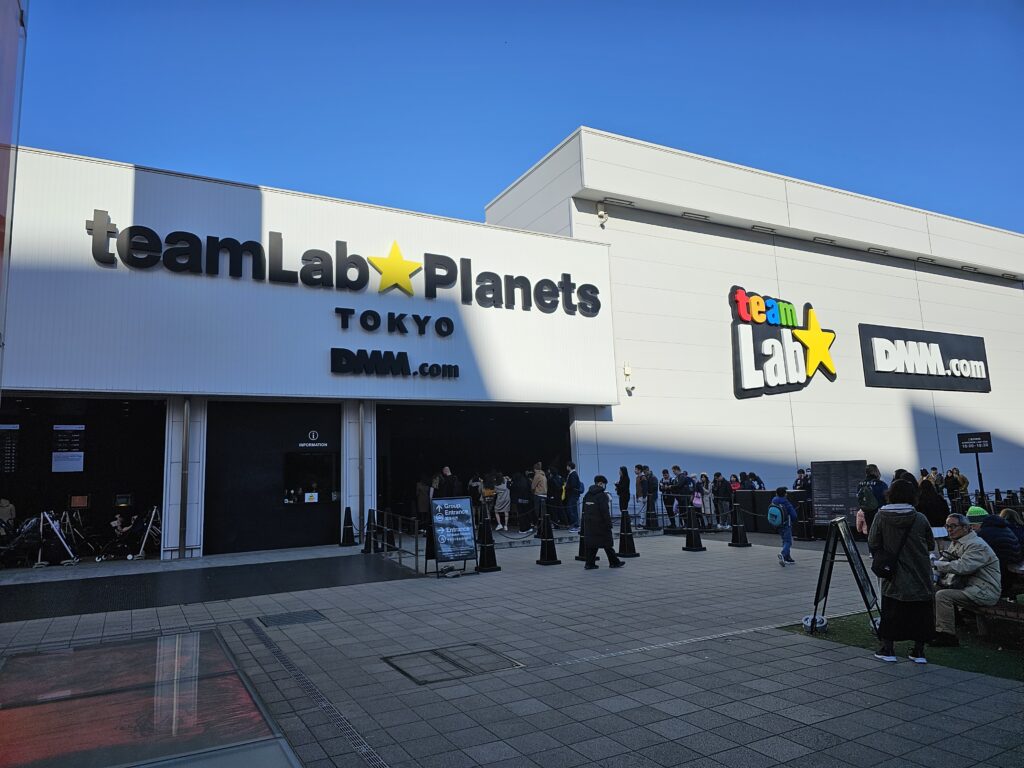
You’ve most likely seen pictures of it on IG. This place was destined to be an Instagram darling. But nothing can quite prepare you for seeing it and experiencing it yourself. It truly is a mesmorizing experience, regardless of age.
What To Know Prior To Going
You can either be purchase tickets online or use onsite vending machines. I’d advise to purchase ahead of time, to be able to select an available time of your choosing. Time slots, generally in the morning, can sell out.
The good thing is the museum is open from 9:00 – 22:00 and tickets are sold in 30 minute intervals. So there’s plenty of timeframes available. That’s quite late for a museum which works out well since
Below, you will find the listed pricing. Prices do get slightly more expensive on the weekend, so that’s something to consider if planning on going.
Adults (18 and over) 3,800 Yen / $26.23 USD (4,200 Yen / $28.99 on wknds) Junior High School / High School 2,300 Yen /$15.88 (2,800 Yen /$19.33) Children (4-12) 1,300 Yen / $8.97 (1,500 Yen / $10.35) Under 3 Free Disability Discount 1,900 Yen / $13.12 (2,100 Yen /$14.50) - You will be walking barefoot through this art museum. When first entering the museum, they will usher you to a large locker room where you can store your shoes and belongings.
- There will be certain areas where there’s shin / knee deep water so you’ll want to either wear shorts or pants that you can roll up to your knees. They do supply shorts, if needed, for free and there’s a changing room.
The Experience
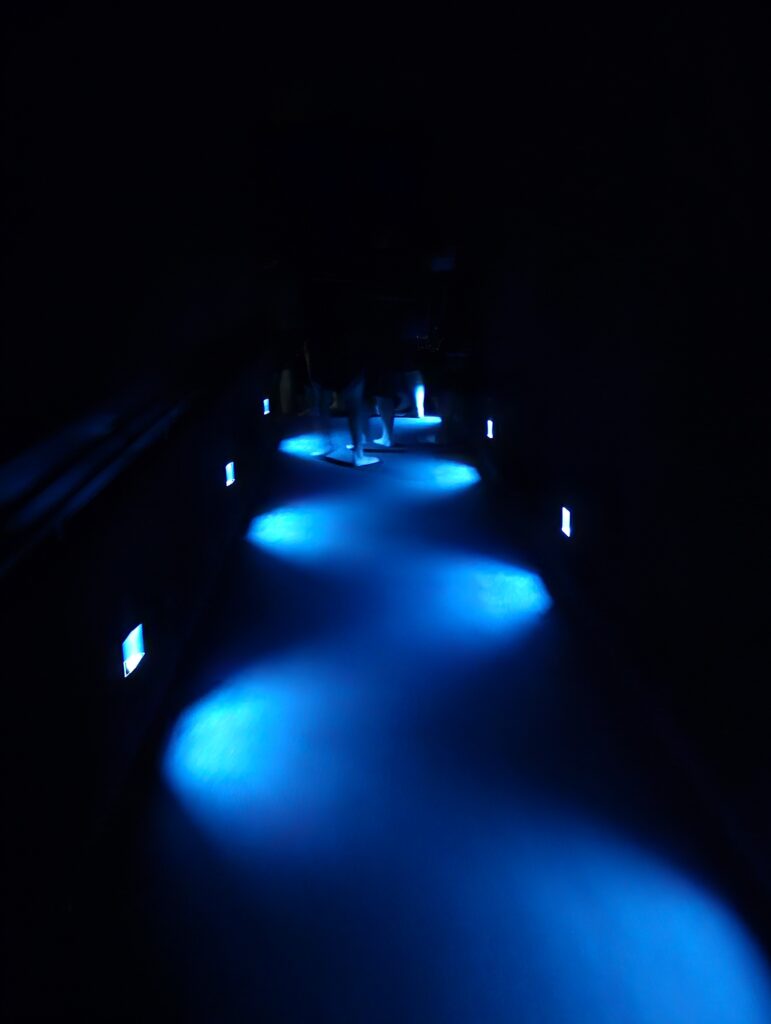
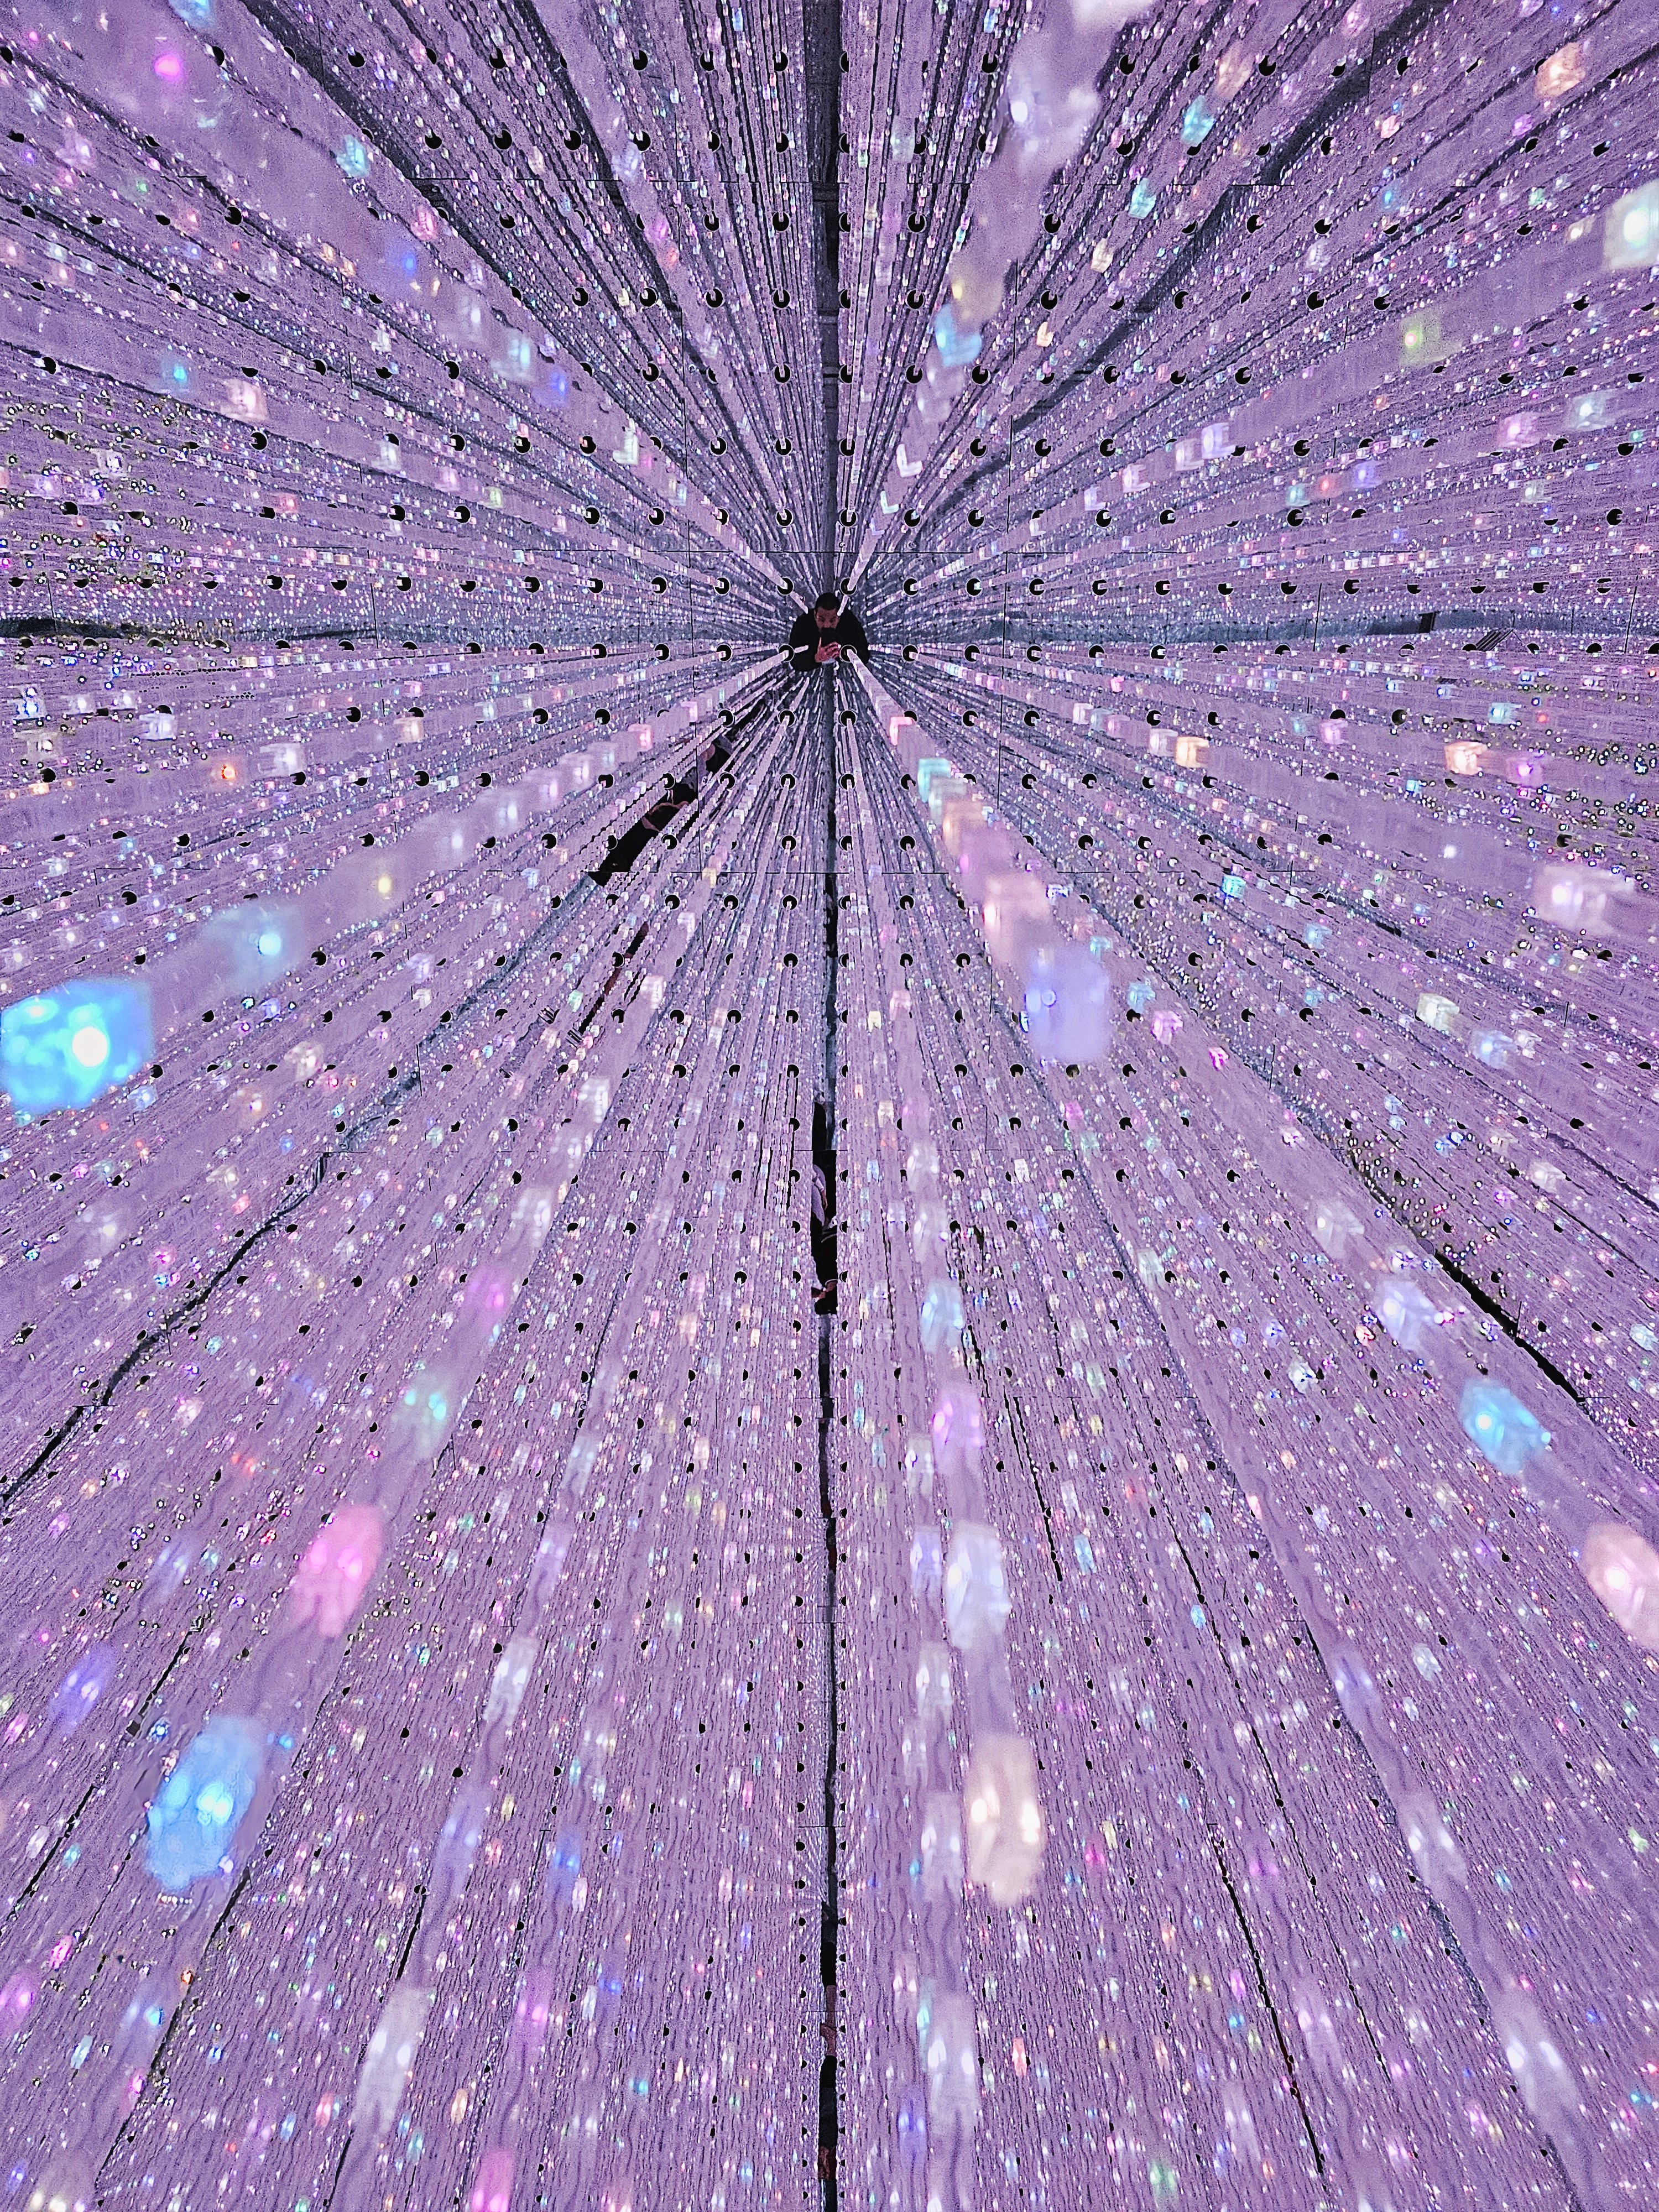
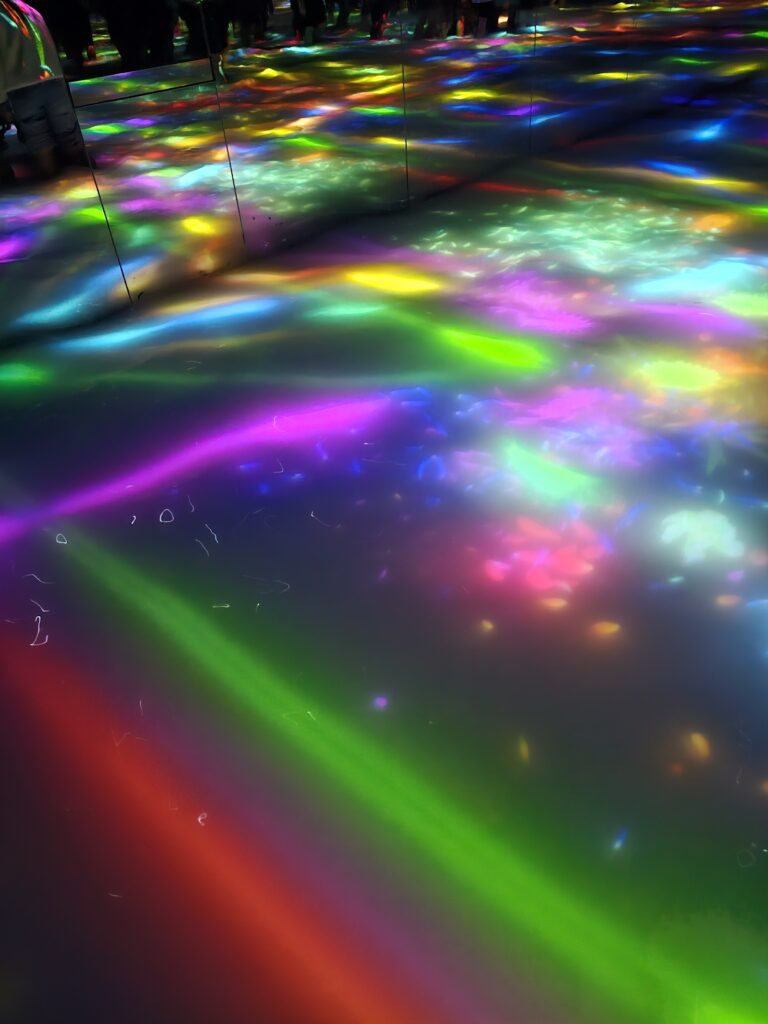
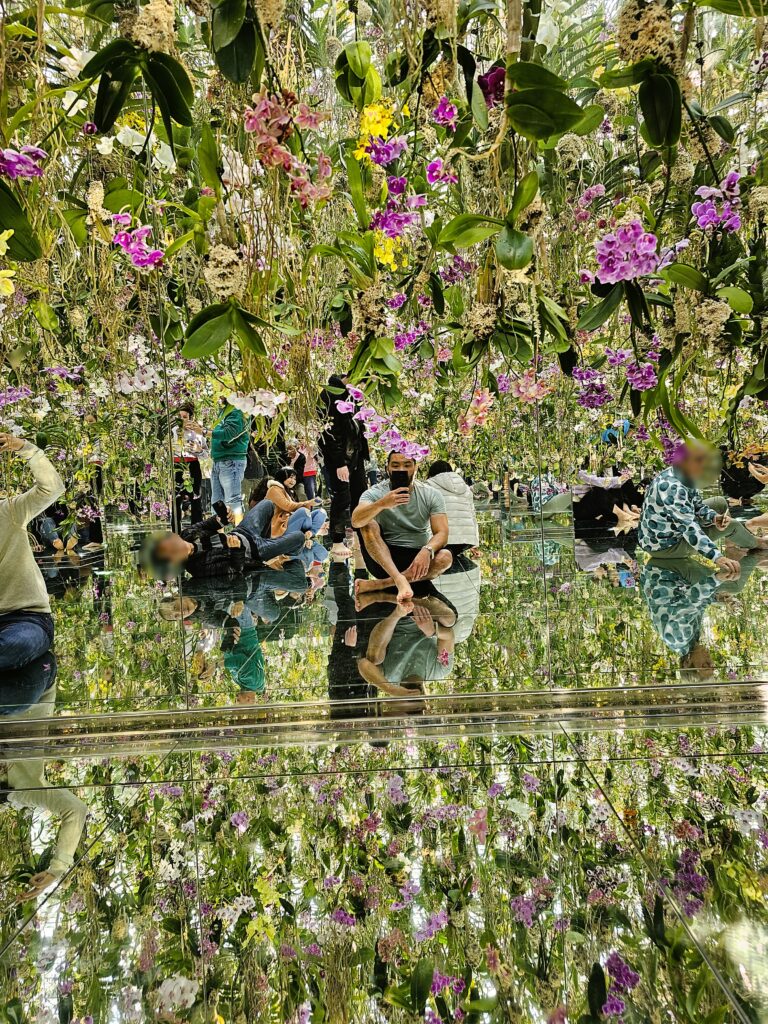
The below aren’t all of the exhibits, just a few. The others I found to be a little difficult to get decent photos of due to the movement or there just being a boatload of people. Yes, there will be A LOT of people, which should be expected.
I won’t spend too much time on the experience or the actual exhibits since pictures and words can’t really do the actual experience justice. Walking through the first exhibit really sets the tone and builds excitement for the rest of the museum and it doesn’t disappoint!
It will take a couple of hours (largely dependant on how long you want to linger to enjoy each exhibit) to walk through the exhibit.
The “garden” exhibit is separate from the rest of the exhibits and you’ll only get three minutes to enjoy it. I wish it were longer but get why it’s only three minutes. It’s quite mesmerizing and peaceful and people would certainly linger for extended periods of time. It’s a fitting finale to a truly memorable exhibit that you won’t soon forget.


-
How Expensive Is A Three Week Trip To Japan?
When thinking of traveling to a new destination one of the first things people are going to look at is how expensive is it to travel there? Japan has always been a very popular destination for travelers and was often looked at as being a very expensive trip. This may have been the case years ago but with the yen struggling, it’s made a vacation to Japan very affordable. How affordable? That’s totally dependent on what country you’re coming from, how you want to travel, where you want to stay, and what you want to eat.
I went during a non-peak season – during December – which made the three week trip to Japan more affordable as well. I went with the intent on having fun but not looking to spend gobs of cash so I’d say I was looking at a mid-level budget.
Transportation
The most expensive cost, of course, will be the flight to Japan. But since everyone is flying out of a different location I’ll leave that out and just breakdown the total I spent during my three week trip to Japan.
Withouth the flight I spent a total of $526 USD. That amount includes the two week Japan Rail (JR) Pass I bought (pre-Oct 2023 price increase) for $318, and the Pasmo card and all the money I loaded onto it (used for subways, buses, street cars, etc) for $101 and one domestic flight from Sapporo to Osaka ($107).
The JR Pass dramatically increased in price in October 2023 and will most likely not be worth getting at this point, unless you plan to take a LOT of Shinkansen (bullet) trains over the course of your trip. Public transportation is very cheap and is the best bet to get around efficiently and cheaply. There are taxis available and Uber works as well, so those are viable options but will be much more expensive. Also, domestic flights are pretty cheap as well so they’re something to consider if Shinkansen prices seem high.
Accommodations
For my three week trip to Japan I spent $1178 on lodging. I stayed at budget hotels essentially the entire time. I didn’t stay at any hostels or capsule hotels nor any five-star hotels. I stayed at all three-star hotels which are quite affordable, clean, and nice. Sure, the rooms are the size of a closet but I didn’t spend much time in the room so it really didn’t matter. What did matter was the price point for me during this particular trip.
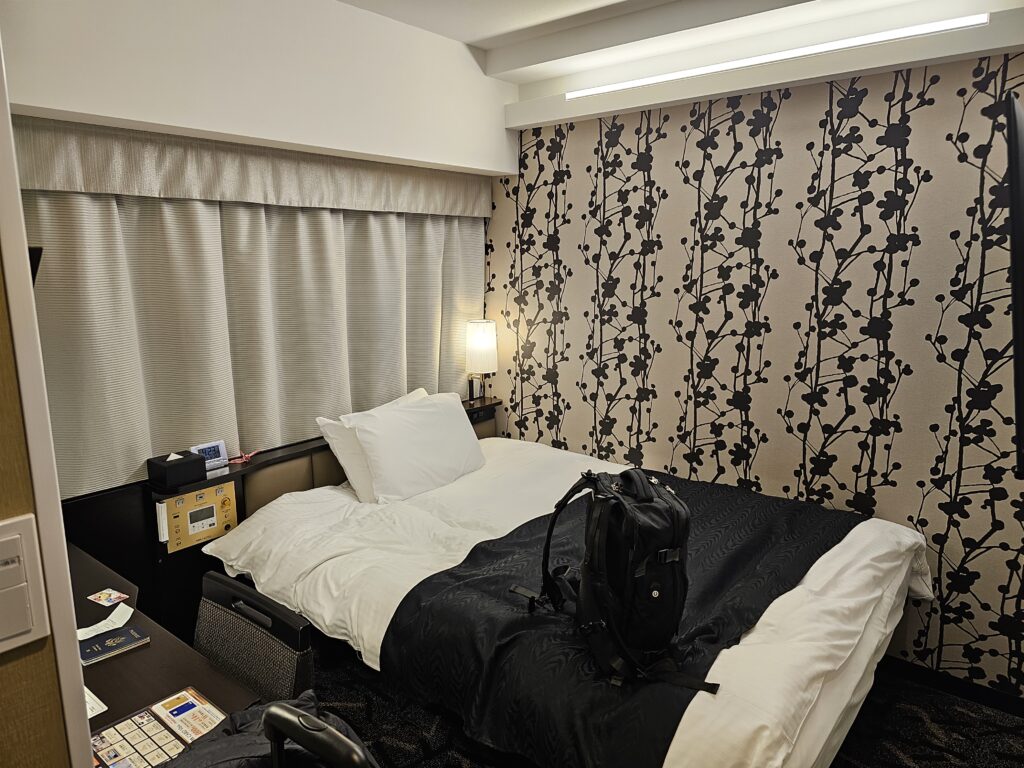
APA Hotel in Taito City in Tokyo 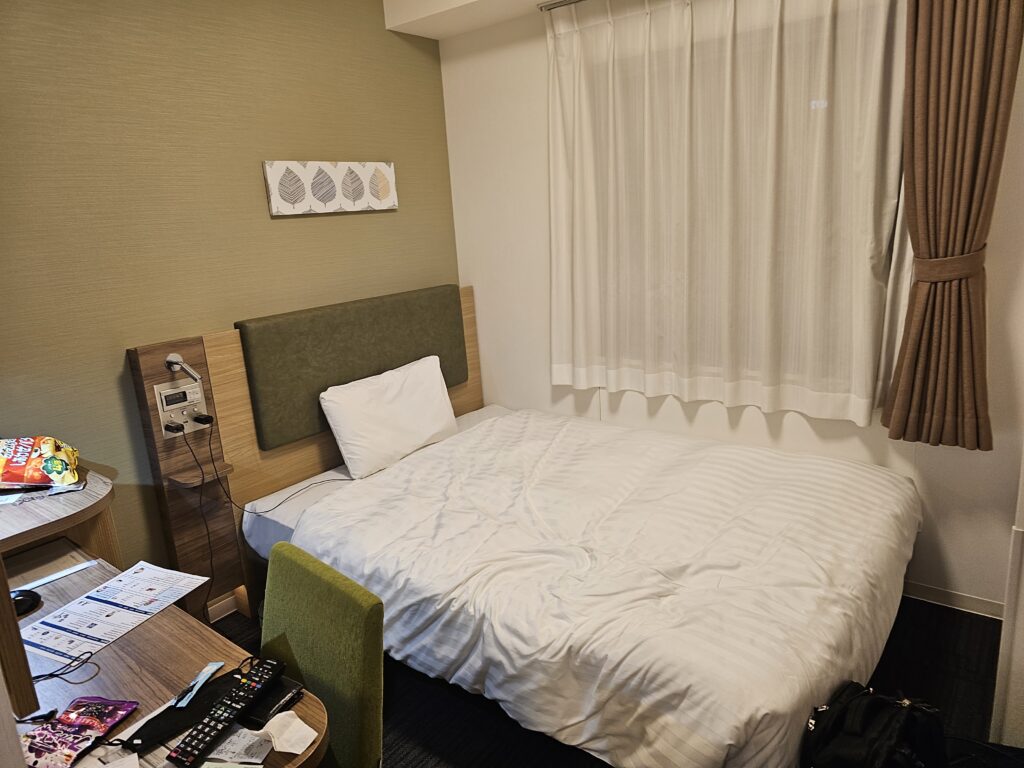
Another typical hotel room, this one in Sapporo The cheapest options will be hostels and the capsules. The 3 star hotels are a nice middle ground option which you can grab for $45-$65 a night.
Food
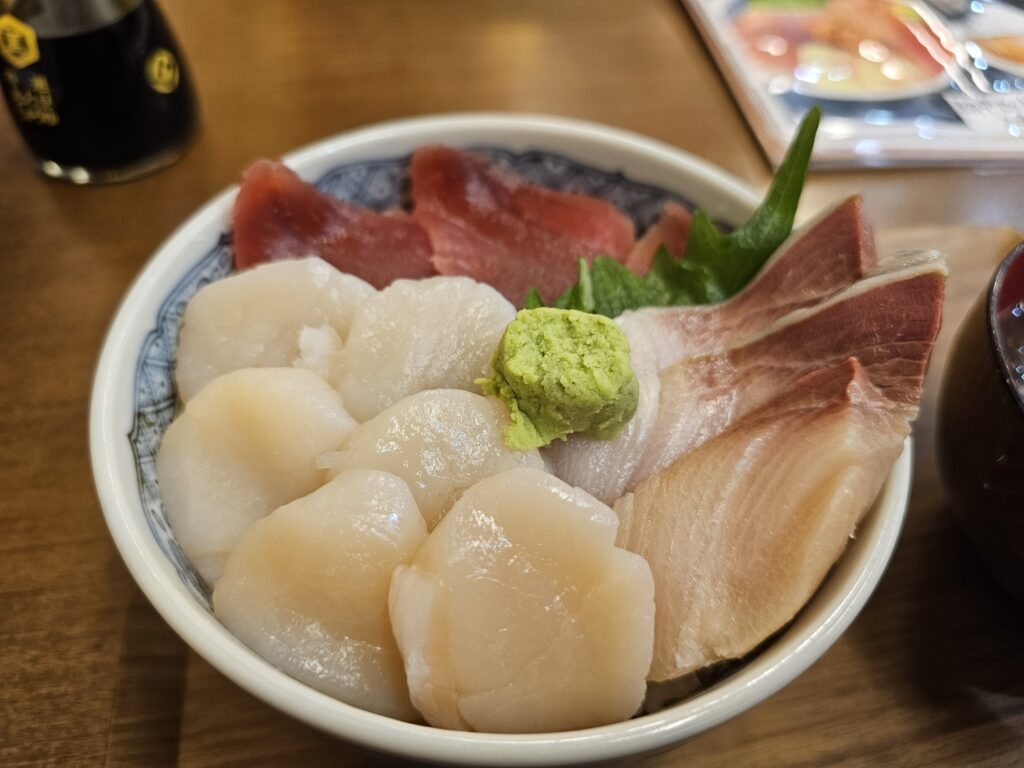
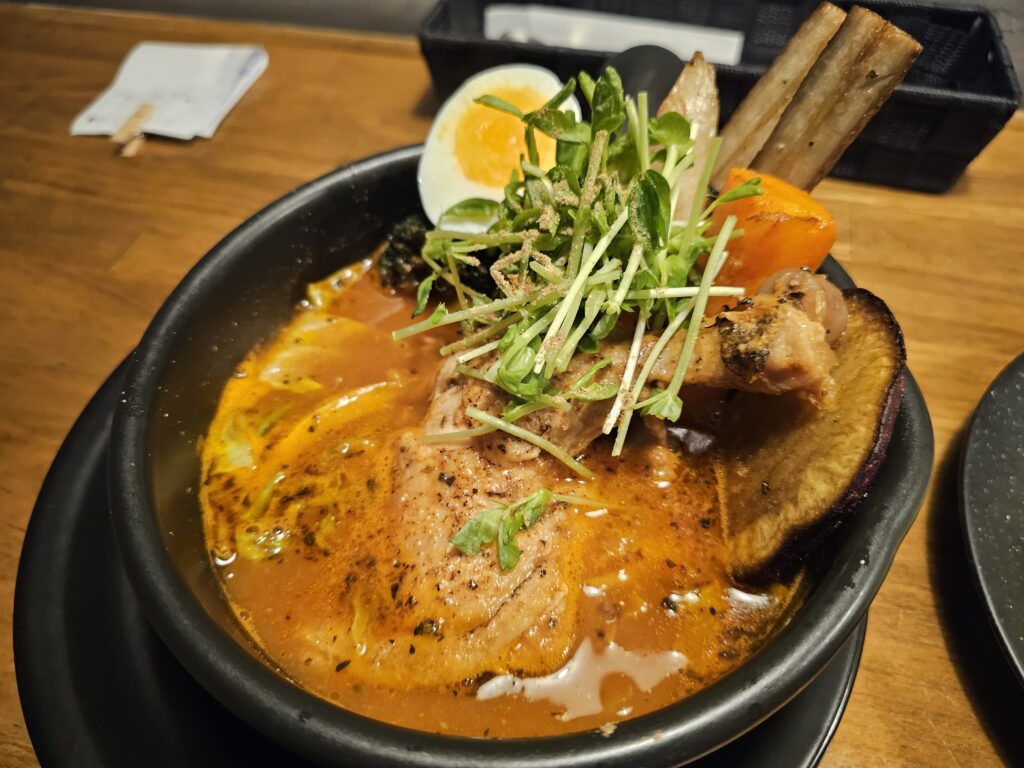
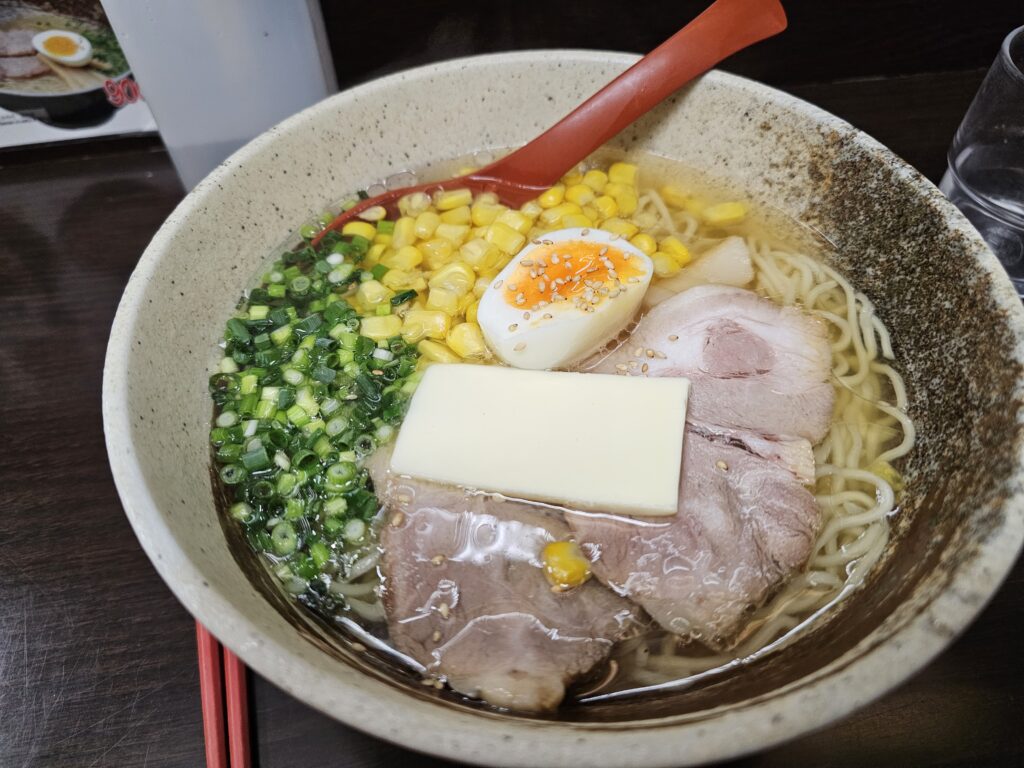
Outside of accommodations, food is likely to be the highest price point on the trip. I spent about $1017 on food on my three week trip to Japan. The food pricing for Japan is well-rounded. If you want to go cheap you can easily find a meal for under $10. A bowl of ramen is like $8 in a lot of places. I had a bowl of tempura for about $3.50. Grabbing food at one of the local convenient stores like 7-11, Family Mart, and Lawson’s will be very affordable and the food at these places is actually quite good.
Of course it’s very easy to get high quality, delicious food, that will be more expensive. Think exquisite cuts of sushi and mouth-watering wagyu. I pretty much straddled the line when it came to food expenditure, splurging here and there for some more expensive meals but mainly getting meals that were between around $8-15.

Attractions
There’s a million things to see and do in Japan. A lot of things, like most temples and shrines, parks, are free which is great. Of course other attractions – museums, observatory points, ropeways, Tokyo teamLab Planets – have an entrance fee. Over my three week trip to Japan I spent $184 on attractions. A large chunk of this was due to Tokyo Disneyland ($63). The other notable expenses were Tokyo teamLabs Planets ($25), and the Osaka Aquarium Kaiyukan ($18). All the other attractions (a lot of museums, a couple castles, ropeways, observatory points) I went to were $10 and less, usually about $5. So depending on what you’re interested in, attractions can be very cheap.

Tokyo teamLab Planets 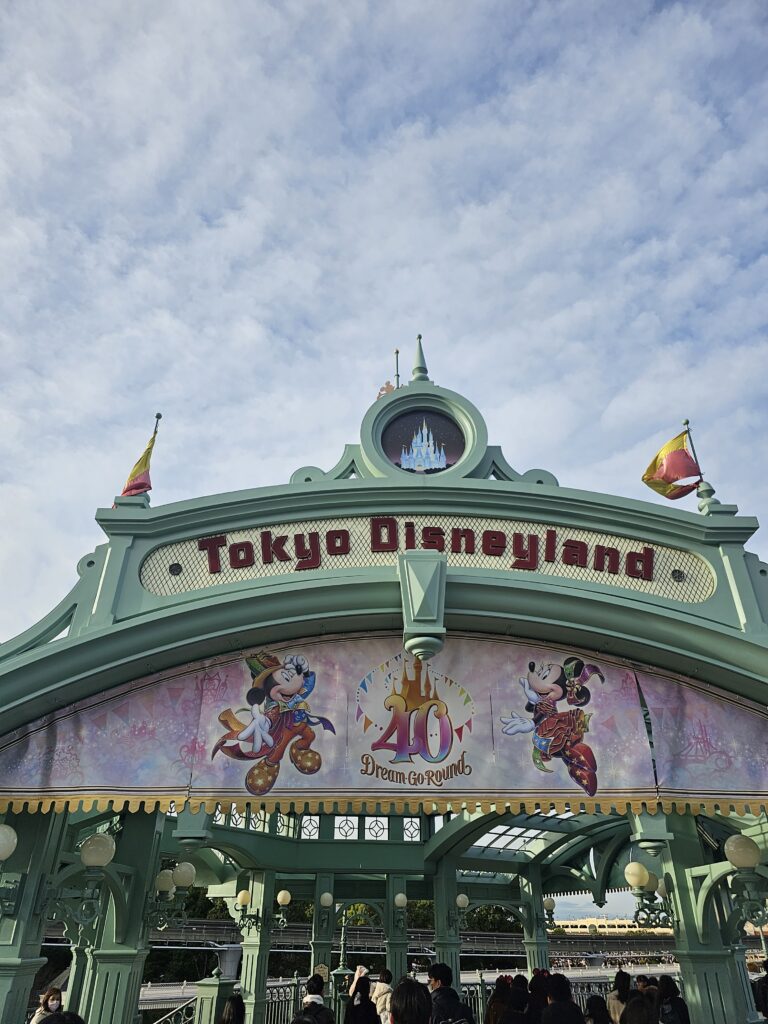
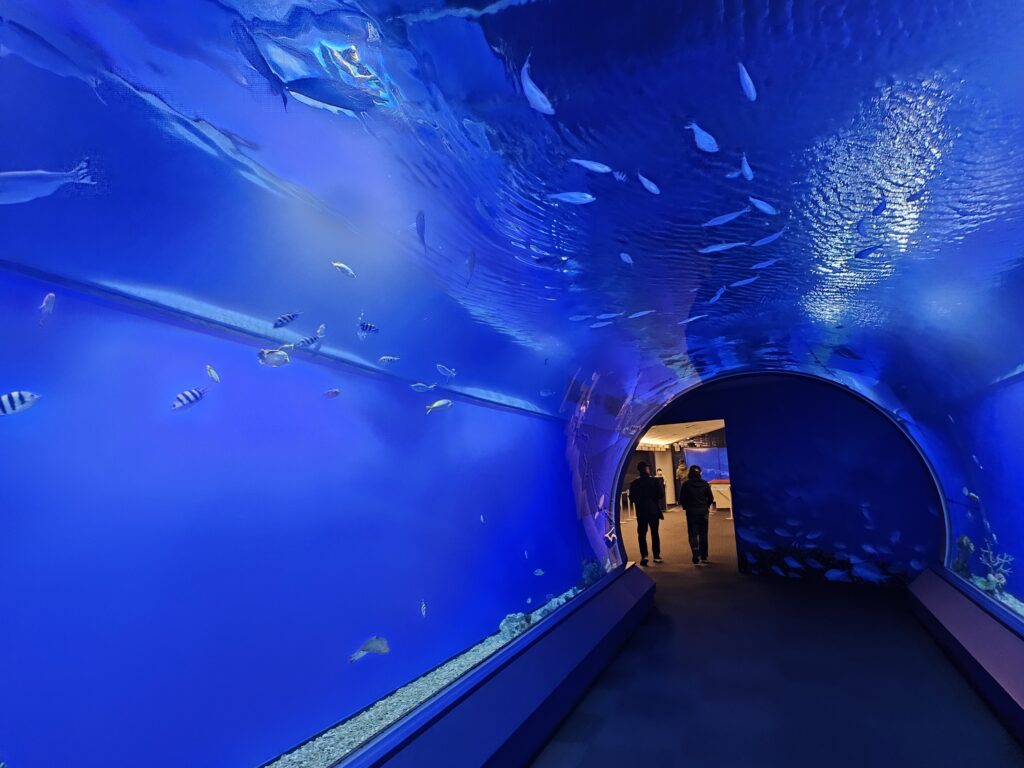
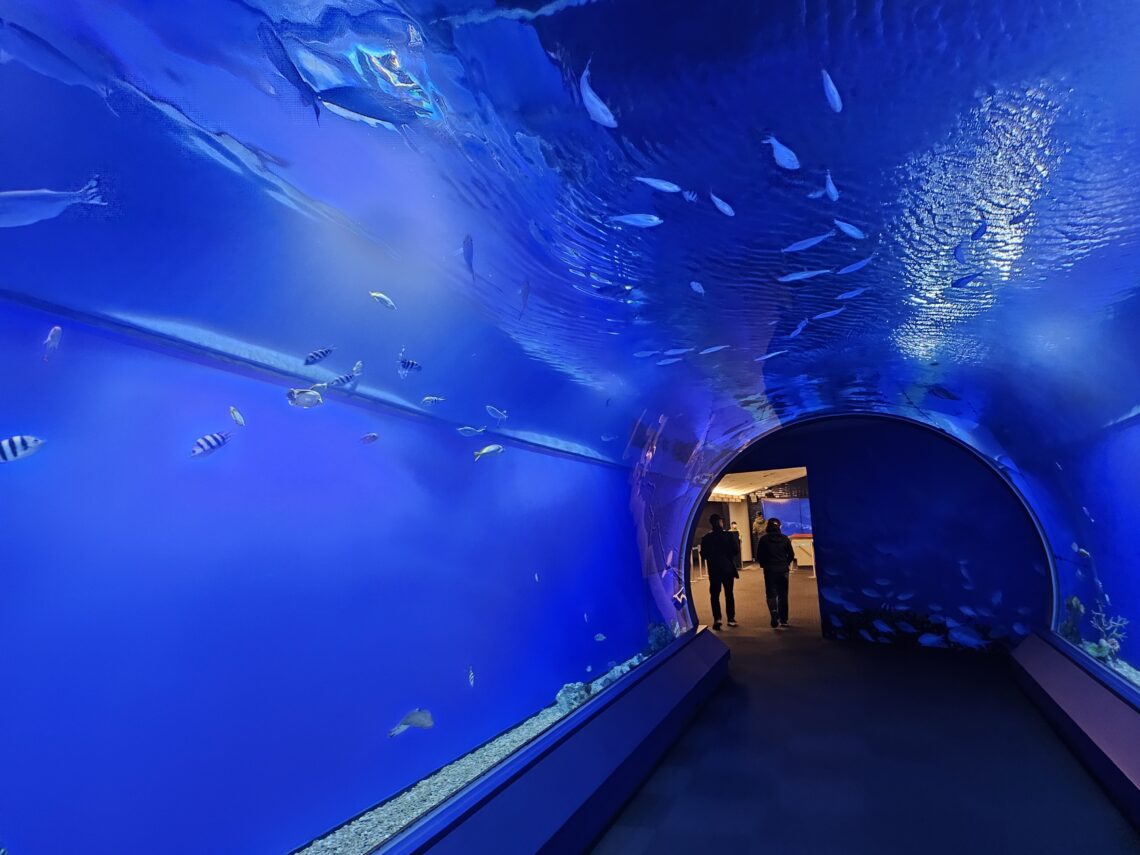
Osaka Aquarium Kaiyukan 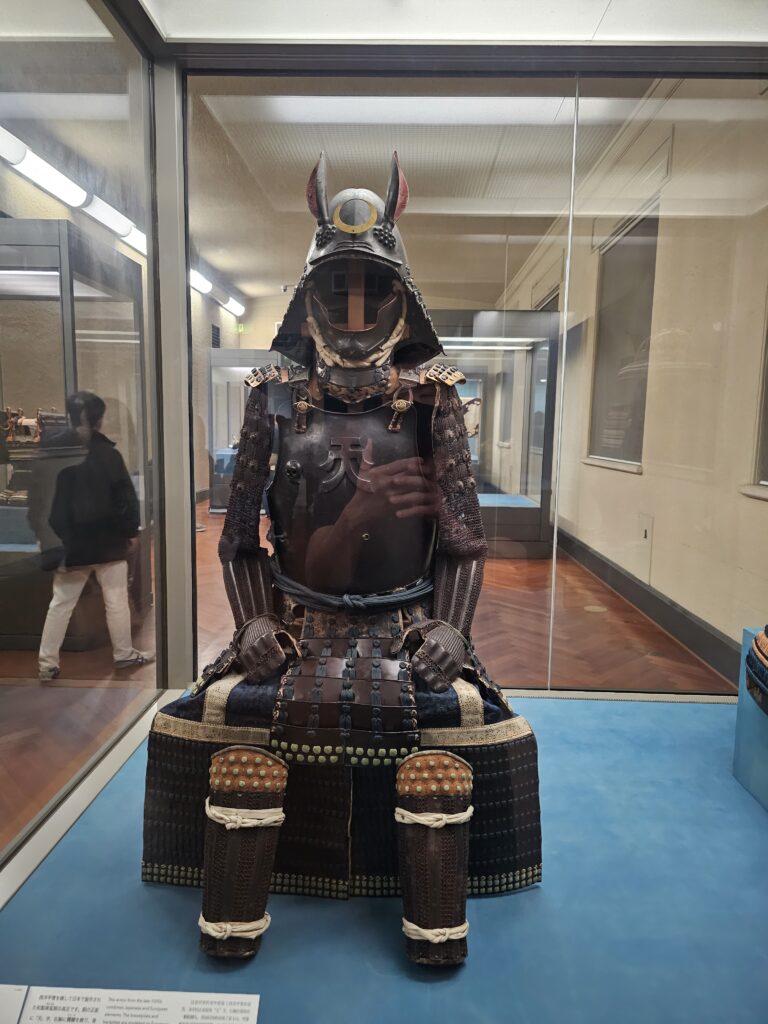
Tokyo National Museum Souvenirs
It’s easy to go overboard with souvenirs, either getting things for yourself or loved ones. I spent a total of $217 on souvenirs in my three week trip to Japan. Pretty much all t-shirts and a couple of hats. Souvenirs will always be at the individual’s discretion. Some people will buy a lot of souvenirs, others won’t buy anything. I bought a little more here than I generally do, I couldn’t help myself at the Hokkaido Nippon-Ham Fighters team store!
Total Expenses For My Three Week Trip To Japan
In total I spent $3224 over a three week span, excluding the flight. With the flight the total was $3930. If I add up the accommodations, food, and attractions, I averaged about $113 per day. Not too bad. There’s definitely areas where I could have cut costs like accommodations and food, to get to $100 per day if I was really tracking my expenditures.
So yes, traveling through Japan on a $100 per day is VERY doable if that’s the goal. Depending on your accommodations, let’s say you paid around $55 on average for hotels and had $45 to play around with the rest of the day, it would be fairly easy to do.
There’s a ton of cheap good food that you can find throughout Japan and plenty of attractions that are free or around $5. I mean just walking around Tokyo in itself is memorable since there city is so vibrant. If $100 or less per day is the goal, you can definitely do that in Japan and still have a very enjoyable experience!
-
Is the Japan Rail (JR) Pass Worth It After the October 2023 Price Increase?
Why Did The JR Pass Increase In Price?
The Japan Pass (JR) has long been a staple for visitors to Japan. It allows the use of of all Japan Rail trains, metros, and buses throughout the entire country, including the Shinkansen bullet trains.
Due to the decline in value of the yen against other currencies, rising costs of energy, maintenance, and repairs prompted a massive increase of the JR Rail Pass in October 2023. How massive? The increases range between a whopping 65% – 77%.
The Before And After Price Breakdown
Here’s the breakdown for the regular JR Pass. There’s also a Green JR Pass which includes first class seating which is more expensive (all prices are for adults. Children passes are half of the amounts for the new pricing):
7-Day Pass:
Old Price – 29,650 yen / $207.25 USD
NEW Price – 50,000 yen / $349.49 USD – 69% Increase
14-Day Pass –
Old Price – 47,250 yen / $330.27 USD
NEW Price – 80,000 yen / $559.18 – 69% Increase
21-Day Pass
Old Price – 60,450 yen / $422.53
NEW Price – 100,000 yen / $698.98 – 65% Increase
As you can see, the price increases are quite significant. Deciding on how you want to travel throughout Japan just became much more important!
The JR Pass Calculator
This is a valuable tool to use to ultimately help you decide if a pass is worth it or not. As an example trip itinerary I plugged in my recently completed 3-week trip. I bought the 2-week pass since the bulk of the JR Pass was used after my first week.
Tokyo –> Hakodate 20,000 yen / $139.80 USD Hakodate –> Sapporo 14, 500 yen / $101.35 Sapporo –>Otaru 1,000 yen / $6.99 Otaru –> Sapporo 1,000 yen / $6.99 Osaka –> Nara 500 yen / $3.49 Nara –> Osaka 500 yen / $3.49 Osaka –> Himeji 3,500 yen / $24.46 Himeji –> Osaka 3,500 yen / $24.46 Osaka –> Kobe 500 yen / $3.49 Kobe –> Osaka 500 yen / $3.49 Osaka –> Tokyo 14,000 yen / $97.86 Additional JR trains and JR Metro Lines 1,500 yen Total 61,000 yen / $426.38 Sapporo –> Hakodate 14,500 yen / $101.35 USD Hakodate –> Tokyo 20,000 yen / $139.80 Osaka –> Tokyo 14,000 yen / $97.86 Hypothetical Total 109,500 yen / $769.15 I’d add in an additional 1,500 extra yen to the total as well since I took a couple trains and used the JR metro lines while in Osaka too. Based off this, the old 14-day pass (47,250 yen) was worth it.
It defintely would not be worth it based off the new pricing for a 14-day pass (80,000 yen).
I was curious to see if the pass would pay off if I took trains all the way from Sapporo to Osaka. I flew on my actual trip.
Based off this hypothetical trip utilizing nothing but trains, the 14-day pass would certainly be worth it. But would I actually do that? No way.
The flight I took cost less than $100 and took 2.5 hrs. Sure, you get to the airport a couple of hours beforehand so we’ll say the total time is about 4.5 hours between the airport and in the air. I estimate the total time on the train to be at least 11 hours and that’s not counting how long I’d have to wait in between trains. That’s a very long travel day and I’d essentially lose that day in Osaka.
Is It Worth It?
In my opinion, it’s not going to be worth it. Using the same calculator I did another hypothetical trip consisting of Tokyo, Kyoto, Osaka, and Hiroshima. This is generally the route people take on their first trip to Japan. The total amount for those bullet trains comes out to 41,500 yen, which wouldn’t even make the 7-day pass worth it.
The bullet trains are fast, convenient, comfortable, and a very cool experience, but flying is still going to be faster and cheaper. You can always mix in some bullet trains to get the experience and will most likely use some local rapid express / limited express trains as well (these aren’t too expensive) but it seems like the days when the JR Pass were a good deal are now over, sadly enough.
-
Thinking Of Going To Japan? Here’s Some Helpful Japan Trip Tips For First Timers!
Going to a new country for the first time can always be a little daunting. Figuring out what you need to take, where to stay, how to get around, what sites you want to visit, it can be a lot! I’ve been to Japan twice now, by no means am I a Japan expert, there’s always something new to learn while traveling through this amazing country. But I have picked up some random Japan trip tips that I feel may be of use for travelers that have never been there.
Choose Where In Tokyo You Want To Stay
This is assuming you’re planning on flying into Tokyo.
First, let’s figure out where exactly in Tokyo you want to stay. Tokyo is an absolutely massive city. It’s comprised of 23 special wards, 26 cities, five towns, and eight villages. Every special ward has several districts within it as well. There’s a lot of options of where to stay due to this. Like A LOT of options.
The most popular places in Tokyo are Shibuya, Shinjuku, Ginza, Roppongi. Unsurprisingly, these will also be the most expensive.
I think what’s most important is how close a subway station is to where you intend to stay. Tokyo’s infrastructure is massive and can get you anywhere in the city, no exaggeration.
So long as you’re within walking distance to ANY station and you know how to use Google Maps then what ward / district you stay in doesn’t much matter to be honest.
How long you’re staying in Tokyo, what your budget looks like, and what you want to see may ultimately influence exactly where you stay.
If you’re only in Tokyo for a couple days then you may want to stay in one of those higher profile areas if those are of interest to you, in order to maximize your time, but I don’t think it’s super necessary.
I’ve stayed in Shinagawa (first trip, has a major train station) and Taito City (second trip, cheap) and both worked out well.
When I stayed in Taito City it took 40 mins to get to Shibuya Station and 30 mins to get to Shinjuku station via subway. I was in Tokyo for five days so that amount of travel time didn’t impact my decision on staying in Taito City. Also, on a side note it took about 15 mins to walk to Asakusa and Akihabara was a 20 min subway ride.
Choosing Which Airport To Fly Into
Tokyo has two major international airports: Haneda and Narita. It’s a little strange that one city has two international airports, but Tokyo is no ordinary major city.
The main difference between the two airports is Haneda is in Tokyo while Narita is located in Narita which is in the Chiba Prefecture, about 37 miles outside of Tokyo. Haneda provides fast access to central Tokyo, and in my opinion is a very convenient experience overall.
There’s many ways to get into the city from the airport via bus, subway, taxi. The subway will likely be the best option for most people. It’s cheaper than a taxi and faster than the bus.
Before booking that flight to Haneda, you can always check to see what the distance is from your hotel to Haneda or Narita. If you’re staying more on the outskirts of Tokyo than the airport may not make much of a difference.
For the sake of providing an example, here’s the difference from Haneda and Narita to Shinjuku Station.
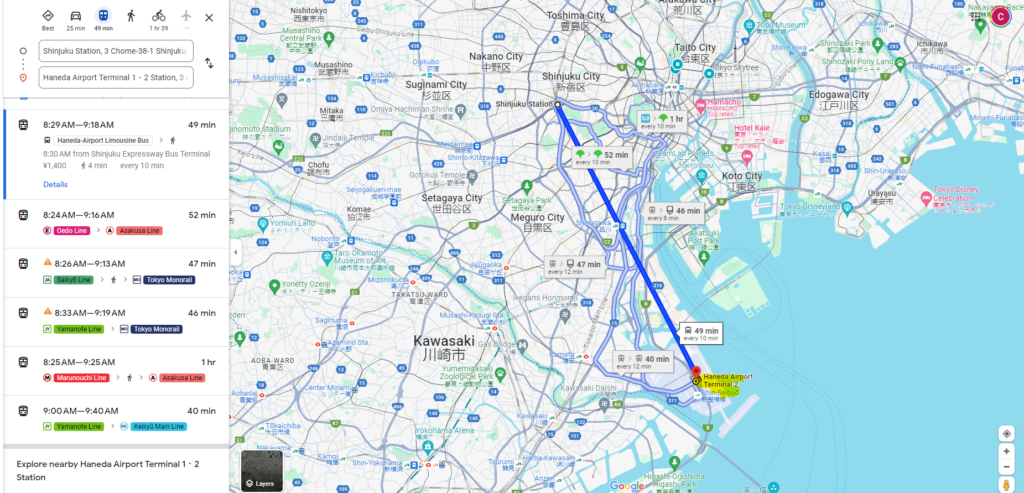
Depending on what lines lines you decide to take, the trip can be as short as 40 mins from Haneda to Shinjuku Station.
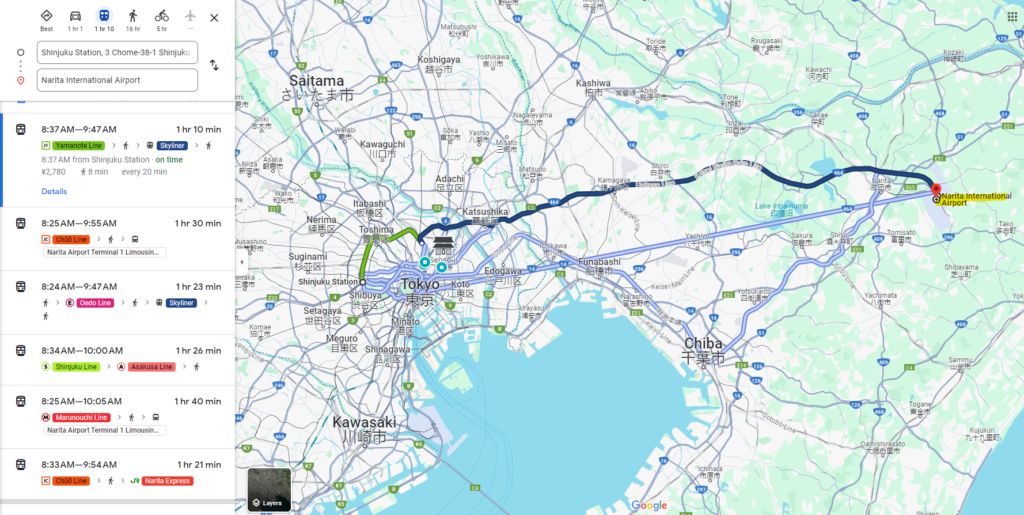
From Narita, the fastest route will take over an hour to Shinjuku Station.
If the flight to Narita is a lot cheaper than Haneda than it makes sense to fly into Narita. Otherwise Haneda will be much faster generally.
Preparing For The Trip
Alright, you know where you’re staying and booked the flight, great! What are some things to pick up prior to the trip?
Get a portable phone charger/ power bank. You will be using your phone a lot. Even more than at home since you’ll be running Google Maps pretty extensively (if traveling on your own, with no tour group) and taking pics and recording videos. A portable phone charger is key so you don’t have to stress when you’re phone hits 15% and you’re far away from your hotel (we’ve all been there!).
Get an esim. If you have a newish phone you should be able to purchase an esim and you absolutely should. It will far and away be the cheaper option.
Renting a pocket wifi will run about $5.50 (USD) per day so if you’re in Japan for two weeks it will run you around $77 USD. A physical sim card will cost around $40-50 for two weeks.
I used Airailo on my last trip to Japan and got 20 GB of data for $26 USD. I was in Japan for 22 days and left with a little less than a GB of data to use. For two weeks in Japan you’d likely need about 10 GB of data. 10 GB will cost about $18. Shop around for esims. They’re cheap and easy to install. Just be sure to install prior to landing so you can just turn on the esim once you land.
An esim is definitely a much cheaper route to go when traveling in general.
Don’t worry about exchanging money prior to your visit. If flying into Haneda, they have ATM’s located throughout the airport in convenient locations. You’ll get a better exchange rate by pulling cash here as well. It’s been a few years since I flew into Narita but imagine this is the same case there as well.
No power converter is necessary (if coming from the US). Japan’s voltage is 100V. Check out the chargers you intend to take. They should have a voltage between 100-240V, those will work fine in Japan. If anything you may need a prong adapter if using a 3 prong input. I believe Japan mainly has 2 prong
inputs.
While In Japan
There’s no trash cans in Japan. Well maybe not ANY trash cans but you won’t be seeing them frequently, if it all. If you get food to go and eat in the vicinity of the restaurant you won’t see any trash cans near by. What you’ll need to do is hand the trash back to the restaurant you bought the food from to dispose of. If you’re eating on the go it’s best to store the trash in your backpack and throw it away when you get back to the hotel.
Don’t worry about the huge amounts of change you accumulate. Without a doubt you’ll be carrying around a large amount of change within days of being in Tokyo. No need to worry about that, it’s easy to get rid of. There’s vending machines literally EVERYWHERE in Tokyo. Get some beverages and put that change to good use.
My favorite was going to 7-11. You can literally dump change into a coin collector to pay for whatever you purchase. You’ll see your total amount and as you put change in that amount decreases. It’s a great way to get rid of a variety of different change amounts.
Spend money leftover money on your IC Card (rechargeable prepaid travel cards used for public transportation) . If at the end of your trip you have an ample amount left on your IC Card, there’s other ways you can spend that amount outside of public transportation. Vending machines and convenience stores (again) come in handy. They both accept IC cards as payment options.
You’ll Figure It Out
There’s a million other tips that will be helpful but the above are just little things that came to mind when first wanting to write a blog post about helpful tidbits for first time travelers to Japan. They all seemed to be scattered around but not condensed into one article or blog post. Hope it helps!
-
SPICY PORK DUMPLINGS at Shinsegae Department Store Food Court in Busan
The Shinsegae Department store in Busan is a massive shopping center. I hungrily stumbled upon one of the food courts while cruising through the center near it’s closing time. It’s a shame that I found it when the department store was near closing.
The food court is HUGE. By the time I found it though most of the stalls were closed or cleaning up and closing for the night so it was slim pickings.
Fortunately, I was able to find a stall that had some dumplings. I purchased a few pork dumplings and some spicy pork dumplings.
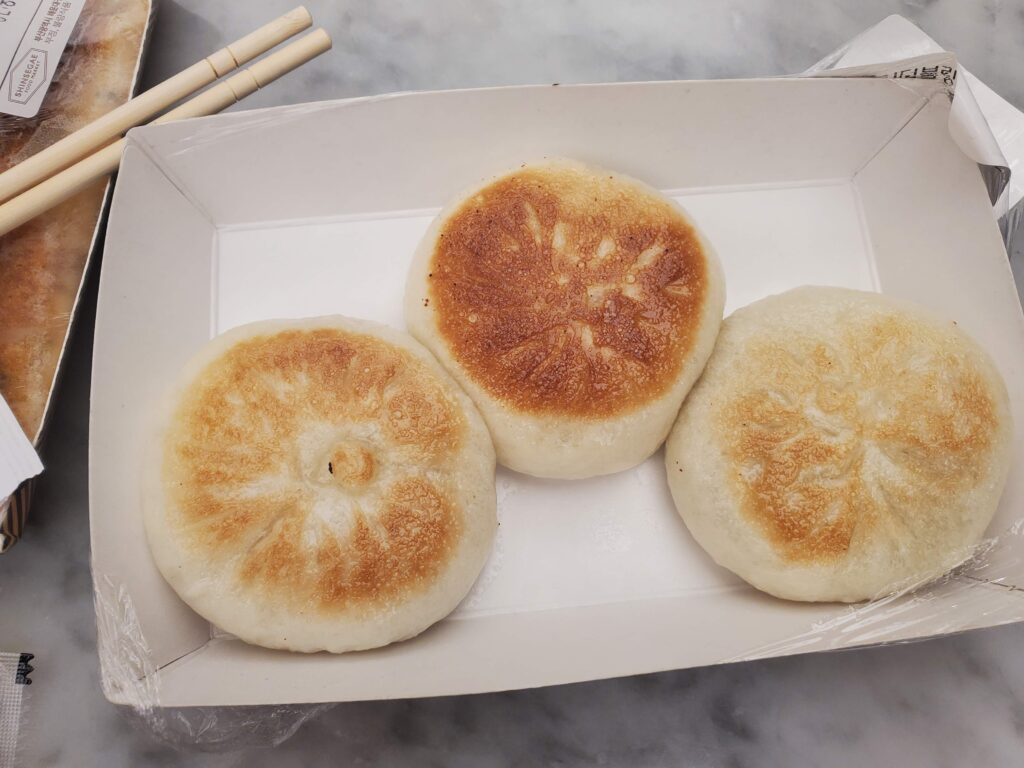
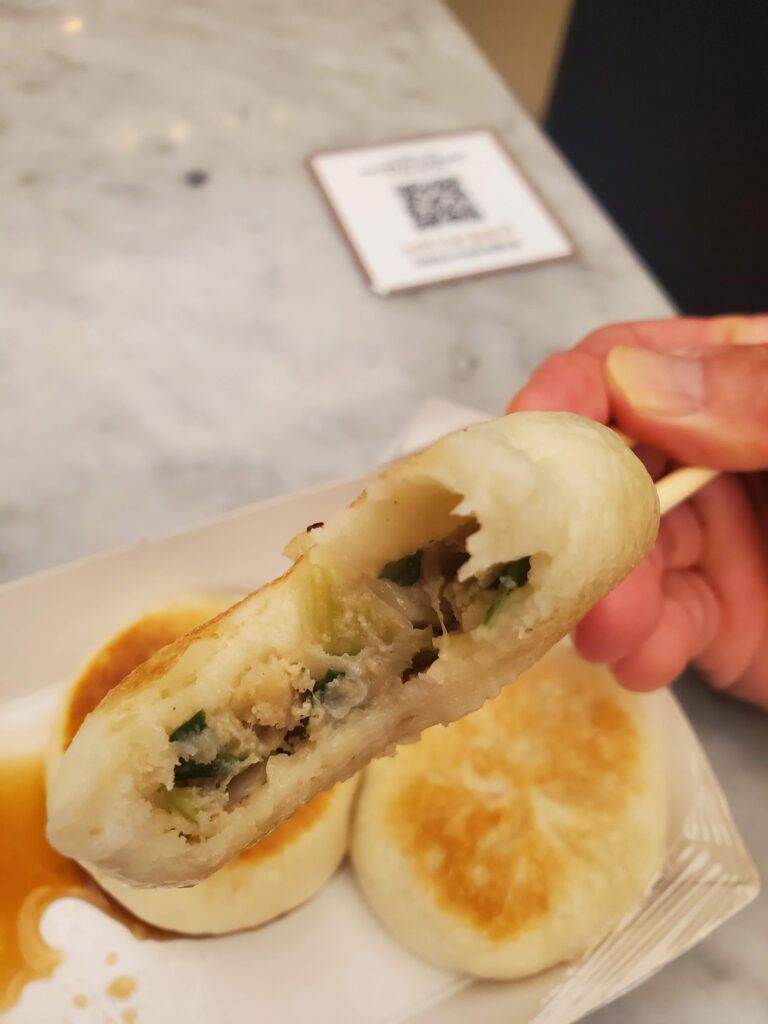
The pork dumplings weren’t too bad but the meat filling to dough ratio was kind of lacking. It didn’t seem like there was enough filling in these. It didnt help that it was closing time and the dumplings had probably been sitting there for a decent amount of time so the fresheness factor wasn’t there either.
The filling itself had decent flavor but it was tinged with some sweetness. Not entirely sure where that was deriving from but I wasn’t a big fan of that kick. Overall the pork dumplings were decent but didn’t really stand out in any way.
The spicy pork dumpling was the same but was wrapped in a different dumpling wrapper. The spice was a pleasant surprise and had some kimchi in it which added a satisfying crunch to each bite.

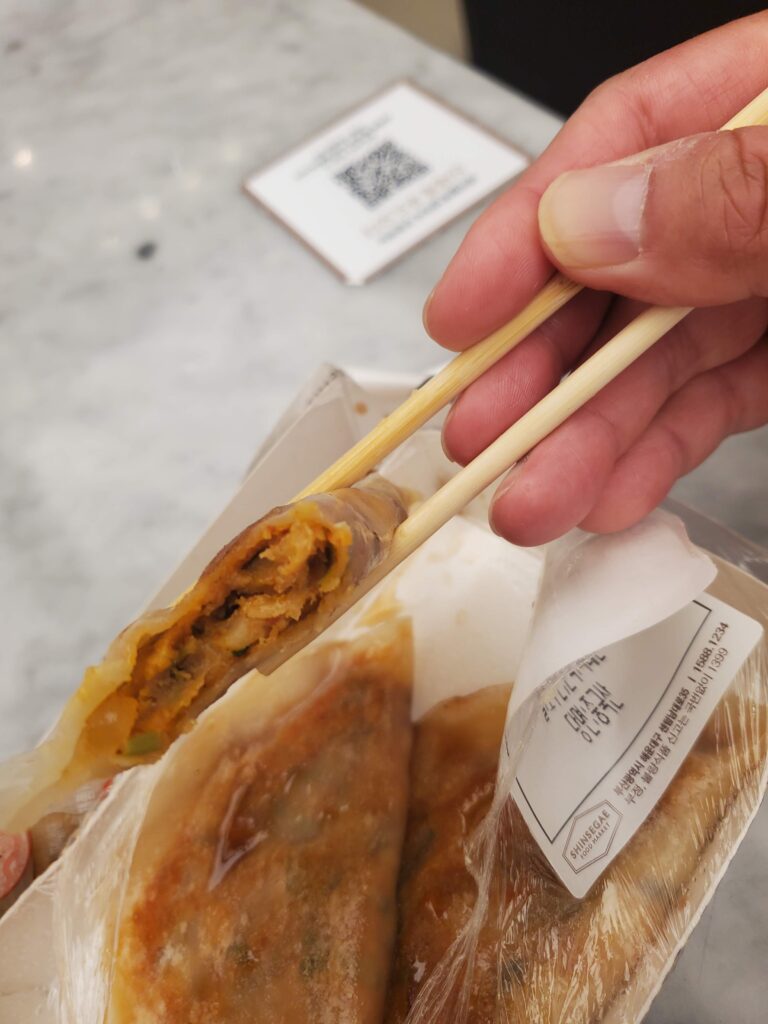
Outside of that, the flavor was largely the same as the regular pork dumpling with that same small hint of sweetness. I enjoyed the spicy dumpling more than the regular one due to the spice and the crunch the kimchi added. It had a much better ratio of dumpling to filling as well.
I’d love to go back to the food court on the next visit to Busan just because there are so many options and it would be interesting to see the place bustling with hungry shopppers.
-
KOREAN FRIED CHICKEN @ Gorilla Brewing Co in Busan, South Korea
I wanted to check out some local brewed beers in Busan and found Gorilla Brewing which sounded like it had a great of variety of beers on tap, which it did. I sampled a couple of the IPA’s, which were great and also put me in the mood for some fried chicken. Fortunately, fried chicken was on the menu with a couple of seasoning choices.
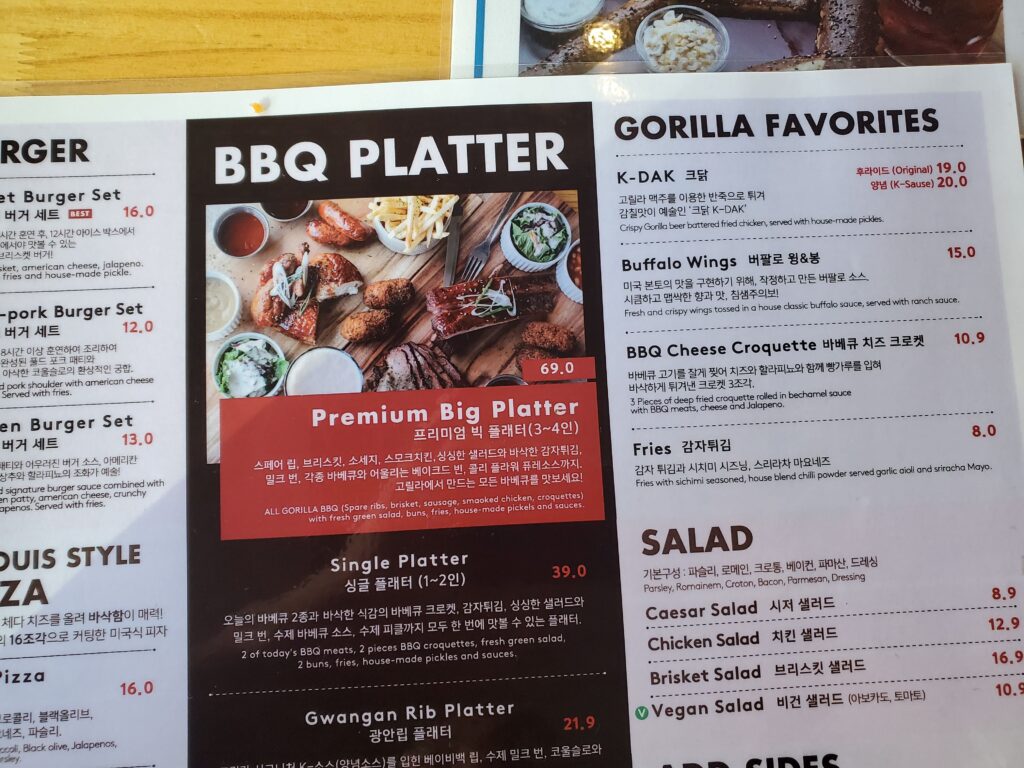
Gorilla Brewing Co Menu I went with the original since I just wanted plain fried chicken without any kind of sauce.
I have to say the orginal was the perfect choice. It was fried to perfection. Not oily at all. Every bite brought a very satisfying crunch. Lightly salted but very tasty. The meat was unbelievably moist.

I’m so used to fried chicken that is dripping oil and parts of the chicken being overly tough. That definitely wasn’t the case here. Probably the most moist fried chicken I’ve ever had. Served with a dipping sauce that is slightly sweet but not overly so, with a good spicy kick to it. It complemented the chicken well. The portions were amazing as well. This was a lot of chicken to work through.


If visiting Busan and craving some local brewed beers and tasty fried chicken, Gorilla Brewing is certainly worthy of a stop!
